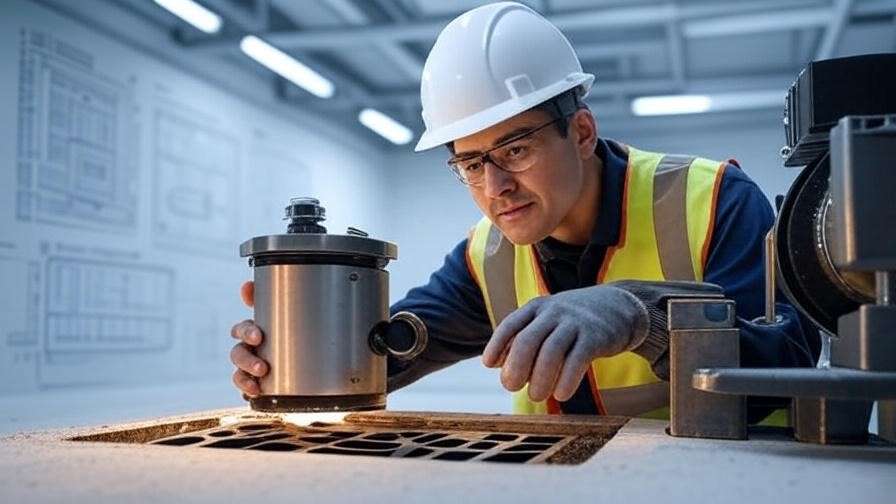
Imagine a high-stakes scenario in a bustling petrochemical plant: a single faulty weld in a critical pipeline leads to a catastrophic leak, halting operations, incurring millions in downtime, and posing severe safety risks. This isn’t just a hypothetical—it’s a reality that mechanical engineers and welders face daily. In the world of mechanical engineering, where precision and reliability are paramount, mastering pipe welding can mean the difference between seamless system performance and costly failures. Whether you’re fabricating process piping for oil and gas refineries or maintaining HVAC systems in industrial facilities, understanding pipe welding essentials is crucial for ensuring structural integrity and compliance with stringent codes.
As a seasoned mechanical engineer with over 15 years of experience in pipeline design, fabrication, and on-site welding supervision, I’ve witnessed firsthand how proper techniques can prevent disasters and enhance efficiency. This comprehensive guide dives deep into pipe welding, covering fundamental concepts, preparation strategies, step-by-step techniques—focusing on Shielded Metal Arc Welding (SMAW) as the go-to method for field applications—best practices for code compliance, defect prevention, and expert tips to elevate your skills. By the end, you’ll be equipped to produce strong, leak-proof joints that meet standards like ASME B31.3 and API 1104, addressing the common pain points of aspiring welders, technicians, and engineers seeking to improve weld quality and pass certifications.
What is Pipe Welding? Fundamentals and Applications in Mechanical Engineering
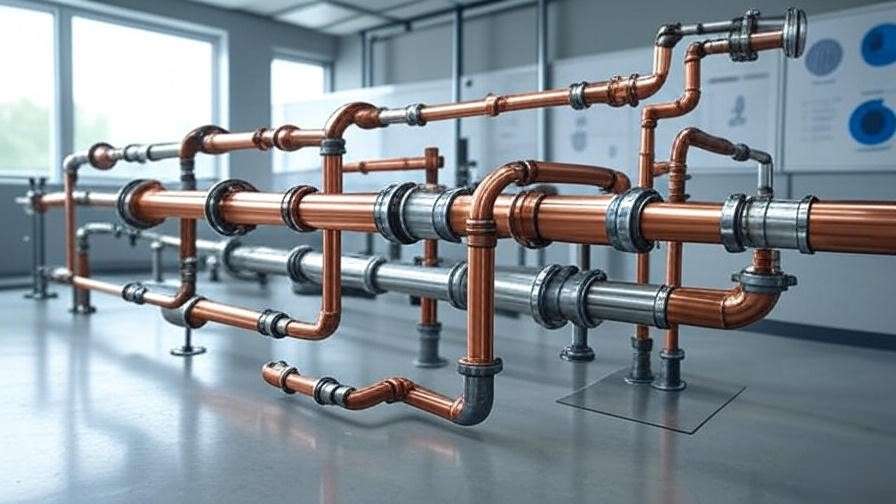
Pipe welding is the process of joining cylindrical sections of pipe or tubing using various fusion welding methods to create continuous, pressure-tight conduits. Unlike flat plate welding, it involves unique challenges due to the pipe’s curvature, which affects heat distribution, filler material flow, and accessibility. In mechanical engineering, pipe welding is foundational for constructing and maintaining systems that transport fluids, gases, or slurries under high pressure and temperature conditions.
At its core, pipe welding ensures the mechanical strength and corrosion resistance needed for long-term performance. Key differences from plate welding include the need for multi-pass techniques to build up the joint thickness and handling various welding positions dictated by the pipe’s orientation. For instance, pipes may be welded in fixed positions, requiring the welder to maneuver around the circumference, battling gravity and restricted access.
In mechanical engineering applications, pipe welding is ubiquitous across industries:
- Oil and Gas: Fabricating cross-country pipelines and subsea risers, where welds must withstand extreme pressures (up to 10,000 psi) and corrosive environments.
- Petrochemical and Refining: Joining process piping in reactors, heat exchangers, and distillation columns, ensuring compliance with ASME Section VIII for pressure vessels.
- Power Generation: Assembling boiler tubes and steam lines in nuclear or thermal plants, where high-temperature creep resistance is vital.
- HVAC and Plumbing: Installing ductwork and water supply lines in commercial buildings, focusing on leak-proof seals.
- Manufacturing and Fabrication: Creating custom manifolds or structural supports in automotive and aerospace sectors.
Common welding processes for pipes include:
- SMAW (Stick Welding): Versatile and portable, ideal for field repairs; uses flux-coated electrodes like E6010 for root passes.
- GTAW (TIG Welding): Provides precise control for root passes on thin-walled or exotic alloys, minimizing distortion.
- GMAW (MIG) or FCAW (Flux-Cored): High-deposition rates for production welding, though less common in restricted pipe access.
Adhering to codes such as ASME Section IX (for welder qualification), API 1104 (for pipeline welding), and AWS D1.1 (structural welding) is non-negotiable. These standards dictate procedure qualifications, ensuring welds pass destructive tests like bend and tensile evaluations. In my career, I’ve qualified numerous Welding Procedure Specifications (WPS) for carbon steel and stainless steel pipes, emphasizing how these fundamentals translate to real-world reliability.
Essential Preparation for Successful Pipe Welding
Preparation is the unsung hero of pipe welding—skimp on it, and even the most skilled technique will falter. As an expert who’s overseen hundreds of piping projects, I can attest that 70% of weld defects stem from inadequate prep work. Let’s break it down step by step to ensure your joints are primed for success.
First, select the right materials. Pipes come in various grades: carbon steel (e.g., ASTM A106 for high-temperature service), stainless steel (e.g., 304/316 for corrosion resistance), or alloys like Inconel for extreme environments. Consider the schedule (wall thickness)—Schedule 40 is common for general use, while Schedule 80 handles higher pressures. Match filler metals to base materials to avoid galvanic corrosion or mismatched coefficients of thermal expansion.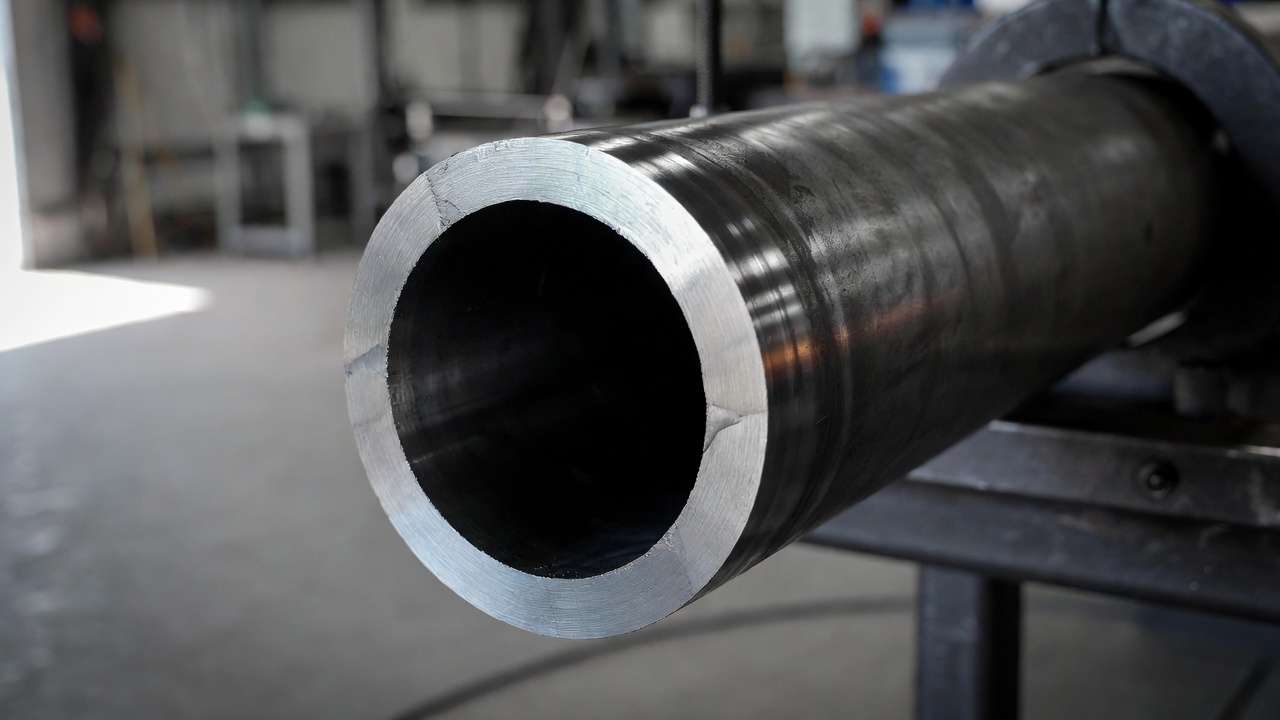
Joint preparation is critical. For butt welds—the most common in pipe joining—bevel the pipe ends to a 30-37.5° angle (single-V groove for thicknesses over 3/16″). Include a 1/16″ land (root face) to prevent burn-through and a root opening (gap) of about 1/8″ or the thickness of a penny for SMAW. Use a grinder or plasma cutter for clean bevels, ensuring no jagged edges that could trap slag.
Cleaning cannot be overstated. Remove contaminants like rust, scale, oil, or paint using wire brushing, grinding, or solvents like acetone. For stainless steel, avoid carbon steel tools to prevent contamination that leads to intergranular corrosion. In humid environments, preheat pipes to 200-300°F to drive off moisture and reduce hydrogen-induced cracking risks.
Fit-up ensures alignment: Use clamps or spiders to hold pipes in place, maintaining even gap and high-low (misalignment) under 1/16″. Tack welds—short, intermittent beads—secure the joint; place them at 12, 3, 6, and 9 o’clock positions, then grind flush if needed. Poor fit-up amplifies distortion and undercut defects.
Equipment setup includes a reliable power source (DC for most SMAW), electrode oven for low-hydrogen rods (to keep moisture below 0.2%), and proper grounding. Personal Protective Equipment (PPE) is mandatory: welding helmet with auto-darkening lens (shade 10-13), leather gloves, flame-resistant jacket, and respirators for fume extraction. In confined spaces, monitor for oxygen levels and use forced ventilation to mitigate hexavalent chromium exposure from stainless welding.
Safety integrates throughout: Follow OSHA guidelines, conduct risk assessments for hot work permits, and train on arc flash hazards. By investing time in preparation, you’ll achieve consistent penetration and fusion, solving the common issue of rework that plagues many mechanical engineering projects.
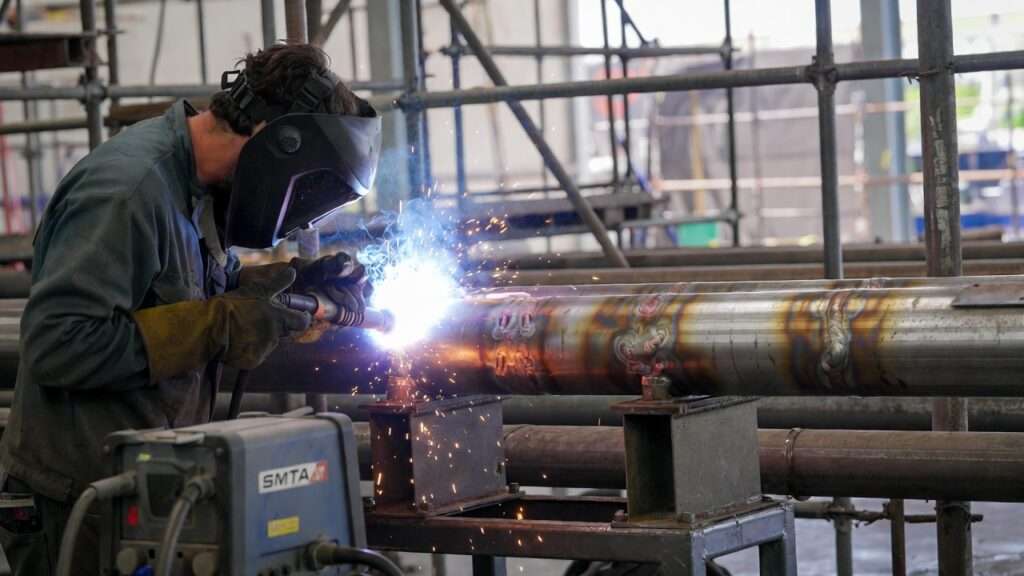
Core Pipe Welding Techniques: Step-by-Step SMAW Guide
SMAW, or stick welding, remains the cornerstone of pipe welding due to its robustness in outdoor and positional scenarios. As someone who’s certified dozens of welders in 6G positions, I’ll guide you through a detailed, step-by-step process focused on uphill welding for carbon steel pipes, the gold standard for strong, ductile joints.
Electrode Selection and Settings
Choose electrodes based on the pass:
- Root and Hot Pass: E6010 or E6011 (cellulose-coated) for deep penetration and fast-freeze characteristics. These handle dirty surfaces well but produce more spatter.
- Fill and Cap Passes: E7018 (low-hydrogen, iron powder) for high strength and crack resistance. Store in a 250°F oven to prevent moisture pickup.
Settings vary by pipe diameter and thickness. For a 6″ Schedule 40 pipe:
- E6010: 80-120 amps, DCEP (Direct Current Electrode Positive), 1/8″ diameter.
- E7018: 100-150 amps, DCEP, 5/32″ diameter.
- Travel speed: 4-8 inches per minute; arc length: 1/8″ (short for control).
Use a table for quick reference:
Adjust for voltage (18-24V) and manipulate the rod for bead shape.
Pipe Welding Positions Explained
Pipes are welded in standardized positions per ASME:
- 1G (Flat/Rolled): Pipe rotates; easiest for beginners, used in shop fabrication.
- 2G (Horizontal Fixed): Vertical weld axis; gravity pulls filler down.
- 5G (Vertical Fixed): Horizontal axis; overhead and vertical sections challenge control.
- 6G (Inclined Fixed at 45°): Combines all challenges; required for certification, simulating field conditions.
Master 6G to handle any scenario in mechanical engineering fieldwork.
Multi-Pass Welding Process (Focus on Uphill SMAW)
- Root Pass: Strike the arc at the bottom (6 o’clock) for 5G/6G. Use a drag or whip technique with E6010—maintain a keyhole (molten pool opening) for full penetration. Travel uphill, pausing to fill. Aim for 1/16-1/8″ reinforcement inside the pipe.
- Hot Pass: Immediately after root, clean slag with a chipping hammer and wire brush. Use E6010 at higher amps to burn out wagon tracks (root imperfections) and tie in sides.
- Fill Passes: Switch to E7018. Build layers with stringer beads (straight) or weaves (side-to-side, 2-3x rod diameter). Overlap 50% for fusion; control interpass temp below 500°F to avoid grain coarsening.
- Cap Pass: Final layer for appearance and strength. Use a slight weave for convex bead (1/8″ max reinforcement per code). Wash edges to prevent undercut.
For advanced techniques:
- Vertical-Up vs. Down: Uphill for better control in pipelines; downhill for speed on thin walls.
- Hybrid Approaches: GTAW root for critical stainless pipes, followed by SMAW fill.
- Large-Diameter Handling: Section weld into quadrants; stagger start/stops to distribute heat.
In practice, for a 10″ gas line, this process ensures X-ray quality welds, addressing needs for non-destructive testing (NDT) in high-integrity systems.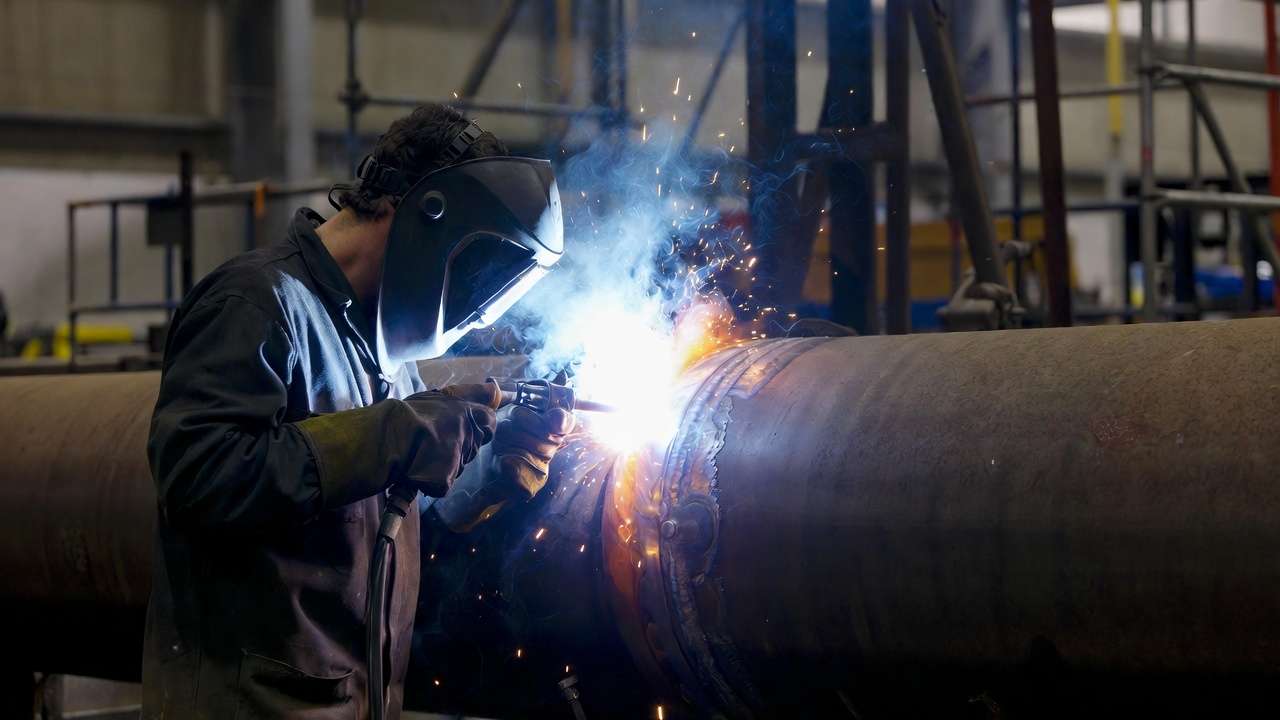
Best Practices for Code-Compliant and High-Quality Welds
To achieve code-compliant welds, always work from an approved WPS, qualified via PQR testing. This includes essential variables like base metal group, filler classification, and preheat requirements.
Optimize the CLAMS factors:
- Current: Balance penetration and spatter.
- Length of Arc: Short for stability.
- Angle: 10-15° drag for root, 90° for fill.
- Manipulation: Whip for root, weave for cap.
- Speed: Consistent to avoid porosity.
Maintain interpass cleaning—remove all slag—and grind for smooth tie-ins. For distortion control, use backstep sequencing or clamps. Post-weld, perform visual inspection: No cracks, undercut <1/32″, porosity <1/8″ aggregate.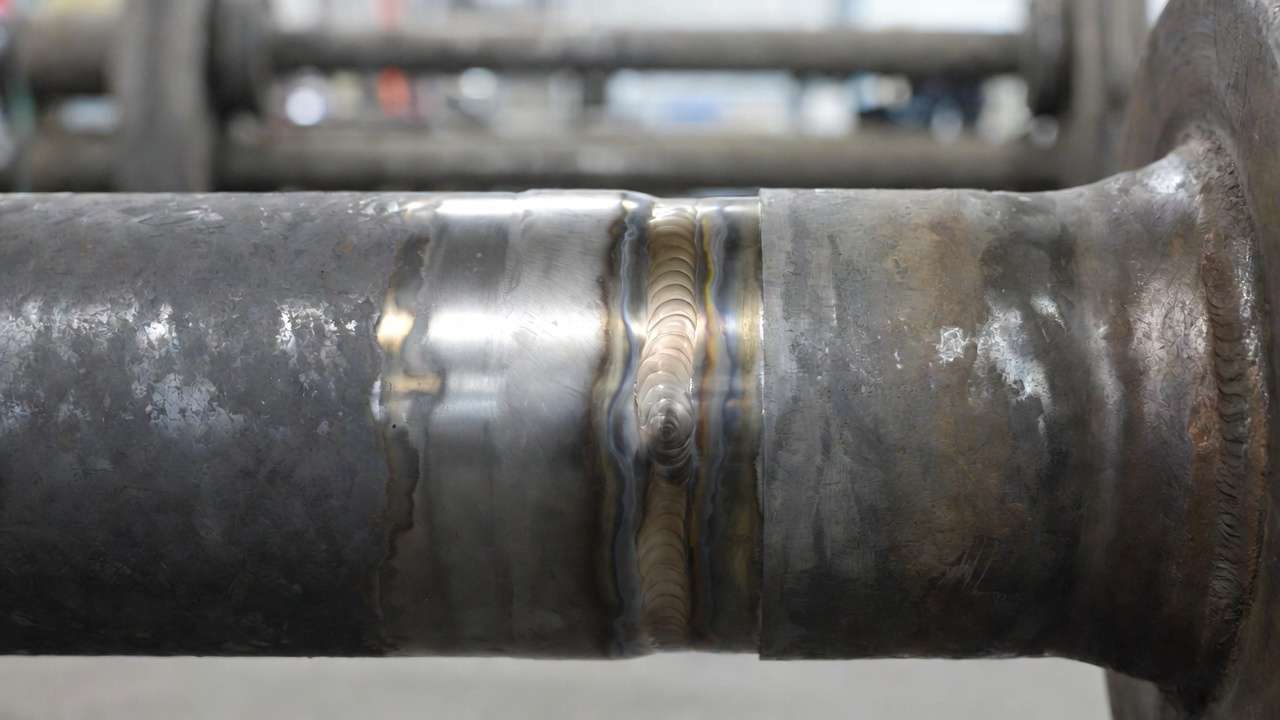
In mechanical engineering, these practices ensure welds endure cyclic loading and environmental stresses, as I’ve applied in refinery turnaround projects.
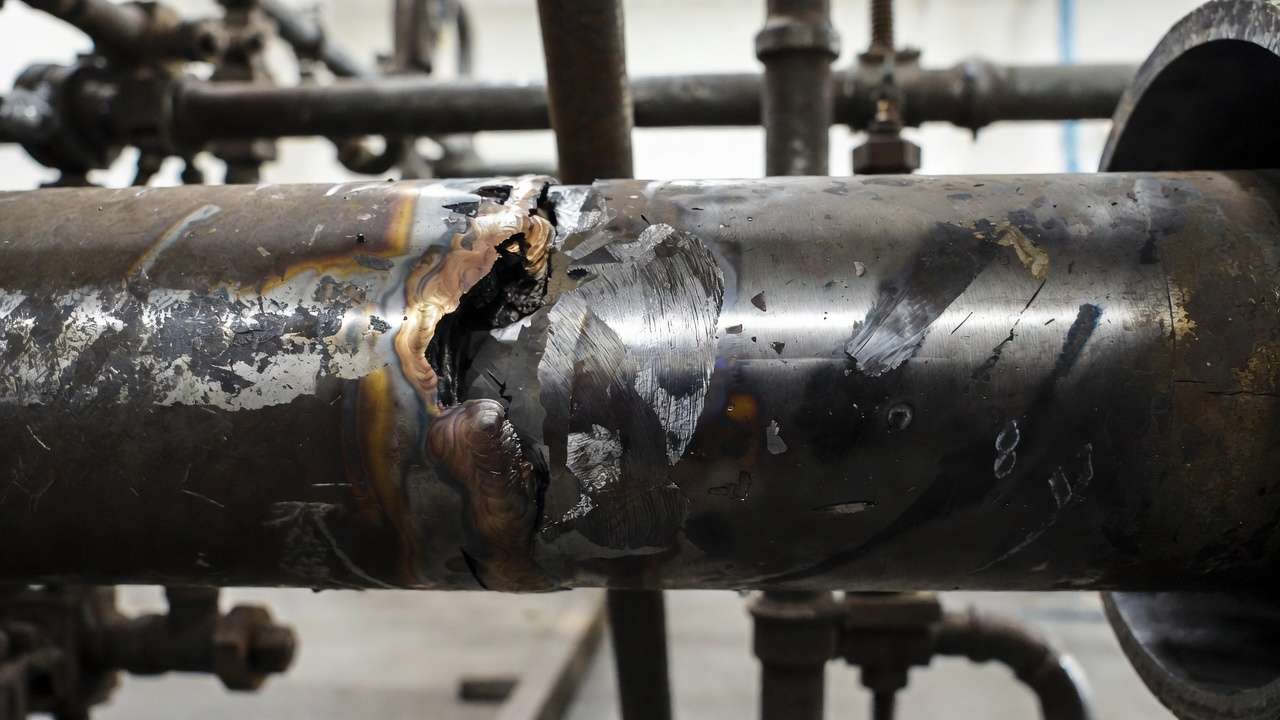
Common Pipe Welding Defects: Causes, Identification, and Prevention
Defects compromise joint integrity, leading to leaks or failures. Here’s a detailed analysis based on my experience with NDT evaluations.
- Porosity: Gas pockets from moisture or contaminants. ID: Wormholes on surface/X-ray. Cause: Damp electrodes. Prevention: Proper storage, clean joints.
- Lack of Fusion: Incomplete bonding. ID: Sidewall lines. Cause: Low heat/low angle. Prevention: Increase amps, proper technique.
- Incomplete Penetration: Weak root. ID: Gap in RT film. Cause: Tight gap/small land. Prevention: Adjust bevel/gap.
- Undercut: Groove at toe. ID: Sharp edges. Cause: High travel speed. Prevention: Pause at edges.
- Cracks: From stress/hydrogen. ID: Linear indications. Cause: No preheat. Prevention: Low-H electrodes, PWHT.
- Slag Inclusions: Trapped flux. ID: Elongated voids. Cause: Poor cleaning. Prevention: Chip thoroughly.
Use this troubleshooting table:
Real example: In a steam line project, porosity from oily pipes caused rework—solved by solvent cleaning.
Pro Tips and Expert Insights for Pipe Welders
From years in the field:
- Weld the “hard side” first in fixed positions to manage gravity.
- For certification, practice 6G on 6″ pipe with mirrors for visibility.
- Electrode storage: Always use rod ovens; a wet E7018 can crack welds.
- Productivity: Use auto-feed for GMAW hybrids in shops.
- Expert insight: “Grind to bright metal between passes—it’s the key to fusion,” from a veteran pipeline welder I mentored.
These tips save time and reduce errors in mechanical applications.
Tools, Equipment, and Safety Recommendations
Essential tools: Inverter welders (Lincoln Excalibur for portability), angle grinders, chipping hammers, and fillet gauges.
Safety: Helmets with PAPR systems for fumes, leather gear, and gas monitors. Prioritize training per ANSI Z49.1.
Conclusion
Mastering pipe welding essentials—from prep to cap—empowers you to create durable, code-compliant joints that stand the test of time in mechanical engineering. Apply these techniques, and you’ll minimize defects, pass inspections, and advance your career. Practice consistently, seek certification, and stay abreast of code updates. Share your welding stories in the comments—what’s your biggest challenge?
FAQs (Frequently Asked Questions)
What is the best electrode for pipe root pass?
E6010 for its penetration in SMAW; GTAW with ER70S-2 for precision.
How do I avoid porosity in SMAW pipe welding?
Dry electrodes, clean materials, and maintain short arc.
What’s the difference between 5G and 6G positions?
5G is vertical fixed (horizontal axis); 6G is inclined at 45°, testing all skills.
Can I use TIG for pipe welding in mechanical engineering?
Yes, for root on critical alloys, combined with SMAW.
How to prepare for ASME pipe welding certification?
Practice 6G, study Section IX, and qualify under a certified inspector.
Why do my welds fail X-ray inspection?
Commonly due to porosity or lack of penetration—focus on prep and technique.