
A fresh coat of paint can dramatically change a space, which makes the space look brighter and give a modern look that reflects your unique style. You can make a major change in your room without doing any major renovations by applying only paint. If you’re aiming for a peaceful, relaxing room, soft and muted colours can help create a calm atmosphere. For a lively, energetic vibe, vibrant colours can give the space a dynamic feel. Painting is an easy and budget-friendly way to bring your vision to life. In this blog we will guide you through how to paint a room like a pro step by step, let’s explore how to paint like a pro!
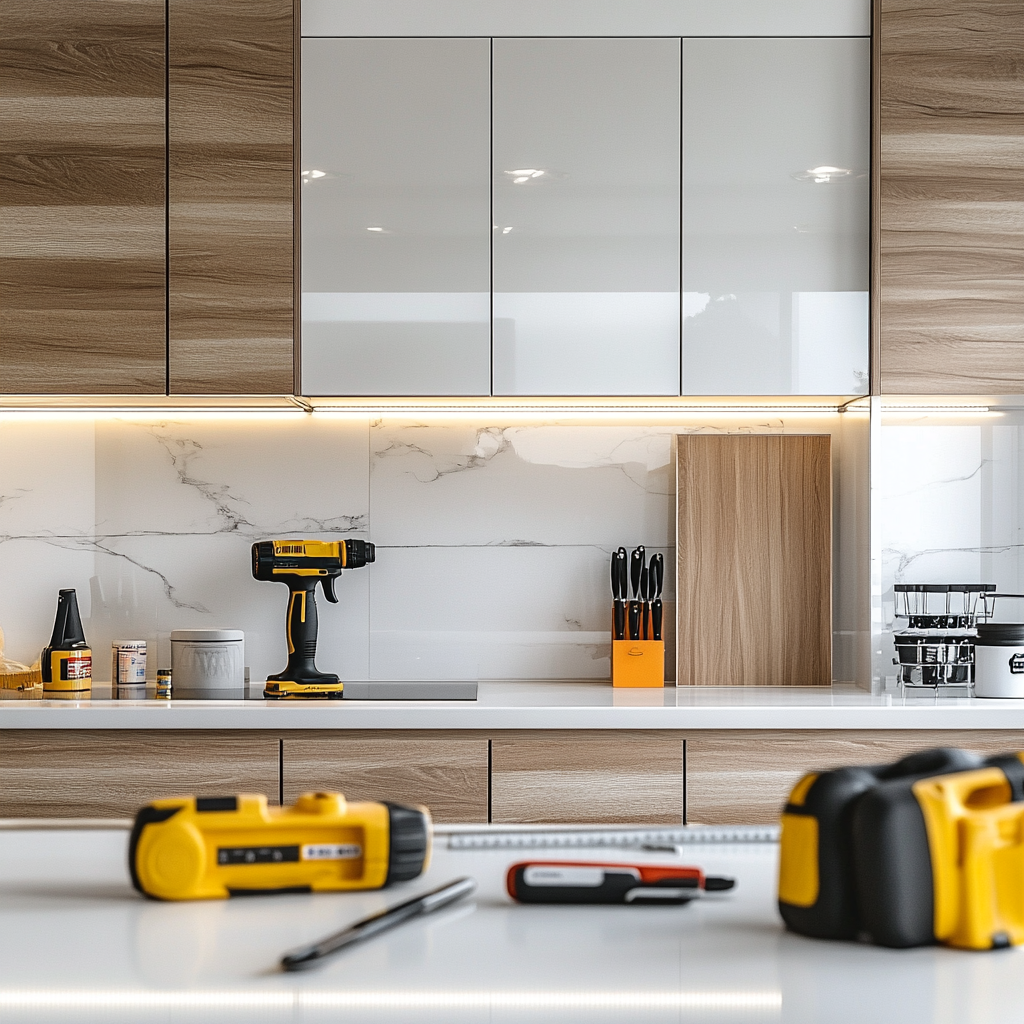
Essential Tools and Materials for a Professional Paint Job
If you want to achieve a professional looking paint in your room wall, then you have to choose high quality paint and a primer that is suited to your wall surfaces. Don’t worry we are here to help you to choose the perfect paint and suitable primer for you. Wondering why it’s worth investing in a quality primer? A good primer helps the paint stick better and creates a smooth, even base—especially helpful when covering dark colours or glossy surfaces.
Also you need below listed tools to make your work smooth.
- High-quality brushes – For detailed work.
- Rollers – For larger areas.
- Painter’s tape – To create clean edges.
- Drop cloths – To protect floors.
- Paint tray – For holding paint.
- Roller extension pole.
- Angled brush – For precision around trim and edges.
- Quality roller sleeve – For even paint distribution.
- Paint grid – Helps control paint application and prevents drips.

Prepare your Room
Did you observe that a professional painter begins their job by preparing their working space. Same method you have to follow to obtain the perfect output, for that start by moving furniture out of the room, or if that’s not possible, move it to the centre and cover it with plastic sheeting to protect it from paint splatters. Wipe down the walls with a microfiber cloth and clean the surfaces using a mild solution such as water and dish soap, to get rid of grease or dirt that could interfere with the paint’s adhesion. Next, check the walls for any flaws and fix them. Fill nail holes and small cracks with spackling paste, then use a putty knife to smooth it out. Once it dries, lightly sand the patched areas to make them blend with the rest of the wall, which will help you to apply paint evenly . For bigger dents or peeling paint, use fine-grit sandpaper to make the surface smooth and even or else be careful while you are applying the paste. Now your wall surface is ready to paint, and this small preparation will make your job look more professional.

Selecting and Testing Paint Colors
Choosing the right paint colour can dramatically change the mood and atmosphere of a room. To obtain perfect output from your job consider factors like lighting, room size, and the desired mood. Natural light can affect how colours appear. Light colours make small rooms feel bigger and brighter. Dark colours can make big rooms feel cosy and dramatic. Neutral colours are always a good choice, and bright colours can add personality.
Choosing the right paint finish can boost both the look and longevity of your walls. For that reason we will prefer you to use matte in bedrooms which is good for it, satin is good for living rooms, and semi-gloss is best for kitchens and bathrooms.

Priming the Walls for a Perfect Finish
Priming your walls is a crucial step in the painting process. It helps cover dark or bright colours, improve paint adhesion, and provide a smooth, even surface. This is particularly important for porous surfaces like drywall or walls with stains.
Primers come in two main types: oil-based and latex. Oil-based primers are great for covering stains and sealing in odours, so they’re ideal for older walls or areas exposed to moisture. Latex primers dry faster, are easier to clean up, and are generally suitable for most indoor walls. To apply primer like a pro follow these tricks, use a large roller for your project, open areas for easy access, maintain even pressure to avoid streaks. For edges, corners, and detailed areas, use a brush. Let the primer dry completely before applying the final coat of paint. This will ensure a smooth, even finish.

Professional Painting Techniques for an Even Application
To achieve a professional-looking paint finish, you need to use specific techniques to ensure even coverage, clean edges, and a long-lasting result. Here’s how to perfect key painting techniques to take your painting skills to the next level.

Cutting In Around Edges
“Cutting in” means painting along edges like the ceiling, trim, or corners where rollers can’t reach. This technique is essential for achieving clean, crisp lines and preventing overlap errors. With an angled brush, dip just a third of the bristles into the paint to prevent overloading. Gently press the brush against the edge you’re painting and keep a steady hand for precise lines.
Use the “W” Technique with a Roller
The “W” or “M” technique is ideal for spreading paint evenly across large areas and avoiding roller marks. Load your roller with paint, but roll off any excess on the tray to prevent drips. Starting in one corner, paint a big “W” or “M” shape on the wall, then fill in the spaces within the letter using both vertical and horizontal strokes.

Apply Multiple Coats
Two coats are usually needed for a smooth, even finish, especially with darker colours or to fully cover imperfections. Let the first coat dry thoroughly—usually a few hours, but always check the paint can for exact times. Applying the second coat too soon can smear the first, causing an uneven finish. Before adding the second coat, inspect the wall to make sure the first layer is completely dry and even; any thin or streaky spots will be covered up with the next coat for full opacity.

Frequently Asked Questions
How long does it take for paint to dry between coats?
The drying time for paint depends on the type of paint and the room conditions. Water-based paints typically take 2-4 hours to dry, while oil-based paints can take up to 24 hours. Always refer to the manufacturer’s instructions for accurate drying times.
Can I paint over dark colours without a primer?
While it’s possible to paint over a dark colour without a primer, it’s generally recommended to use a primer. Primer helps to cover the dark colour more effectively, creating a neutral base for the new paint and potentially reducing the number of coats needed.
What’s the best way to prevent brush strokes?
Use a high-quality brush, apply paint in thin layers, and avoid brushing over areas that have begun to dry.