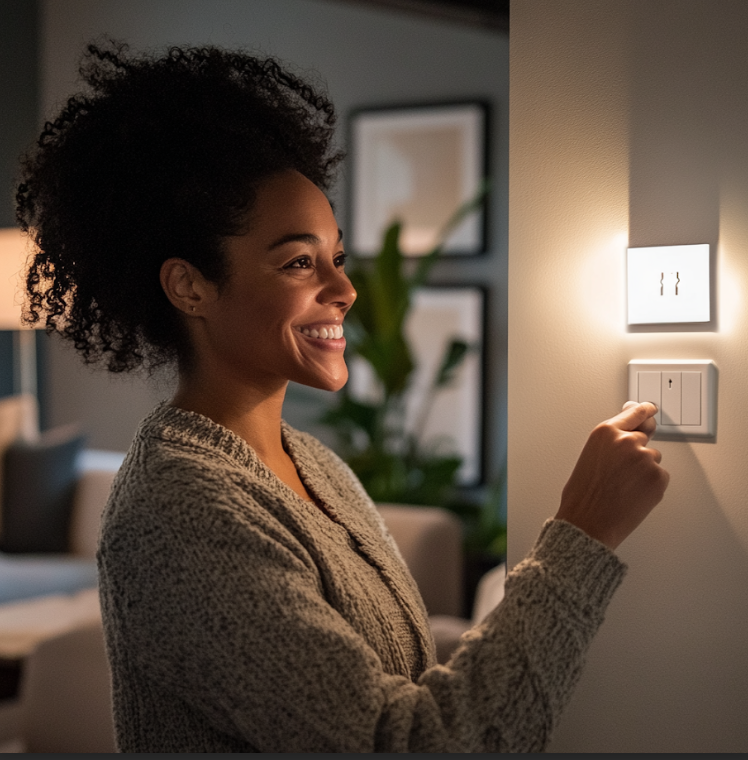
Imagine the satisfaction of flipping on a new light switch, which is installed by yourself without taking any help from an electrician. So many people think that replacing a light switch will be very terrifying but do you know it’s a rewarding DIY task that can be done by yourself and also save money on electrician fees. With some basic tools and know-how, you can upgrade it in a few minutes. In this blog we will guide you through the step by step process on how to replace a light switch with some basic tools safely.
Important Safety Precautions Before Starting
While you are working with electricity, you have to take some safety precautions to ensure your project works goes smoothly and safely. The same applies when you are upgrading your light switch. For your safety purpose first turn off the power at the circuit breaker, do not assume the switch is off just because the lights are out. Once the power is off, to confirm there is no electricity on wires use a voltage tester on the wires. This step is very much important to avoid any kind of shocking accidents. For additional protection, before starting your project wear rubber soled shoes and eye protections to protect your eyes, also use insulated tools for further protection.
To make the process as smooth as possible, clear your working space, also carry a charged flashlight for future purpose, and keep children and pets out of the area while you are working.
Tools and Materials Needed
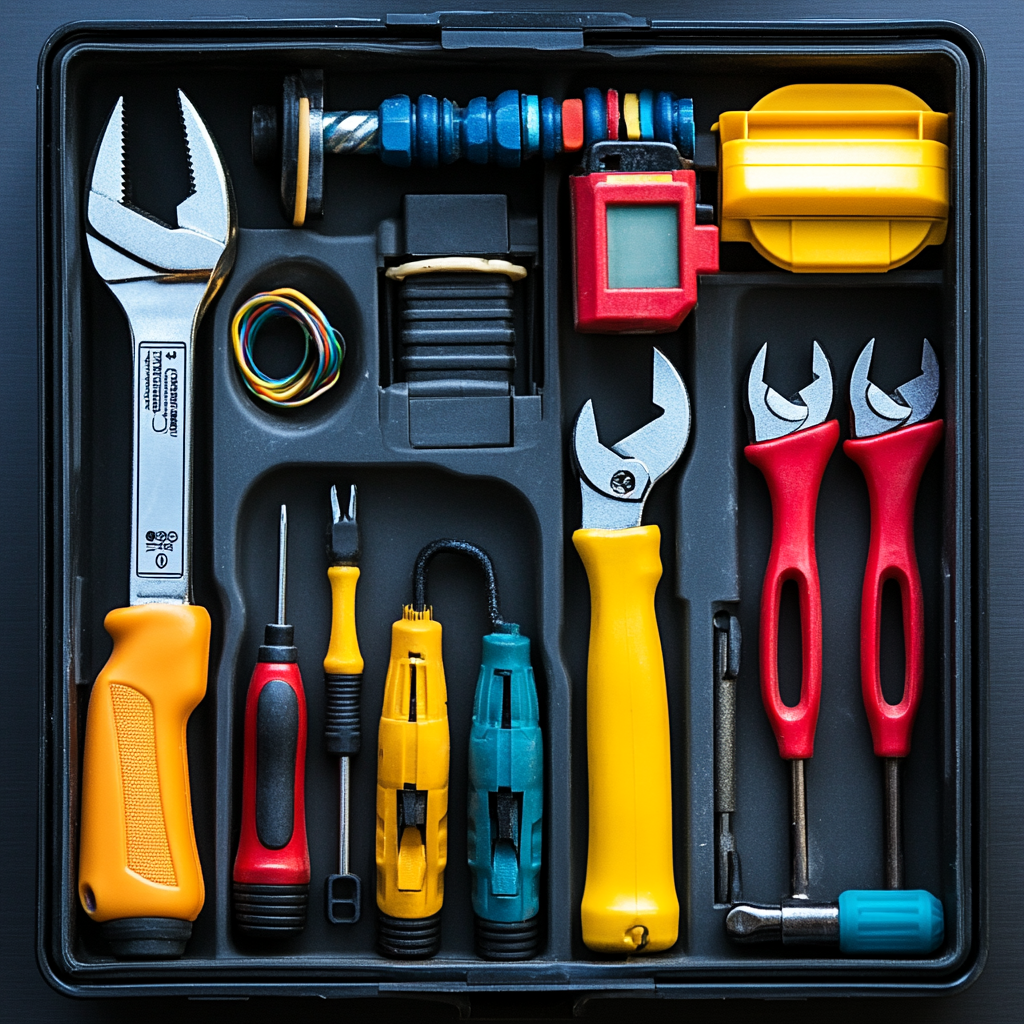
Replacing a light switch requires only a few basic tools which can be found at hardware stores or in online retailers. Many stores offer combo tool kits that include most of the essentials if you are starting your toolkit. For your project you will need a flathead and phillips screwdriver, a wire stripper, needle nose, and a voltage tester. And don’t forget to buy your replacement switch, based on your setup you can choose a single-pole, three-way, or dimmer switch. Additionally, keep electrical tape on hand to insulate connections and wire connectors if you need to join wires securely.
Identifying the Type of Light Switch You Have
If you are replacing your light switch for the first time then it might be harder to identify its type. Don’t worry we are here to help you, the most common types include:
Single-Pole Switch:
- By this type of switch you can control your light from one location, and having two terminals plus a ground.
Three-Way Switch:
- By this type of switch you can control your light from two different locations ( like at the top and bottom of stairs), and having tree terminals plus a ground.
Dimmer Switch:
- By this type of switch you can control brightness levels of your light, and it comes with a single-pole or three- way version. These switches typically work with specific types of dimmable bulbs.
To determine the correct switch model, I prefer you to follow the above three categories along with observing your old switch characteristics. Also you can do one more thing: bringing the old switch to a hardware store or reviewing product labels online can also help ensure compatibility.

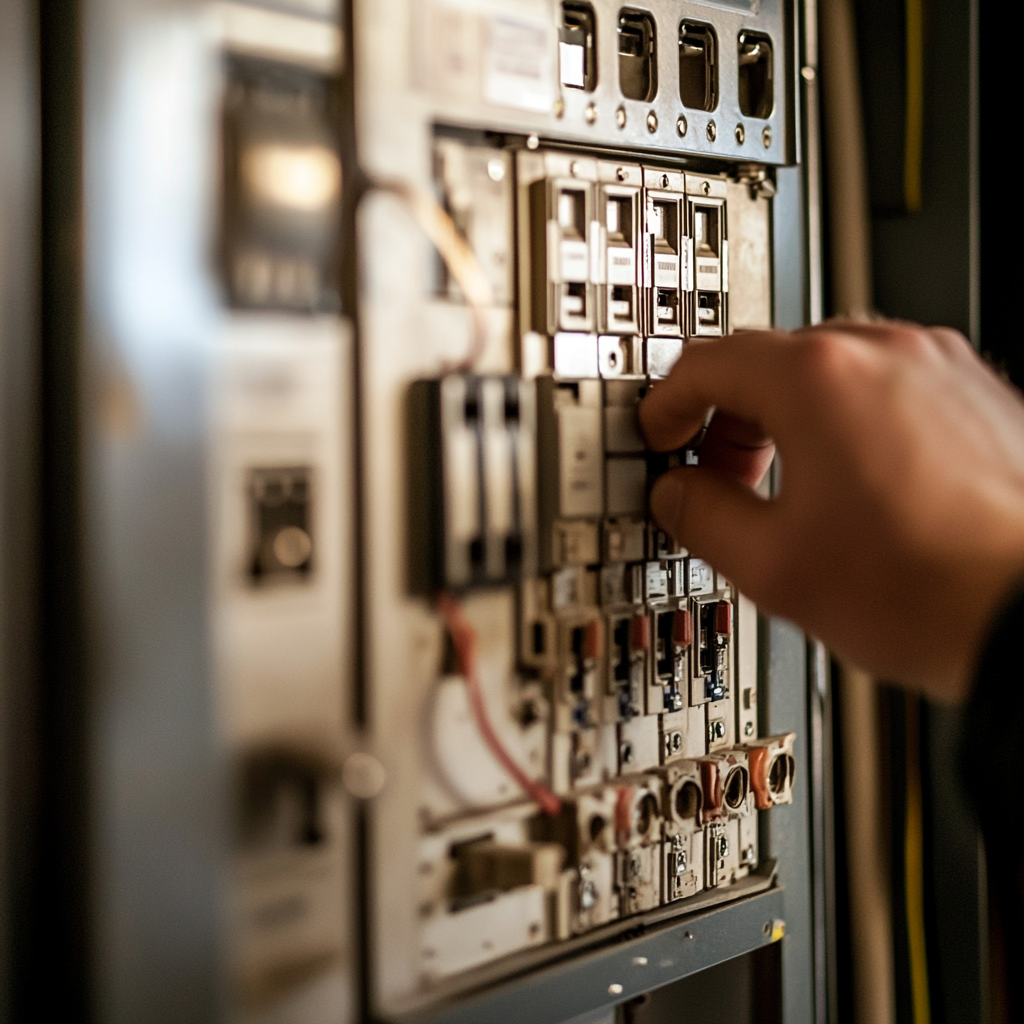
Step 1: Turn Off the Power at the Circuit Breaker
As we discussed before in safety precaution steps, while you are working with electricity please follow some safety precautions. That’s why your project’s first steps start by turning off the main circuit breakers. Once you believe the power is off then return to the light switch and double check using a voltage tester. Always prioritize verifying the power is truly off—never skip this step!
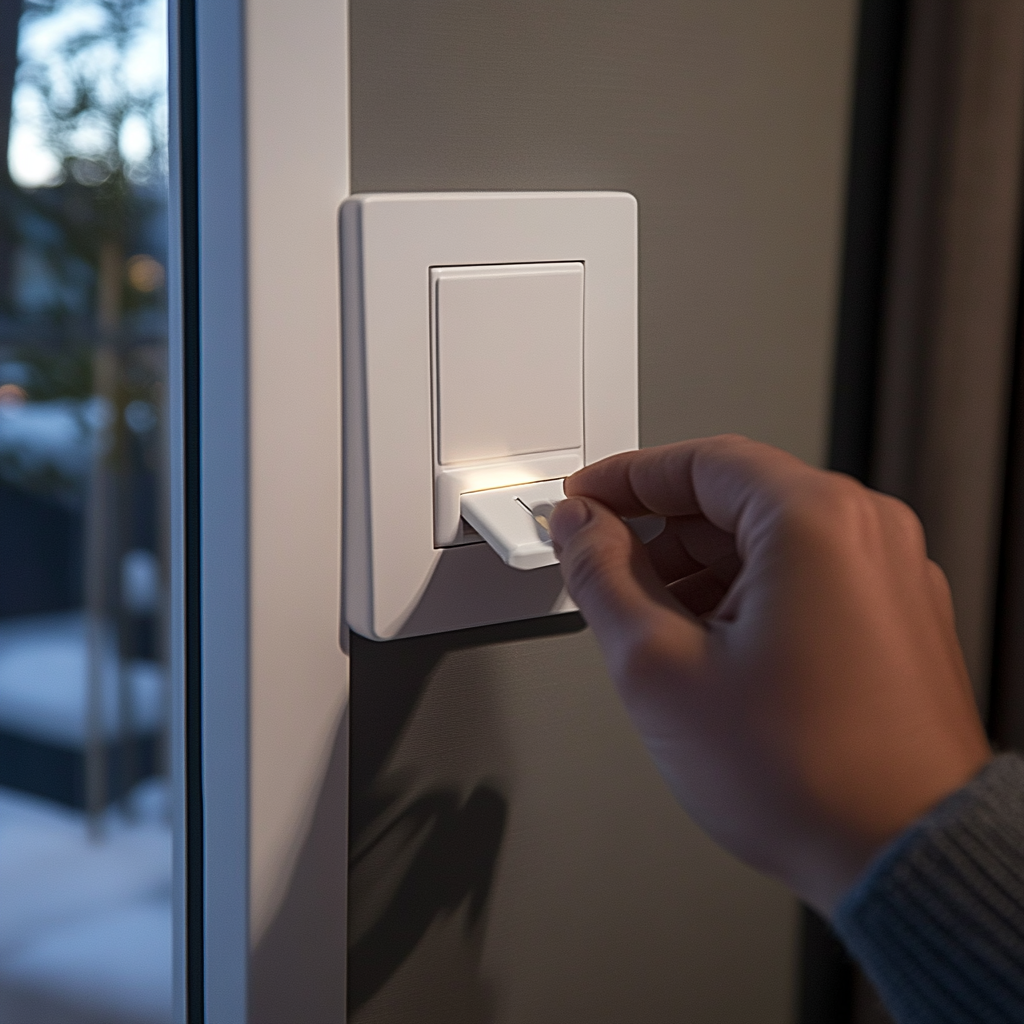
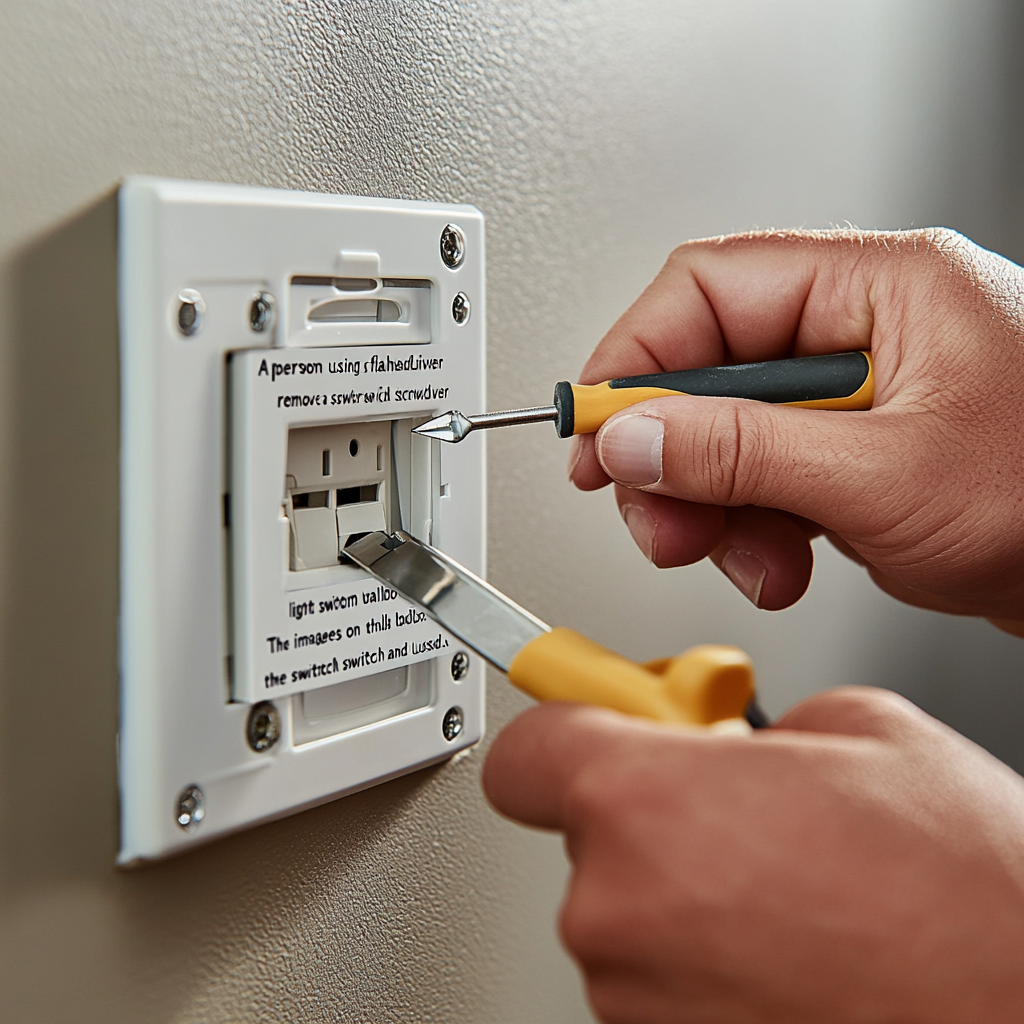
Step 2: Remove the Switch Plate Cover and Existing Switch
After confirming that there is no electricity on wires then start by unscrewing the switch plate cover by the help of a flathead screwdriver. Once you remove the switch plate cover next use a phillips screwdriver to remove the screws that secure the existing to the wall box.
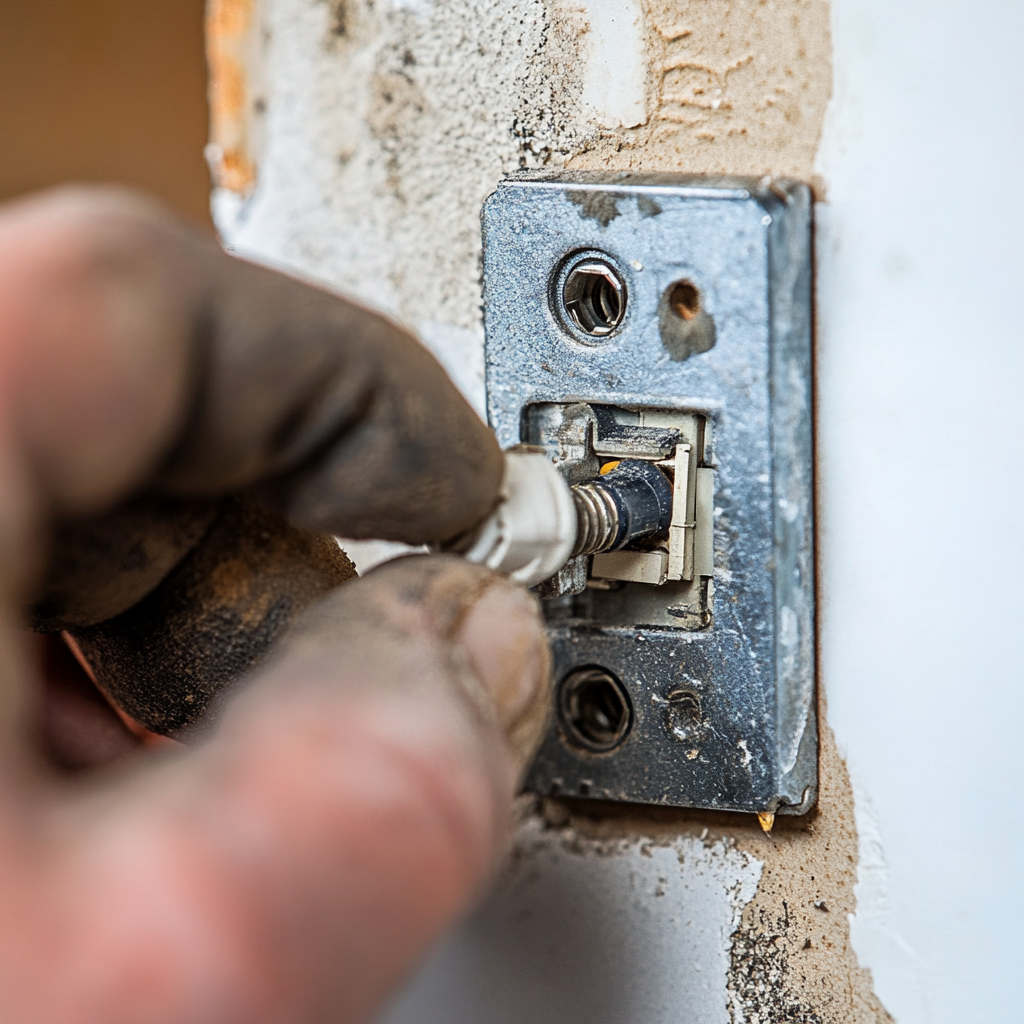
After completing above procedures next gently pull the existing switch from the wall, which will give you clear access to the connected wires. Be careful not to pull on the wires when removing the switch. As you remove the switch now take a photo or take note how the wires are connected to this existing switch. Because you have to connect the same way when you are replacing it with a new one. Also take care of the screws which you removed from the board.
Identify the Common Wires:
Hot wire (usually black or red):
- This wire carries electricity from the power source.
Neutral wire (typically white):
- Completes the electrical circuit by carrying current back.
Ground wire (often green or bare copper):
- Provides safety by grounding excess electricity.
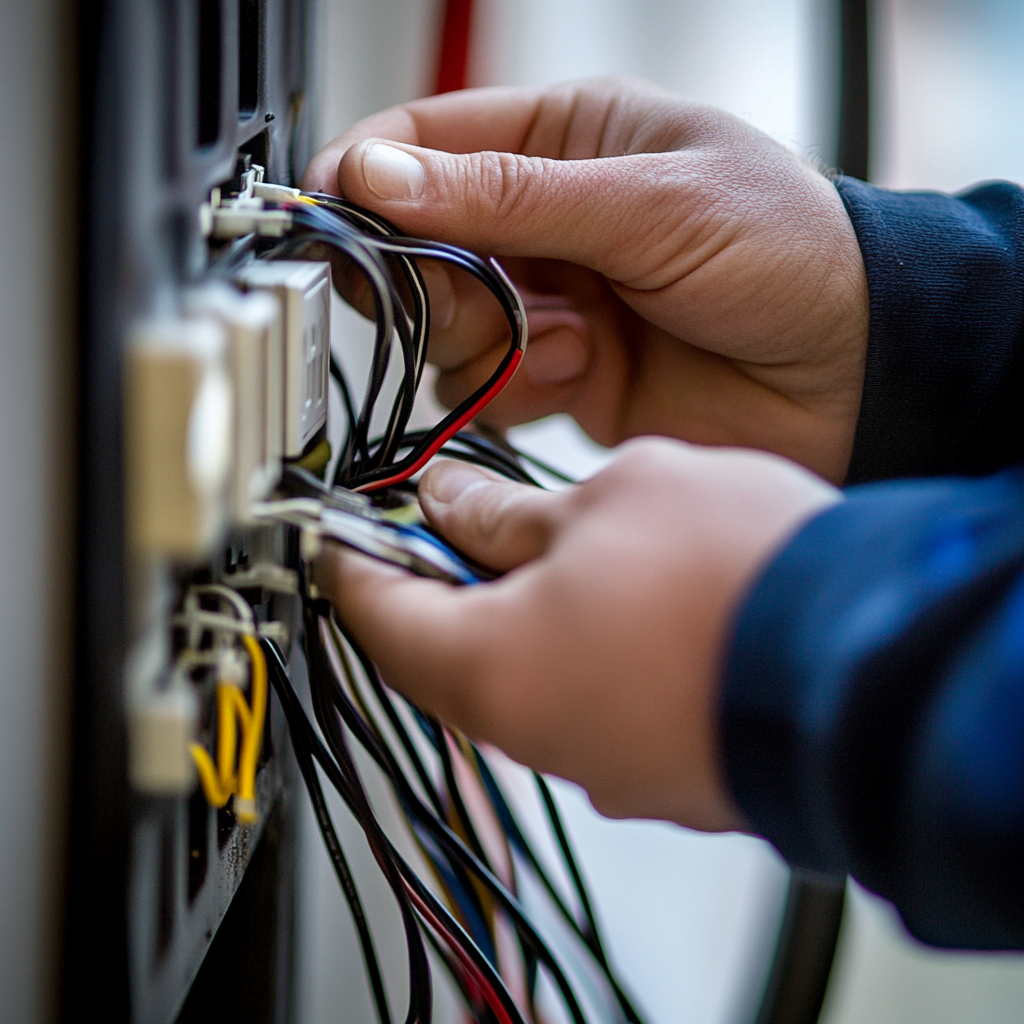
If you have multiple wires of the same colour, label them with masking tape or a marker before disconnecting them.
Step 3: Disconnect and Remove the Old Switch
As you completed above all, now loosen the screws holding each wire to the old switch. Use a screwdriver to carefully unscrew each wire connection point, which will allow you to gently pull the wires free. If you are facing any problem while you are removing the wire, then use needle nose pliers for additional control.
Step 4: Connect Wires to the New Switch
While you are connecting the new lightning switch make sure to follow the same wiring setup as the old one. That’s why we told you to keep some photos of your old connection or take a note. After connecting the wires now you have to secure them, for securing connection ensure each wire is tightly wrapped around the terminal. Screw in a clockwise direction before tightening the screw. If using wire connectors, Twist the wire connectors until they’re tight, then gently pull on each wire to make sure they’re secure. For extra safety, wrap each connection with electrical tape to insulate.
Step 5: Reattach the Switch and Test for Functionality
Once you completed above all steps successfully, now it’s turn to reattach the switch and switch plate cover. For this do the exact opposite what you did while you are removing the switch plate cover in step 2. After completing the reattach now it’s time to test the switch, turn the power back on from the circuit board. Go to the switch and test it by flipping it on and off to confirm proper operation. If it lights up correctly your work is complete. Congratulations! You’ve successfully replaced a light switch.