Is your bathroom or kitchen floor suddenly feeling uneven? Or maybe you’ve noticed that a tile in your hallway has started to lift up, making you trip over it?  Loose tiles are a common, yet frustrating problem that many homeowners face, and if left unchecked, they can lead to bigger issues like water damage or even injuries. But don’t worry — you don’t need to call in a professional just yet! In this article, we’ll walk you through effective Tips for repairing loose tiles and give you a simple, step-by-step guide to fix those problem areas at home. Whether you’re a complete beginner or someone with a little DIY experience, you’ll find practical and easy-to-follow advice here that will have your tiles looking as good as new in no time.
By the end of this guide, you’ll not only know how to fix loose tiles but also understand what causes them and how to prevent the issue from cropping up again in the future. So, keep reading and get ready to tackle this home improvement project with confidence!
Understanding the Causes of Loose Tiles
Before you dive into fixing your loose tiles, it’s important to understand what might have caused them in the first place. Identifying the root cause will help you choose the right solution and prevent it from happening again. Let’s take a look at the most common reasons why tiles become loose. 
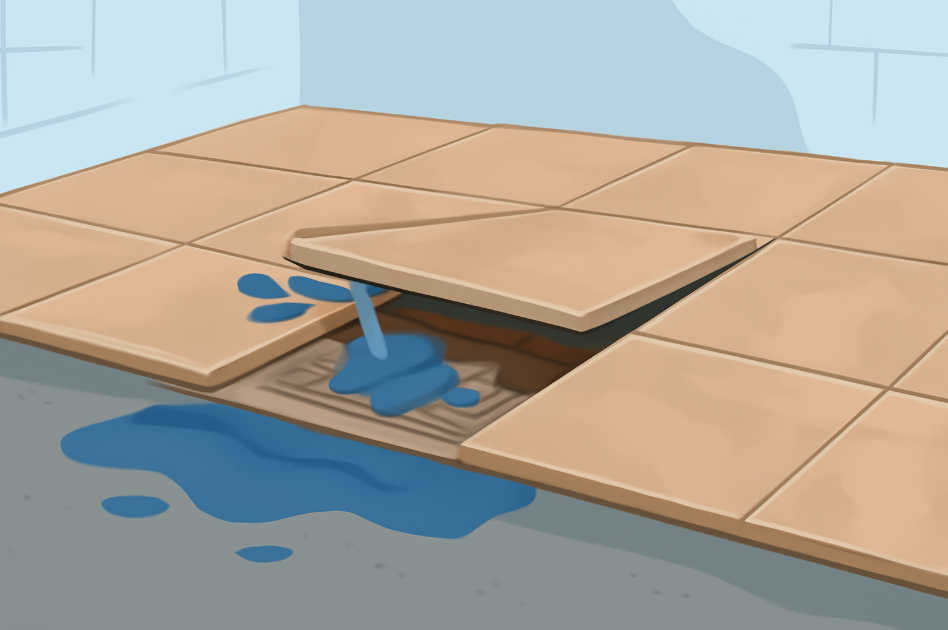
Water Damage 
Water is one of the biggest culprits behind loose tiles, especially in areas like bathrooms and kitchens. When water seeps underneath the tiles, it can break down the adhesive or grout holding them in place. This leads to the tiles loosening over time. Leaky pipes, excessive moisture, or even spills that aren’t cleaned up promptly can all contribute to water damage.
How to prevent it: Always check for any leaks and ensure your bathroom or kitchen is properly ventilated to reduce moisture buildup.
Improper Installation 
Sometimes, loose tiles happen simply because they weren’t installed correctly in the first place. Using the wrong adhesive or not applying enough adhesive can cause the tiles to lose their grip. Additionally, improper spacing between tiles can lead to weak spots where tiles are more likely to shift or loosen.
How to prevent it: If you’re doing a DIY tile installation, make sure to follow the manufacturer’s instructions for adhesive and grout. If you’re hiring a professional, ensure they’re experienced and use the right materials for the job.
Natural Wear and Tear 
Over time, the grout and adhesive that hold your tiles in place naturally break down due to regular use. Foot traffic, heavy furniture, and even everyday movement can cause wear and tear, making the adhesive weaker. This is especially common in high-traffic areas like hallways, kitchens, and entryways.
How to prevent it: Regularly inspect your floors for any cracks or shifts in the tiles, and address minor issues before they turn into bigger problems.
Temperature Changes 
Extreme temperature fluctuations can also cause tiles to expand and contract. This movement can lead to the grout or adhesive weakening, making tiles loosen. This is often a problem in homes with high humidity or homes exposed to significant temperature changes.
How to prevent it: Use temperature controls in your home and ensure your tiles are suitable for the specific climate of your area. Consider using expansion joints for larger areas.
Subfloor Problems 
If the subfloor beneath the tile isn’t solid or has deteriorated, the tile can shift and become loose. This is a more serious problem, often caused by water damage or the subfloor being improperly installed.
How to prevent it: If you’re dealing with large areas of loose tiles or suspect subfloor damage, it’s best to consult a professional. Fixing the subfloor may require replacing or reinforcing it.
Tools and Materials You’ll Need
Before you get started with repairing your loose tiles, it’s important to gather the right tools and materials. Having everything ready will make the process go smoothly, and you’ll avoid interruptions halfway through. Here’s a list of the essentials you’ll need to get the job done like a pro.
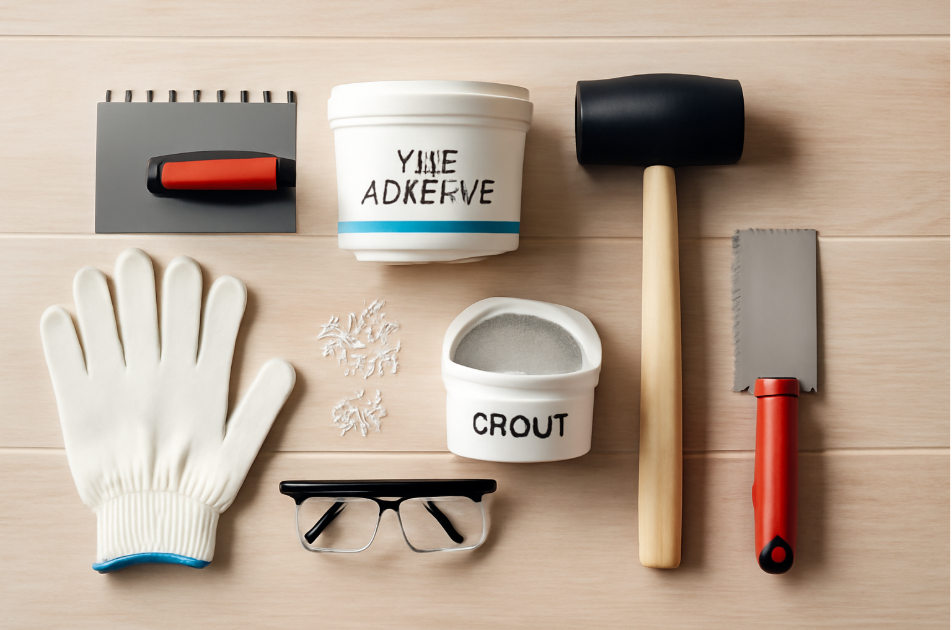
Tile Adhesive or Mortar
To secure the loose tile back in place, you’ll need strong adhesive. Tile adhesive (or thin-set mortar) is perfect for bonding the tile to the surface. Be sure to choose an adhesive that’s suitable for the type of tile and area you’re working on (e.g., waterproof adhesive for bathrooms).
Grout
Once the tile is fixed in place, you’ll need grout to fill in the spaces between the tiles. It seals the edges and provides a smooth, finished look. Choose a grout color that matches your existing grout for a seamless finish. Don’t forget to get the right type—sanded grout for wider gaps and unsanded grout for narrow ones.
Notched Trowel
A notched trowel is an essential tool for spreading the adhesive evenly on the surface. The notches create grooves in the adhesive, helping it bond securely with the tile. This ensures the tile stays in place once you set it down.
Rubber Mallet
A rubber mallet will help you gently tap the tile into place without damaging it. This is important because tapping too hard with a regular hammer can crack or break the tile.
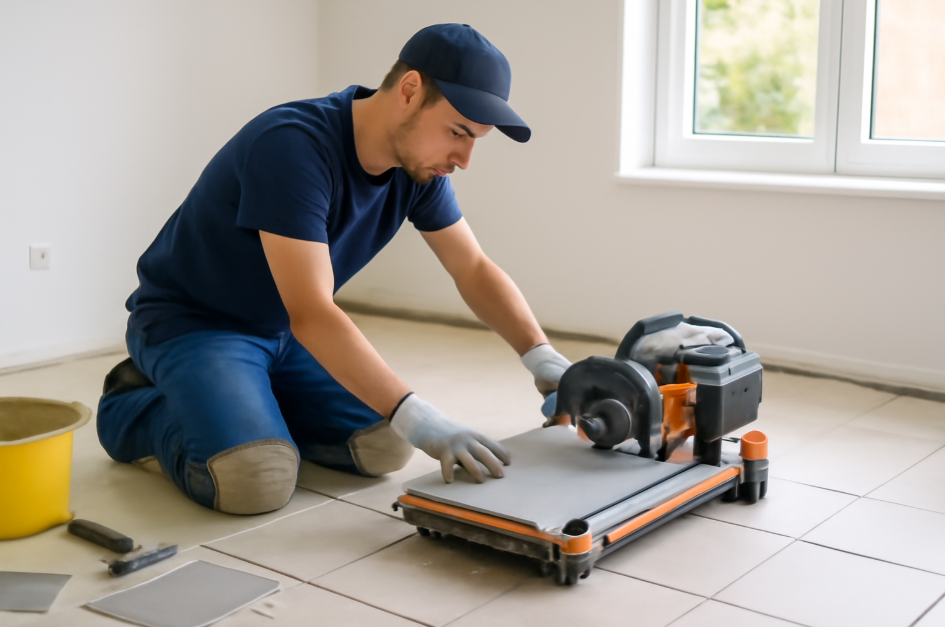
Tile Cutter
If you need to cut a tile to fit, a tile cutter will be your best friend. You can also use a wet saw for larger, thicker tiles. Tile cutters are relatively easy to use and can help you make precise cuts for edges or corners.
Tile Spacer
Tile spacers are small, plastic pieces that help you maintain even gaps between tiles. They ensure that your grout lines are consistent and the overall pattern looks neat and uniform. This is especially important for DIYers who may not be as experienced with spacing.
Utility Knife
A utility knife is useful for cutting grout lines or trimming any excess adhesive around the tile edges. It’s also great for removing old grout if needed.
Cleaner or Degreaser
Before you begin, you’ll need to clean the surface to remove dirt, dust, and old adhesive. A cleaner or degreaser will ensure the surface is smooth and ready for the new adhesive to bond.
Safety Gear (Gloves, Safety Glasses)
Safety is always a priority! Wear gloves to protect your hands from sharp edges and safety glasses to shield your eyes from debris. These simple items will keep you safe while working.
Step-by-Step Guide to Repair Loose Tiles
Now that you’ve gathered all the necessary tools and materials, it’s time to get your hands dirty!  Repairing loose tiles isn’t as complicated as it might seem, and with this simple, step-by-step guide, you’ll have your tiles securely in place in no time. Let’s get started!
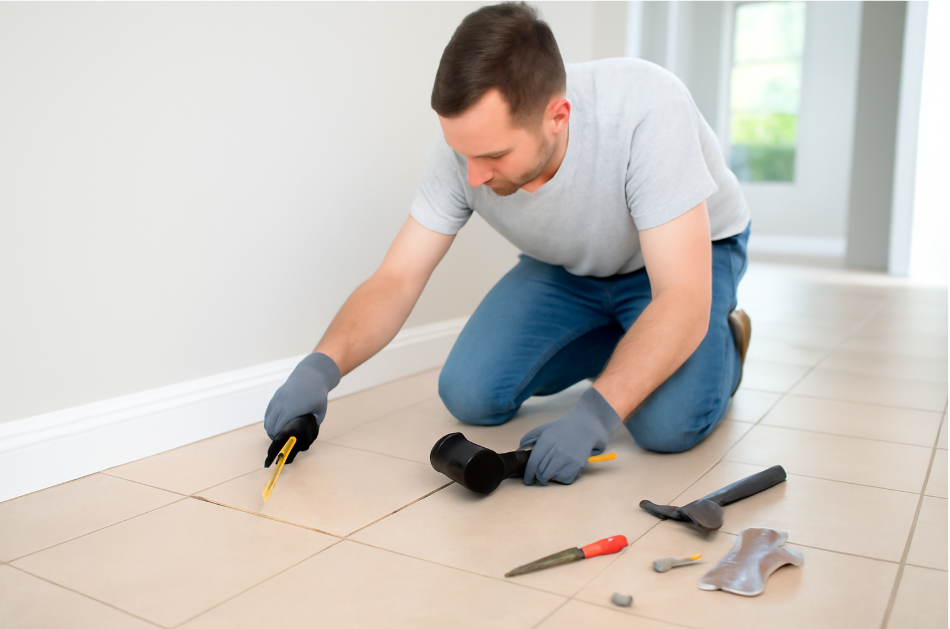
Step 1: Remove the Loose Tile
First things first, you’ll need to take out the loose tile carefully. Follow these steps:
- Cut the grout: Use a utility knife to score the grout around the loose tile. This helps to separate the tile from the surrounding ones without damaging them.
- Pry the tile up: Gently insert a flathead screwdriver or a pry bar under the tile. Work slowly and carefully to avoid cracking the tile or damaging the surface beneath it.
- Clean the surface: Once the tile is removed, scrape off any old adhesive or grout from the floor or wall. A putty knife or scraper works well for this. Clean the area thoroughly with a degreaser or cleaner to ensure the new adhesive bonds properly.
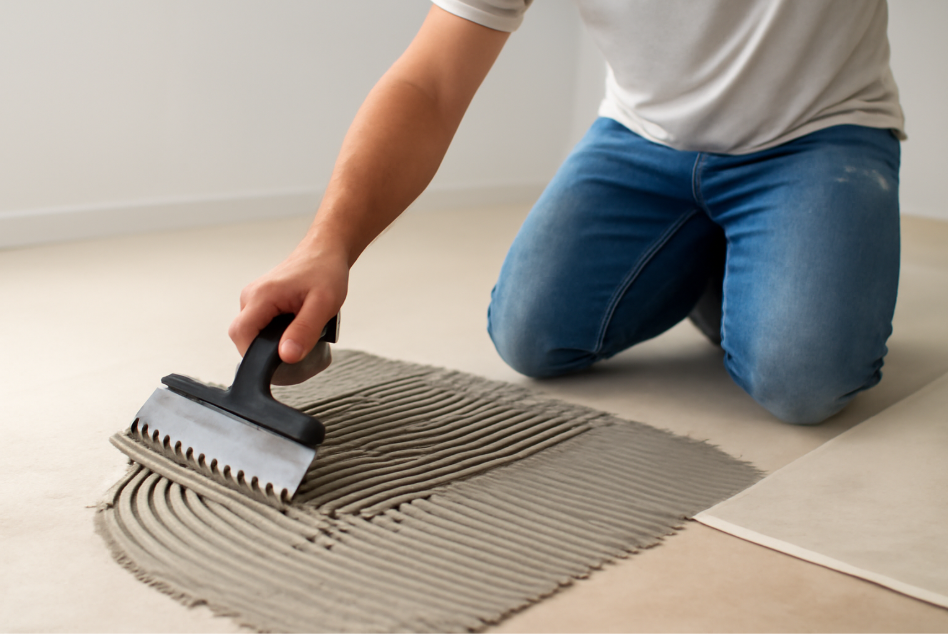
Step 2: Apply New Adhesive
Now that the surface is prepped, it’s time to apply the fresh adhesive. Follow these steps:
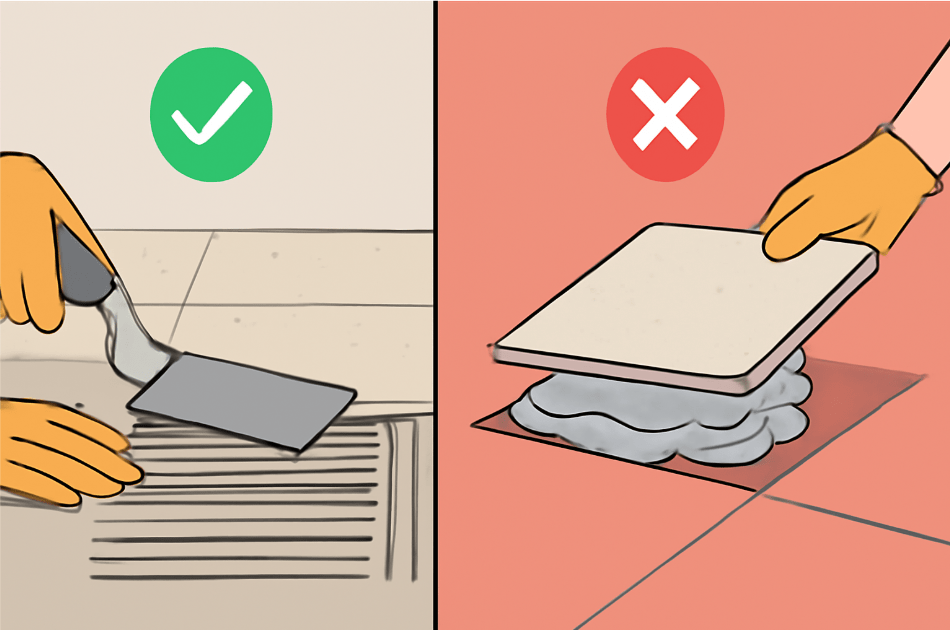
- Spread the adhesive: Using a notched trowel, spread the tile adhesive (or thin-set mortar) evenly over the surface. Hold the trowel at a 45-degree angle to create ridges in the adhesive, which help the tile bond securely.
- Don’t overapply: Be sure not to apply too much adhesive. The layer should be thick enough to bond the tile but not so thick that it pushes out the sides.
Step 3: Place the Tile
This is where the magic happens! Here’s how to set your tile back in place:
- Press the tile down: Carefully place the tile onto the adhesive and press it down firmly. Use a rubber mallet to tap the tile gently into place. This ensures the tile is level and securely attached.
- Use spacers: If the tiles around it need a uniform gap, place tile spacers between them. This will help you maintain an even grout line for a professional finish.
Step 4: Re-grout Around the Tile
Once your tile is in place and the adhesive has dried (usually after 24 hours), it’s time to add new grout. Here’s how to do it:
- Mix the grout: Follow the instructions on the grout package to prepare it. It should have a paste-like consistency.
- Apply the grout: Using a rubber float, apply the grout over the tile and into the gaps around it. Hold the float at a 45-degree angle to press the grout in evenly.
- Clean the grout: After applying, use a damp sponge to wipe off any excess grout from the tile surface. Be careful not to remove grout from the gaps. Let the grout set for a few minutes, then wipe again with a clean sponge to smooth it out.
Step 5: Seal the Grout
Once the grout has fully dried (usually 24-48 hours), it’s time to seal it to protect it from moisture and stains:
- Apply grout sealer: Use a grout sealer to coat the grout lines. This helps prevent water from seeping in and causing damage or discoloration.
- Let it dry: Allow the sealer to dry completely before using the area again.
Common Mistakes to Avoid
When repairing loose tiles, even small mistakes can lead to bigger problems down the line. To ensure your repair is long-lasting and looks great, here are some common errors to watch out for — and how to avoid them. 
Using the Wrong Adhesive
Not all adhesives are created equal, and using the wrong one can lead to tiles coming loose again in no time. For example, using wall adhesive for floor tiles or a fast-drying adhesive that doesn’t allow enough time to adjust the tile can be problematic.
Solution: Always choose the right adhesive for the specific type of tile and the surface you’re working on. For high-moisture areas like bathrooms, make sure to pick a waterproof adhesive. 
Skipping Surface Preparation
A clean, smooth surface is essential for a strong bond between the tile and the adhesive. If you skip cleaning the area or fail to remove old adhesive, dirt, or grout, the new tile may not adhere properly.
Solution: Take the time to thoroughly clean the surface before applying new adhesive. Scrape away any debris, old adhesive, or grout residue. This ensures the best bond possible. 
Applying Too Much Adhesive
While it might seem like applying a thick layer of adhesive will secure the tile better, it can actually cause unevenness. Excessive adhesive can spill out when you press the tile down, leading to a messy job and uneven gaps.
Solution: Apply the adhesive evenly with a notched trowel, and avoid using too much. The goal is to cover the area with a thin, even layer, leaving enough space for the tile to bond firmly.
Not Giving Enough Drying Time
Patience is key when working with tile adhesive and grout. Rushing through the drying process can lead to tiles that aren’t properly set or grout that hasn’t cured fully. This can cause your tile to shift or crack soon after the repair.
Solution: Follow the recommended drying times on the adhesive and grout packages. Typically, you’ll need 24 hours for the adhesive and an additional 24-48 hours for the grout to fully cure. 
Neglecting to Use Tile Spacers
If you don’t use tile spacers, you risk having uneven grout lines, which can make your floor or wall look unprofessional. Spacers also ensure that each tile is aligned properly, creating a neat, cohesive look.
Solution: Always use tile spacers between your tiles to maintain consistent gaps. This will give your work a polished finish, making it look like you hired a pro. 
Not Sealing the Grout
Grout is porous, which means it can absorb water and dirt over time, causing stains or damage. Not sealing the grout after your repair will leave it vulnerable to moisture and staining, leading to more maintenance down the road.
Solution: After the grout has dried, apply a grout sealer to protect it from moisture and dirt. It’s a simple step that will help your repairs last longer and look cleaner. 
Preventing Future Loose Tiles
Now that you’ve repaired your loose tiles, the last thing you want is for the same issue to happen again. Preventing future tile problems requires a little bit of maintenance and a few simple steps to ensure your tiles stay in place for the long haul. Here’s how to keep your tiles secure and looking great.
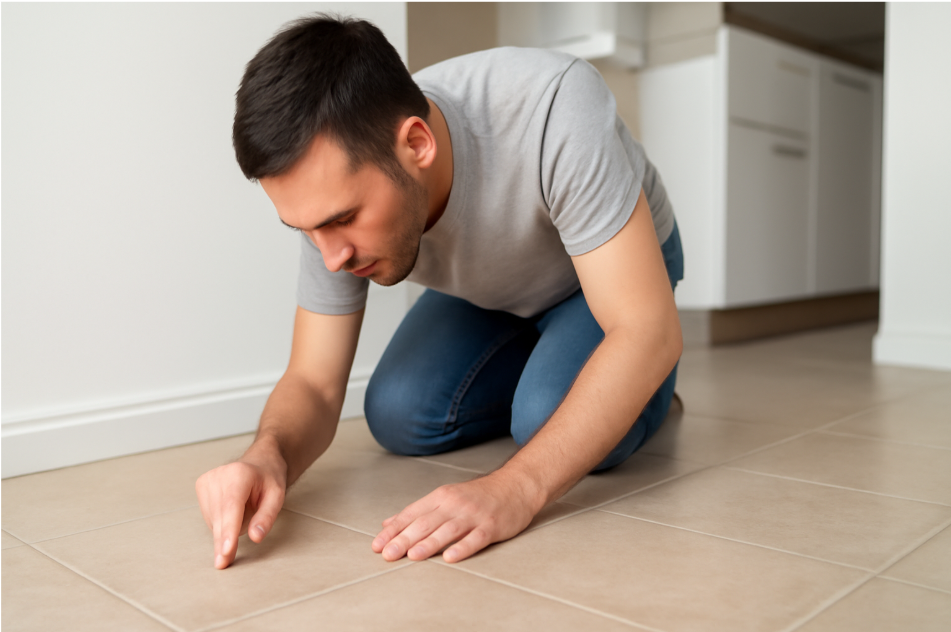
Regularly Check for Signs of Damage 
Tiles don’t always show obvious signs of damage right away, but small cracks or shifts can lead to bigger problems. Take a quick look at your tiles every few months to spot any signs of loosening or wear. Early detection will make repairs easier and prevent more costly fixes down the line.
Tip: Pay close attention to high-traffic areas or places with moisture exposure, like bathrooms and kitchens.
Ensure Proper Installation
If you’re installing tiles yourself, make sure you’re following the correct steps and using the right materials. Poor installation is one of the leading causes of loose tiles, so it’s worth taking the time to do it right. If you’re hiring a professional, be sure to check that they’re using the correct adhesive, grout, and spacers, and that the subfloor is stable.
Tip: Avoid shortcuts—always use high-quality adhesive and grout suited to your specific needs (waterproof for wet areas, for example).
Seal Your Grout Regularly
Grout can absorb moisture and dirt over time, which can weaken the bond between the tiles and the subfloor. Sealing your grout every 1-2 years helps protect it from water damage, stains, and wear.
Tip: Choose a grout sealer that matches the type of grout you’ve used and reapply it according to the manufacturer’s recommendations.
Control Moisture Levels 
Excess moisture is a major cause of tile damage, especially in bathrooms, kitchens, and basements. Ensure these areas are properly ventilated by using exhaust fans and dehumidifiers to reduce moisture buildup. Also, fix any leaks as soon as they appear to avoid water seepage under your tiles.
Tip: Check for leaks under sinks or behind appliances and repair them promptly to prevent water damage to your tiles.
Use Rugs or Mats in High-Traffic Areas 
In busy areas like hallways or entryways, heavy foot traffic can eventually lead to tile loosening. To prevent this, place rugs or mats in high-traffic zones. This not only protects your tiles but also adds a stylish touch to your space.
Tip: Choose slip-resistant mats to ensure safety, especially in bathrooms and kitchens where moisture can make surfaces slippery.
Avoid Heavy Impact on Tiles 
Heavy objects or excessive force can shift tiles out of place. Be mindful when moving furniture, and avoid dropping heavy items on the floor. If you have areas with heavy furniture or appliances, consider using soft pads under the legs to minimize impact on the tiles.
When to Call a Professional
While repairing loose tiles can often be a straightforward DIY task, there are certain situations where it’s best to call in a professional. Knowing when to seek expert help can save you time, effort, and money in the long run. Here are a few scenarios where it’s a good idea to get professional assistance.
Extensive Tile Damage or Multiple Loose Tiles
If you’re dealing with more than just a single loose tile or if several tiles are coming loose across a large area, the problem might be more complex than a simple fix. Multiple loose tiles often indicate an underlying issue, such as water damage, subfloor instability, or improper installation.
When to call a pro: If the problem involves multiple tiles or spans a large area, a professional will have the tools and expertise to assess the situation and provide a more permanent solution.
Subfloor Damage or Structural Issues
Sometimes, loose tiles are a sign of deeper issues, like damage to the subfloor or structural problems within the walls or flooring. This can be caused by moisture, improper installation, or age-related wear. If you suspect your subfloor is damaged or compromised, it’s important to address it before retiling.
When to call a pro: If the tiles aren’t the only issue, and there’s a possibility of damage to the subfloor or structural integrity, a professional can help fix the root cause and prevent future problems.
Poor Initial Installation
If your tiles were installed poorly (e.g., with the wrong adhesive, incorrect spacing, or on an unstable surface), you may face recurring issues. Repairing poor installation yourself might only be a temporary solution, as the same mistakes could happen again.
When to call a pro: If you’re not sure whether the tiles were installed properly in the first place or if you’re experiencing ongoing problems after repairs, a professional will ensure that everything is installed correctly and up to code.
Large-Scale Projects
For larger tiling projects or areas with intricate patterns (like large bathrooms, kitchens, or open-plan living spaces), handling the repairs yourself may not be practical or efficient. A professional can quickly assess the scope of the job and ensure the results are clean, precise, and long-lasting.
When to call a pro: If your repair involves multiple areas or requires specialized tools (like a tile cutter or wet saw), a professional can help complete the project faster and more effectively.
Time Constraints or Lack of Confidence
Not everyone has the time or experience to handle tile repairs themselves. If you’re feeling overwhelmed by the task or simply don’t have the time to commit to it, hiring a professional can take the pressure off your shoulders and ensure the job is done correctly.
When to call a pro: If you’re short on time or unsure of your skills, a professional can get the job done right, freeing you up to focus on other tasks.
Fixing loose tiles doesn’t have to be a daunting task! With the right tools, a little patience, and the step-by-step guidance provided in this article, you can easily repair loose tiles and restore the beauty of your floors and walls. Whether you’re tackling a small problem or addressing a larger issue, understanding the causes, gathering the necessary materials, and following the right steps will ensure your repairs last for years to come.
Remember, prevention is just as important as repair. By staying on top of maintenance and addressing issues early, you can avoid future tile troubles and keep your home looking pristine. And if the job ever feels too overwhelming, don’t hesitate to reach out to a professional for help. They’ll ensure that your tiles are securely in place and that any underlying issues are properly addressed. 
With these tips in hand, you’re now ready to confidently tackle your loose tile repair project. Good luck, and happy fixing!