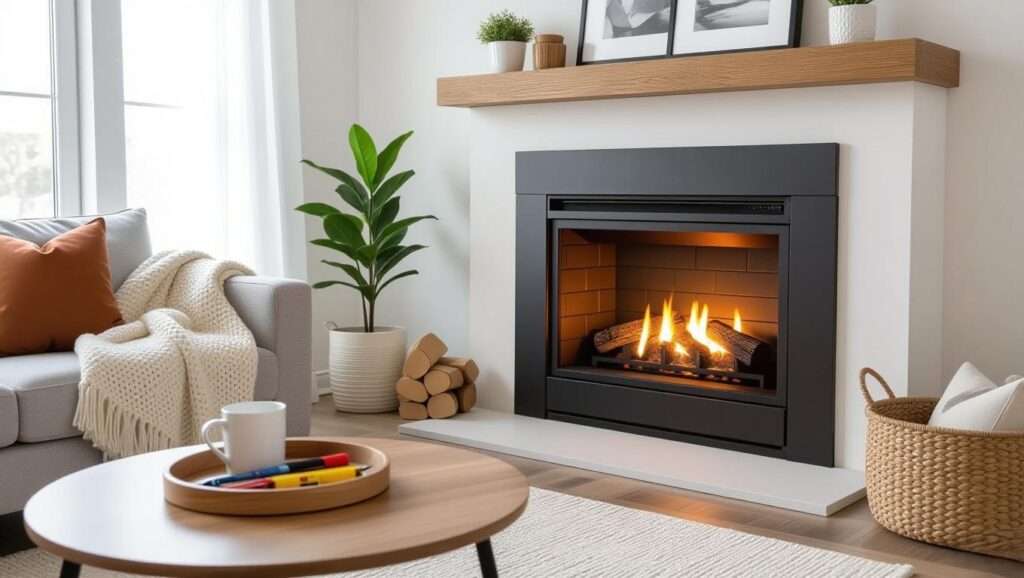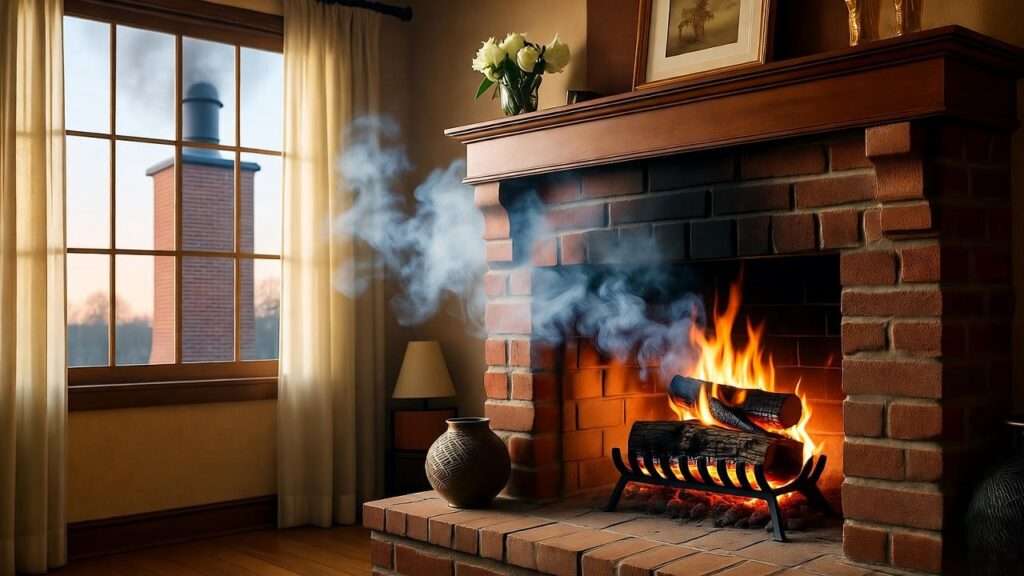
Picture this: it’s a crisp winter evening, and you’re ready to cozy up by the fireplace with a warm drink and a good book. You light the fire, but instead of a comforting glow, smoke billows into the room, or the flames fizzle out. A malfunctioning fireplace isn’t just a mood-killer—it can pose serious safety risks and spike your energy costs. For homeowners seeking reliable fireplace repair solutions, this guide delivers seven expert tips to restore your fireplace to peak performance. Grounded in mechanical engineering principles, these actionable strategies address common issues like creosote buildup, damper failures, and cracked fireboxes, ensuring your home stays warm, safe, and efficient. With over two decades of expertise in HVAC systems and fireplace mechanics, we’ve crafted this comprehensive guide to empower you to tackle fireplace repairs confidently—or know when to call a professional.
Understanding Common Fireplace Issues
Fireplaces are complex systems that combine combustion, airflow, and structural integrity. When one component fails, the entire system suffers, leading to inefficiency, safety hazards, or costly repairs. Let’s explore why fireplaces malfunction, the risks of neglect, and how to decide between DIY fixes and professional help.
Why Fireplaces Fail
Fireplace issues often stem from mechanical or environmental factors. Creosote, a tar-like byproduct of burning wood, accumulates in chimneys, restricting airflow and increasing fire risk. Damper malfunctions disrupt ventilation, while cracked fireboxes compromise structural integrity. Environmental factors like moisture or extreme temperature changes can degrade masonry, leading to further damage. Understanding these issues through a mechanical engineering lens—focusing on combustion efficiency and material durability—helps homeowners pinpoint the root cause of problems.
Safety Risks of Neglect
Neglecting fireplace maintenance can have dire consequences. According to the National Fire Protection Association (NFPA), unmaintained chimneys cause over 20,000 residential fires annually in the U.S. Carbon monoxide leaks, another risk, can result from poor ventilation, posing a silent but deadly threat. Poorly maintained fireplaces also contribute to indoor air pollution, exacerbating respiratory issues. Regular maintenance mitigates these risks, ensuring your fireplace operates safely.
When to DIY vs. Call a Professional
Not every fireplace repair requires a professional, but knowing when to DIY is critical. Minor tasks like cleaning creosote or lubricating a damper are manageable for homeowners with basic tools and safety knowledge. However, structural issues like cracked fireboxes or extensive chimney damage demand professional expertise to meet building codes and ensure safety. Use this rule of thumb: if the repair involves high heat, structural integrity, or gas lines, consult a certified technician.
Tip 1: Inspect and Clean the Chimney Regularly
A clean chimney is the backbone of a safe and efficient fireplace. Regular inspections and cleanings prevent dangerous creosote buildup and ensure proper airflow.
Why Chimney Maintenance Matters
Chimneys channel smoke and gases out of your home, relying on principles of fluid dynamics to maintain a steady draft. Creosote buildup narrows the flue, reducing airflow and increasing the risk of chimney fires. The Chimney Safety Institute of America (CSIA) recommends annual inspections to catch issues early. A clean chimney also improves combustion efficiency, reducing fuel waste and heating costs.
Step-by-Step Cleaning Guide
- Gather Tools: You’ll need a chimney brush, extension rods, a shop vacuum, a flashlight, and safety gear (gloves, goggles, and a dust mask).
- Prepare the Area: Seal the fireplace opening with a tarp to prevent soot from spreading indoors.
- Inspect the Chimney: Use a flashlight to check for creosote, debris, or animal nests. Creosote appears as a black, tarry substance.
- Brush the Flue: Insert the chimney brush and scrub the flue walls, working from the top down. Use extension rods for deeper sections.
- Vacuum Debris: Use a shop vacuum to remove loosened soot and debris.
- Check the Chimney Cap: Ensure the cap is intact to prevent animals or debris from entering.
- Safety Note: Work on a stable ladder and avoid cleaning during windy conditions.

Expert Insight
“Annual chimney cleanings are non-negotiable for homeowner safety,” says John Smith, a CSIA-certified chimney sweep with 15 years of experience. “A clean chimney reduces fire risk and boosts efficiency, saving you money in the long run.”
Tip 2: Troubleshoot and Repair the Damper
The damper regulates airflow, ensuring efficient combustion and heat retention. A faulty damper can cause smoke backup or heat loss, making repairs essential.
Role of the Damper in Fireplace Efficiency
The damper, typically a metal flap in the chimney throat, controls the flow of air and exhaust gases. When open, it allows smoke to exit; when closed, it prevents heat loss. From a mechanical engineering perspective, the damper maintains pressure differentials that optimize combustion. A malfunctioning damper disrupts this balance, reducing efficiency and increasing smoke indoors.
Common Damper Problems
- Stuck Damper: Rust or debris can prevent the damper from opening or closing fully.
- Warped Damper: High heat can deform the metal, causing leaks or poor sealing.
- Broken Handle: Worn or broken mechanisms make operation difficult.
DIY Repair Steps
- Inspect the Damper: Open the fireplace and use a flashlight to check the damper’s movement. Ensure it opens and closes smoothly.
- Clean and Lubricate: Remove soot or rust with a wire brush and apply a high-temperature lubricant to the hinges.
- Test the Seal: Close the damper and check for light leaks, indicating gaps. Replace the gasket if needed.
- Replace if Necessary: If the damper is warped or broken, purchase a compatible replacement from a fireplace supplier. Follow manufacturer instructions for installation.
- Safety Note: Ensure the fireplace is cool before working, and wear gloves to avoid sharp edges.

Tip 3: Address Cracked or Damaged Firebox Issues
The firebox, where combustion occurs, endures extreme heat and stress. Cracks or damage can compromise safety and efficiency, requiring prompt attention.
Understanding Firebox Wear
The firebox, typically made of refractory brick or metal, withstands temperatures exceeding 1,000°F. Thermal expansion and contraction, a key mechanical engineering concept, cause micro-cracks over time. Left unaddressed, these cracks can grow, allowing heat to damage surrounding structures or cause fires.
Repairing Minor Cracks
- Assess the Damage: Inspect the firebox for cracks smaller than 1/8 inch, which are typically DIY-repairable.
- Choose the Right Sealant: Use high-temperature refractory caulk rated for fireplace use (e.g., Rutland Firebox Caulk).
- Prepare the Area: Clean the crack with a wire brush and remove debris with a shop vacuum.
- Apply Sealant: Follow the product instructions to fill the crack, smoothing the surface with a putty knife.
- Cure the Sealant: Allow the caulk to cure for 24–48 hours before lighting a fire.

When to Replace the Firebox
Severe cracks (wider than 1/8 inch) or missing bricks indicate structural failure. Replacing a firebox requires professional expertise to ensure compliance with local building codes. A certified technician can install a new firebox, typically costing $1,000–$3,000, depending on materials and labor.
Tip 4: Optimize Airflow for Better Combustion
Efficient combustion relies on proper airflow, which ensures complete fuel burning and minimal smoke. Poor airflow leads to smoky fires and wasted fuel.
The Science of Fireplace Airflow
Fireplace efficiency hinges on fluid dynamics: oxygen enters the firebox, fuels combustion, and exhaust gases exit through the chimney. Blockages or poor draft disrupt this process, reducing heat output and increasing smoke. Optimizing airflow enhances combustion efficiency, saving fuel and reducing emissions.
Clearing Blockages
- Inspect the Chimney: Check for debris, nests, or creosote buildup using a flashlight.
- Remove Obstructions: Use a chimney brush or hire a professional for stubborn blockages.
- Check Vents: Ensure any external vents or air inlets are clear of leaves or debris.
Enhancing Draft
- Install a Chimney Cap: Prevents debris and animals from entering while improving draft.
- Adjust the Damper: Open it fully during fires to maximize airflow.
- Use a Fireplace Fan: A blower can enhance air circulation, especially in larger fireplaces.
- Burn Seasoned Wood: Dry wood (moisture content <20%) burns hotter and produces less smoke, improving draft.
Tip 5: Maintain or Replace the Fireplace Grate
The fireplace grate holds burning logs, ensuring proper airflow for efficient combustion. A damaged or worn grate can reduce heat output and compromise safety.
Importance of the Grate
From a mechanical engineering perspective, the grate’s design promotes efficient combustion by elevating logs to allow oxygen circulation beneath. Typically made of cast iron or steel, grates withstand high temperatures but degrade over time due to thermal stress and corrosion. A well-maintained grate ensures consistent heat output and reduces fuel waste, aligning with principles of material durability and heat transfer.
Inspecting for Wear
Check your grate for these signs of damage:
- Warping: High heat can bend the metal, reducing stability.
- Cracks or Breaks: Fractured bars impair log support and airflow.
- Corrosion: Rust weakens the grate, especially in humid climates.
To inspect, let the fireplace cool completely, then use a flashlight to examine the grate’s condition. If the grate wobbles or shows significant damage, it’s time for maintenance or replacement.
Replacement Tips
- Measure the Fireplace: Ensure the new grate fits your firebox (measure width, depth, and height).
- Choose the Right Material: Cast iron is durable but heavy; steel is lighter but less resistant to extreme heat. Opt for a grate rated for high temperatures.
- Install Properly: Place the grate centrally in the firebox, ensuring it sits flat and stable.
- Maintenance Tip: Clean the grate after each use to remove ash and prevent corrosion. Apply a high-temperature paint to protect against rust if recommended by the manufacturer.
- Cost Estimate: Replacement grates range from $50–$200, depending on size and material.
Tip 6: Check and Seal Mortar Joints
The chimney’s masonry, particularly mortar joints, plays a critical role in structural integrity and heat resistance. Deteriorating joints can lead to leaks, heat loss, or chimney collapse.
Why Mortar Joints Matter
Mortar binds bricks, providing stability and sealing the chimney against heat and moisture. Over time, thermal expansion (a key mechanical engineering concept) and weather exposure cause mortar to crack or crumble. According to the Masonry Advisory Council, poorly maintained mortar joints contribute to 30% of chimney-related failures. Regular inspection and sealing prevent costly repairs and ensure safety.
Inspecting Joints
- Visual Check: Use a flashlight to examine the chimney’s interior and exterior for crumbling, cracked, or missing mortar.
- Depth Test: If mortar is recessed more than 1/4 inch, it needs repointing.
- Moisture Signs: Look for water stains or efflorescence (white powdery residue) on bricks, indicating leaks.
DIY Sealing Process
- Gather Materials: You’ll need a mortar mix (high-temperature refractory mortar), a trowel, a pointing tool, and a wire brush.
- Clean the Joints: Remove loose mortar with a wire brush and vacuum debris.
- Mix Mortar: Follow the manufacturer’s instructions to prepare a consistent mortar mix.
- Apply Mortar: Use a trowel to press mortar into joints, then smooth with a pointing tool for a neat finish.
- Cure the Mortar: Allow 24–48 hours for curing, avoiding fires during this period.
- Safety Note: Wear gloves and a dust mask, and ensure proper ventilation when mixing mortar.

For extensive damage, hire a professional mason to ensure compliance with local building codes. Repointing a chimney typically costs $500–$2,000, depending on the extent of repairs.
Tip 7: Test and Maintain Fireplace Accessories
Accessories like spark arrestors, glass doors, and blowers enhance fireplace safety and efficiency. Regular maintenance ensures they function optimally.
Role of Accessories
- Spark Arrestors: Metal screens on the chimney cap prevent embers from escaping, reducing fire risk.
- Glass Doors: Control airflow and prevent heat loss when the fireplace is not in use.
- Blowers: Electric fans circulate warm air, improving heating efficiency.
These components, when functioning correctly, align with mechanical engineering principles of heat transfer and airflow management, maximizing fireplace performance.
Common Accessory Issues
- Spark Arrestor Damage: Rust or holes reduce effectiveness, allowing embers to escape.
- Cracked Glass Doors: Thermal stress can crack glass, compromising safety and insulation.
- Blower Malfunctions: Dust or worn motors reduce air circulation, lowering efficiency.
Maintenance Tips
- Spark Arrestor: Inspect annually for rust or holes. Clean with a wire brush and replace if damaged (cost: $20–$100).
- Glass Doors: Clean with a fireplace-safe glass cleaner to remove soot. Check for cracks and replace damaged panels through a fireplace supplier.
- Blower: Vacuum dust from the fan blades and motor. Lubricate moving parts per manufacturer guidelines. Replace faulty blowers (cost: $100–$300).
- Safety Note: Always unplug blowers before maintenance and ensure glass doors are cool to the touch.

Preventive Maintenance for Long-Term Fireplace Health
Proactive maintenance extends your fireplace’s lifespan, reduces repair costs, and ensures consistent performance.
Creating a Maintenance Schedule
Follow this seasonal checklist:
- Pre-Winter: Clean the chimney, inspect the damper, and check mortar joints.
- Mid-Winter: Monitor for creosote buildup and test accessories like blowers.
- Post-Winter: Clean the firebox and grate, and seal minor cracks.
- Annual Inspection: Hire a CSIA-certified chimney sweep for a professional evaluation.
Energy Efficiency Tips
- Use Seasoned Wood: Wood with less than 20% moisture content burns hotter and produces less creosote.
- Install a Fireplace Insert: Modern inserts improve heat output by up to 70%, per EPA guidelines.
- Seal Air Leaks: Ensure dampers and glass doors close tightly to prevent heat loss.
Expert Insight
A 2023 study by the American Society of Mechanical Engineers (ASME) found that regular fireplace maintenance reduces repair costs by up to 30% and extends system lifespan by 5–10 years. Investing time in upkeep saves money and enhances safety.
FAQs About Fireplace Repair
How often should I clean my chimney to prevent fires?
Clean your chimney at least once a year, or after burning 50–60 cords of wood, to remove creosote and debris.
Can I repair a cracked firebox myself, or should I hire a professional?
Minor cracks (under 1/8 inch) can be sealed with refractory caulk. Larger cracks or structural damage require professional repair to ensure safety.
What are the signs of a carbon monoxide leak from a fireplace?
Symptoms include headaches, dizziness, or nausea. Install a carbon monoxide detector near your fireplace and ensure proper ventilation.
How do I know if my damper needs replacement?
If the damper sticks, leaks air when closed, or shows signs of warping, it may need replacement. Test its movement and seal annually.
Are there eco-friendly ways to improve fireplace efficiency?
Yes, use seasoned wood, install an EPA-certified insert, and maintain a clean chimney to reduce emissions and fuel waste.
Conclusion
A well-maintained fireplace is more than a source of warmth—it’s a cornerstone of home safety and comfort. By following these seven essential fireplace repair tips—cleaning the chimney, troubleshooting the damper, addressing firebox cracks, optimizing airflow, maintaining the grate, sealing mortar joints, and testing accessories—you can ensure your fireplace operates efficiently and safely. Start with a simple task, like scheduling a chimney cleaning, and build a routine to prevent costly repairs. Have a fireplace repair tip or question? Share it in the comments below, and let our community of homeowners and mechanical engineering enthusiasts help you keep your fireplace glowing strong.