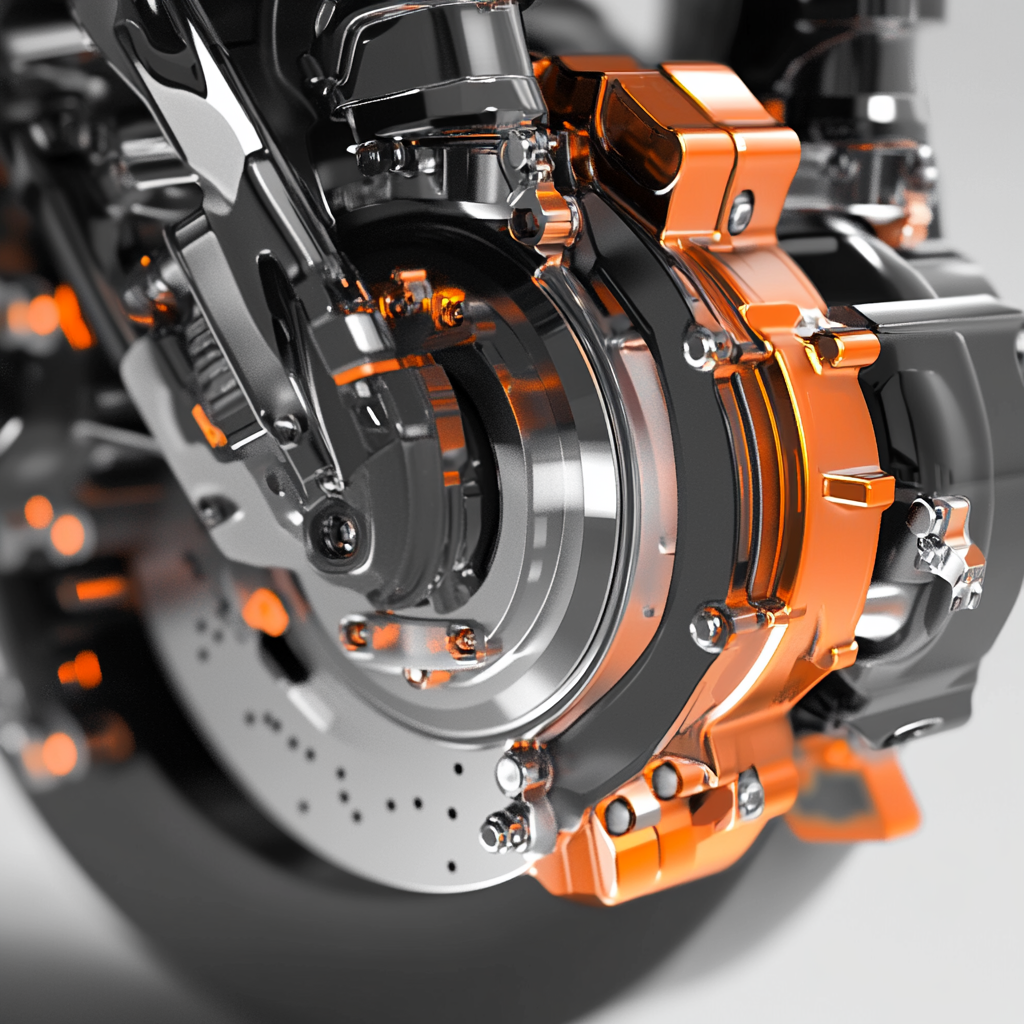
When it comes to vehicle safety, the braking system is one of the most vital feature. And it is crucial to maintain them properly for ensuring safe driving. Worn-out brake pads can lead to decreased stopping power, longer braking distances, and even damage to other parts of the braking system. For this reason it is necessary to change your car’s or bike’s braking pads regularly, to keep your vehicle’s braking system in top condition. Neglecting this simple maintenance task can lead you to compromise your safety on the road and also push you to costly repairs. In this blog, we will cover everything you need to know about how to change braking pads. Whether you’re a beginner or an experienced DIYer, by reading this blog, you will know what type of tools you need and the step by step process with the guidance. Let’s dive in!
When to Replace Brake Pads: Common Indicators
Now the question appears, how do you know that it is the perfect time for changing your braking pads? For this reason, it is important to recognize the warning sign that your brake pads need to be replaced before they lead to more serious problems. One of the most common signs is when you are applying the break that time it will produce some noise. This sound often comes from a small metal indicator built into the brake pad, designed to warn you when the pads are wearing thin. If you observe this type of sound regularly, then it’s a clear signal that it’s time for the brake pads to change.
Another most important indicator is when you are applying a brake, your car will take longer distance to stop. It may be due to worn-out brake pads that aren’t providing enough friction. It’s a serious safety concern, because it increases the chances of an accident, especially in emergency braking situations. You can also visually inspect your brake pads condition. By addressing the issue early you can ensure your vehicle remains safe to drive.

Tools and Materials You’ll Need
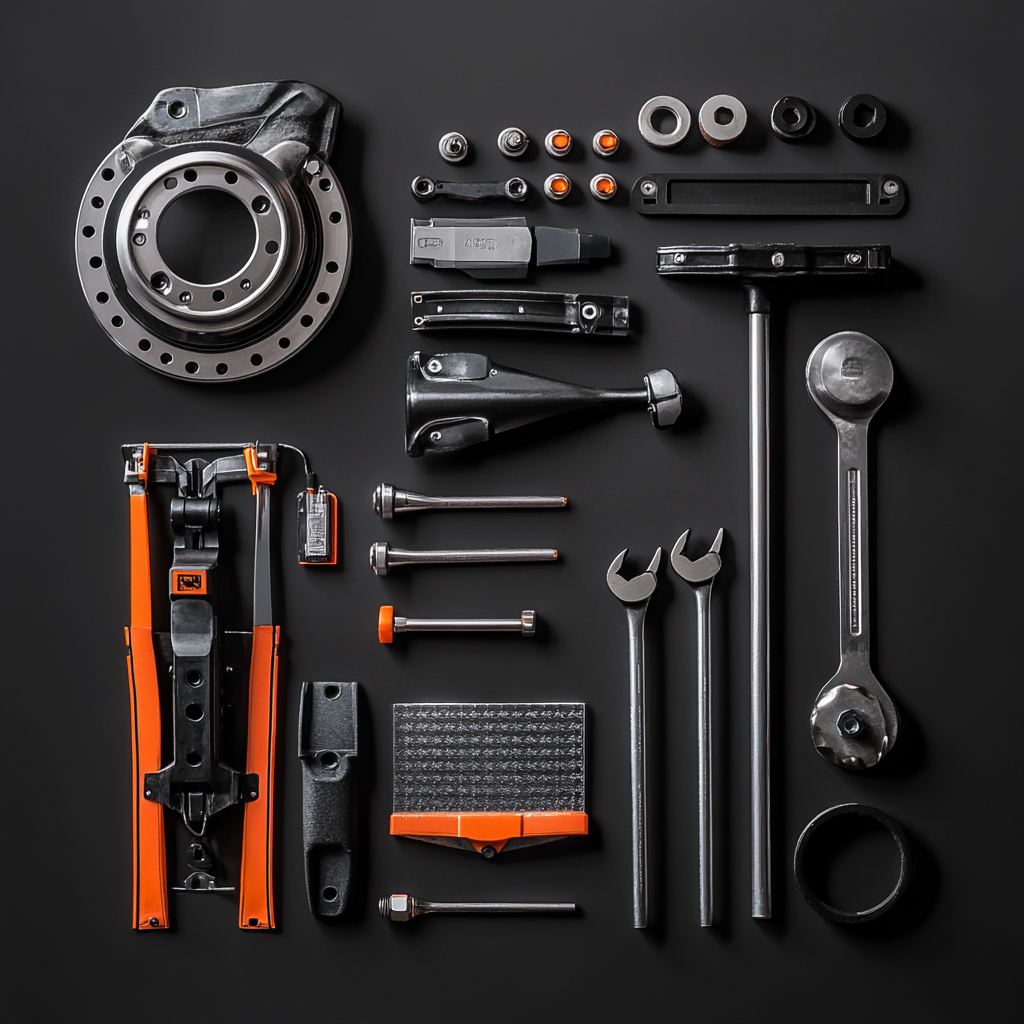
You will need a few essential tools and materials to change your vehicles brake pads. First of all you need a car jack and jack stands to safely lift up your vehicles. To take off your wheels, a lug wrench is essential for removing lug nuts. After removing the wheels it will give you clear access to the brakes.
Next you need a new pair of brake pads that match your car’s specifications. For choosing the right brake pads for your car you can follow your vehicles manual, or else you can take help from auto parts stores also. Brake calliper tool will help you to compress the brake calliper piston, ensuring the new brake pads fit properly. You’ll also need a set of wrenches and sockets to remove the calliper bolts and other parts holding the brakes together. And for quality tools always choose trusted brands for longevity and safety.
Preparing for the Job: Safety First
While you are working on the braking system that time you should always take some safety precautions. Start with parking your car on a flat surface to prevent any types of movement while the car is lifted. This operation will minimize the risk of accident while you are working underneath the vehicle.
Now to block the movement of your wheels, use wheel chocks. It will prevent the car from rolling unexpectedly, adding an extra layer of security. If you are not having chocks near your hand, then you can use heavy objects like bricks or wood blocks. This will work as a substitute.
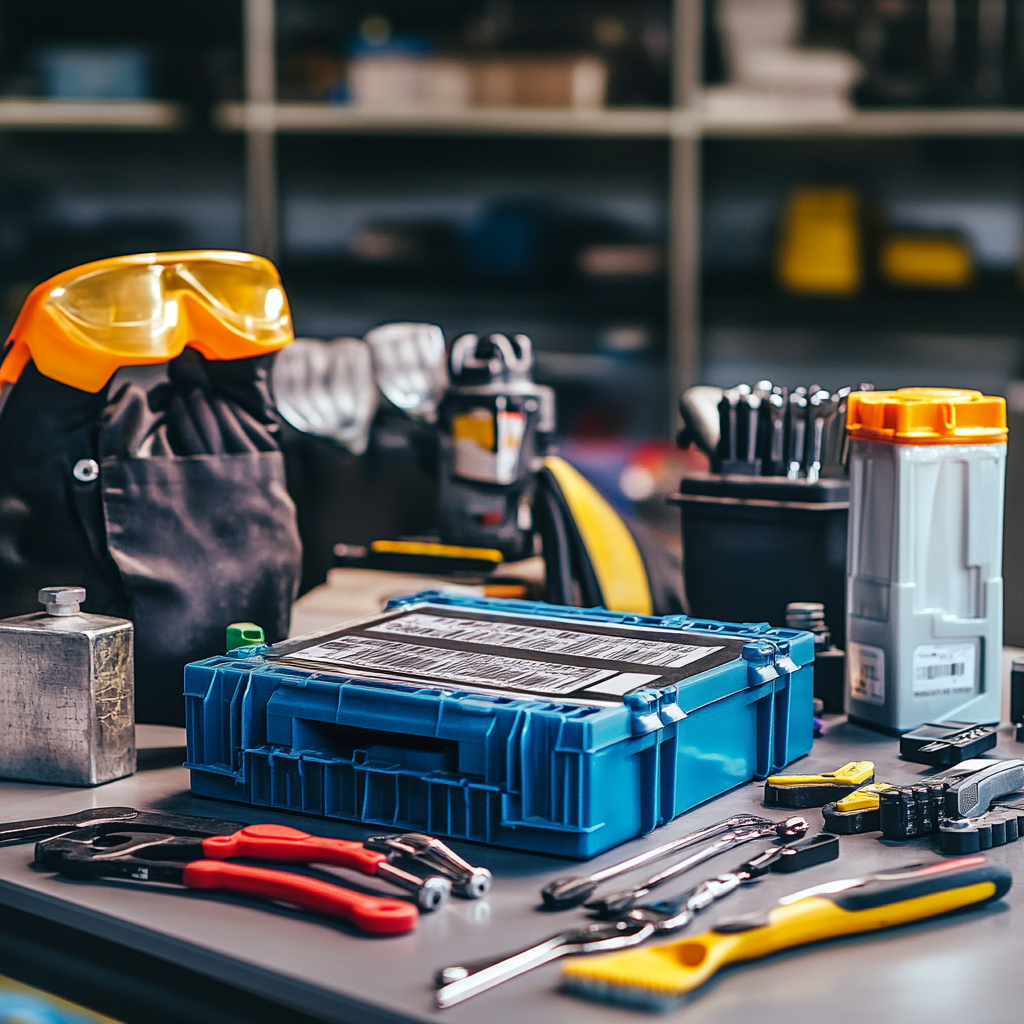
It’s also important to protect yourself. Wear protective gloves to shield your hands from brake dust, grease, and sharp objects. And wearing glasses is equally important to protect your eyes from any kind of darts that might fall during the process.
Make sure the car jack is secure and always use jack stands to support the weight of the vehicle once lifted. Never rely on just the jack to hold the car, because sometimes it may fall. That’s why it’s better to use jack stands along with the Jack. Following these safety steps will ensure that you stay safe while performing a brake pad change.
Step-by-step instructions for changing brake pads
Changing your brake pads might seem like a big task, but with the right approach, it’s something you can do at home. Let’s go through each step carefully.
Step 1: Loosen the Lug Nuts
Before lifting your car for the process, you need to slightly loosen the lug nuts on the wheel. And remember, do not remove them completely, just break the tension. Doing this process now will make it easier to remove the wheel once you lift the car. For this operation, use a lug wrench to turn the nuts counterclockwise.
Step 2: Lift the vehicle and detach the wheel.
Now our next task is to lift the car. For lifting your car’s, you have to position your car Jack under the vehicles jacking point. You can follow the car’s manufacturer manual to find the exact location on your vehicles for jacking. Once the car is lifted, place Jack stands under the car to safely support its weight. Make sure that you place the Jack instant properly. Now you can remove the lug nuts completely and take off the wheels. After removal of wheels, it will give you clear access to the brakes.
Step 3: Remove the Caliper
After removing wheels, to access the brake pads, take off the brake caliper. Those brake pads are held securely by the brake caliper. Now find the bolts that secure the caliper to the brake assembly. To remove these bolts, use a wrench to loosen and remove them. Be careful, do not let the caliper hang by the brake line, as it could damage the line. Place it on a sturdy surface to keep it out of the way.
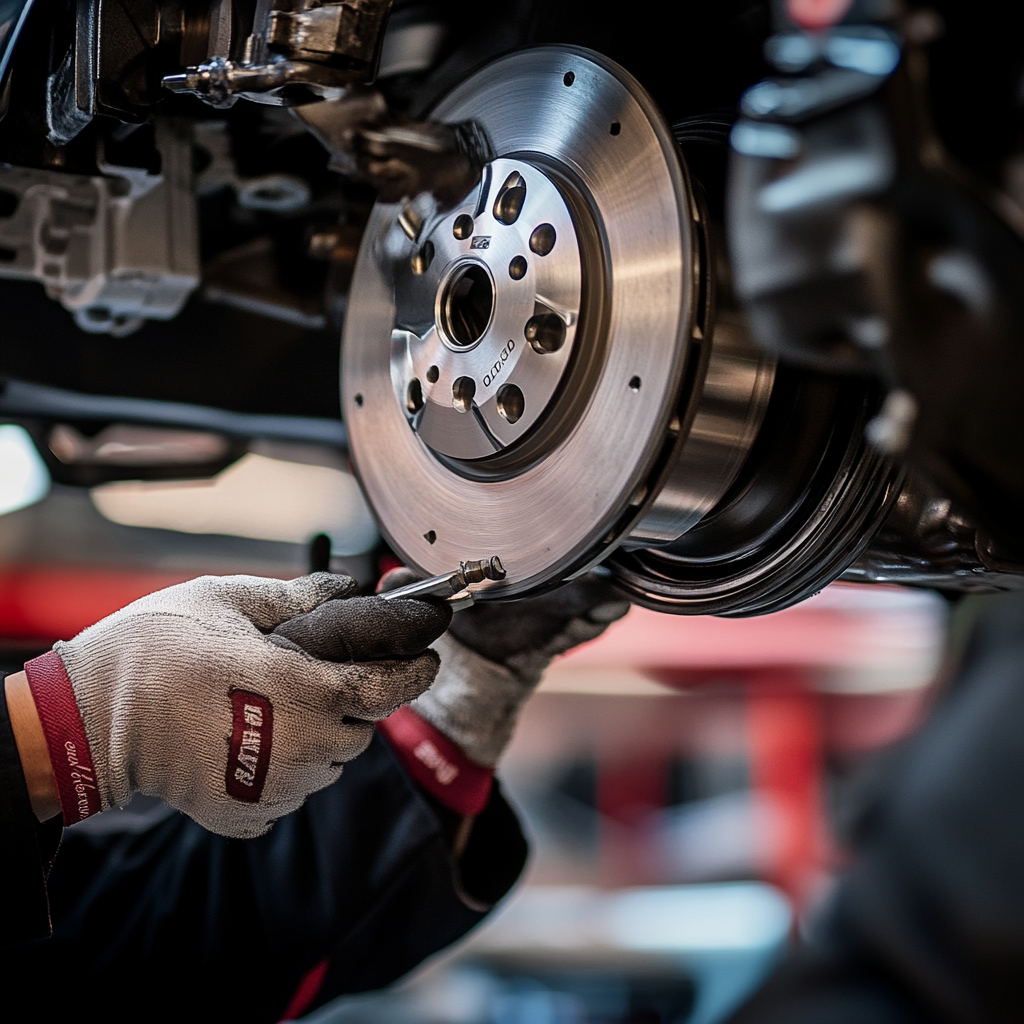
Step 4: Remove the Old Brake Pads
Once you remove the brake calipers out of the way then it is easy to remove the old brake pads. Simply slide them out of their slots. If they do not come out easily, then use a flathead screwdriver to gently loosen them. Observe the brake pad orientation to ensure correct installation later.
Step 5: Install the New Brake Pads
Now, install the new brake pads, ensuring proper alignment. Before putting them in, you may need to use the brake caliper tool to press the caliper piston back into its housing. This will create space for the thicker new pads. Once you done that, slide the new pads into place, ensuring they are aligned correctly with the caliper bracket, and it is positioned perfectly like the old one.
Step 6: Reassemble the Brakes
After installing the new Brakes pads, we have to reassemble the brakes. First of all, we have to reposition the brake calipers carefully over the new pads. Ensure the caliper is seated properly, then reinsert the bolts and tighten them securely using a wrench. Be sure that you are not overtighten them. But they should tighten enough to hold everything in place.
Step 7: Reinstall the Wheel and Lower the Car
Now that the braking system Is successfully installed. It’s time to reinstall the wheel. Position the wheel over the lug bolts and hand-tighten the nuts. After inserting all the nuts in the place and after tightening them use the jack to carefully lower the car back onto the ground. Finally, use your lug wrench to fully tighten the lug nuts in a star pattern to ensure even pressure across the wheel.
Step 8: Test the Brakes
Before driving the car you need to test the brakes while the vehicle is still stationary. After installing brake pads, sit in the vehicle and pump the brake pedal several times.
The pedal should feel firm, not spongy or soft. If it feels soft this could indicate that something was not installed correctly. Also there may be air in the brake lines.
Common Errors to Avoid When Replacing Brake Pads.
While changing your brake pads, you need to know some common errors that could compromise your safety or the effectiveness of your brakes. In the below there are some repeated errors to avoid:
Not Properly Tightening the Caliper Bolts:
- One of the major mistakes is that while reassembling the braking calipers, that time we are not securely tightening that caliper’s bolt. If this bolt are left loosen, the caliper can shift or come off while driving. Potentially this error leading to brake failure. Always double check that you properly tighten the caliper bolt.
Using the Wrong Brake Pads for Your Vehicle:
- Sometimes people without knowing the correct size or shape of the brake pads they try to adjust it. That’s why it doesn’t fit properly and it causes break failure. To know the correct brake pads for your vehicles, you can follow the owners or manufacturer manual.
Overlooking the Brake Fluid Level:
- It is one of the common mistakes that after replacing the braking pads, we didn’t look for the brake fluid levels. Changing pads can affect the fluid level in the braking system. Due to this low fluid level it can affect baking performance. So after replacing the Braking pads, always check the breaking fluid in the indicator.
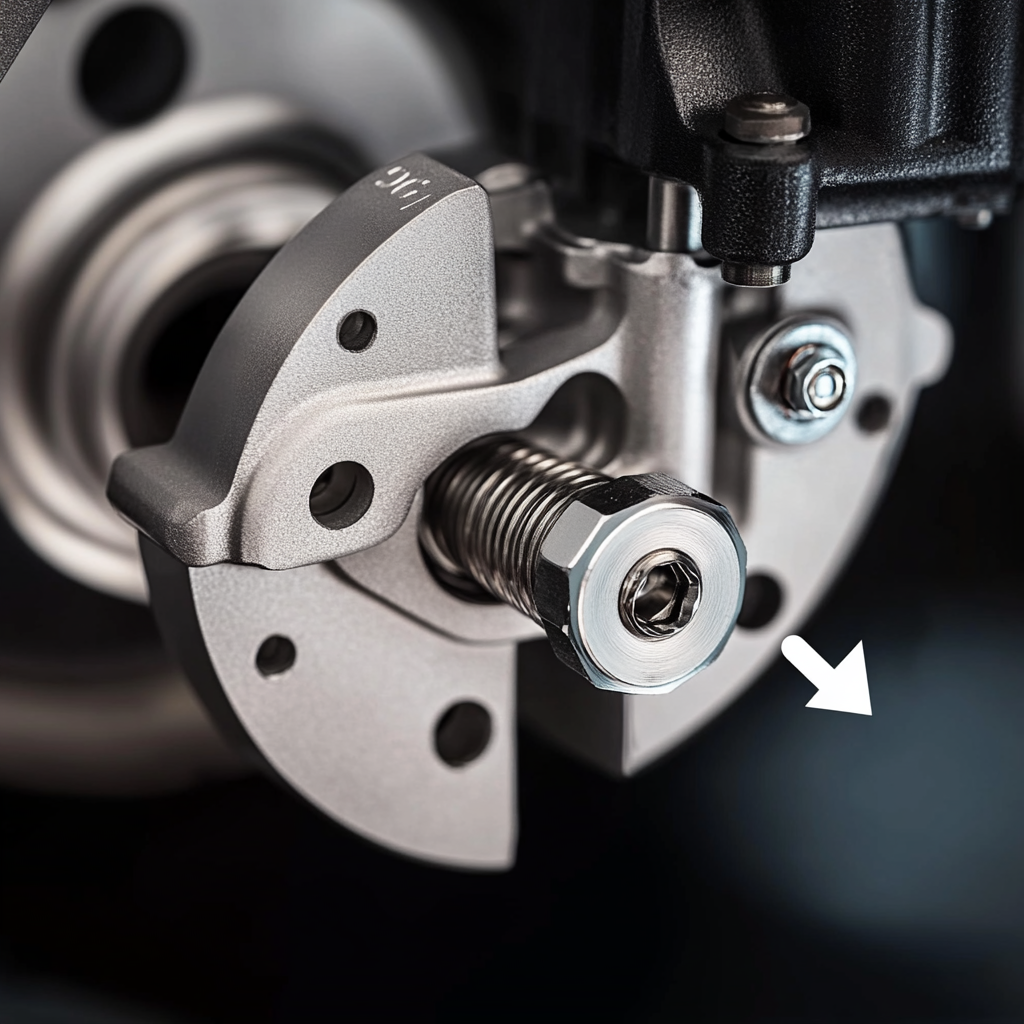
How Often Should You Change Your Brake Pads?
The lifespan of brake pads can vary, but some experts suggest that we need to replaced them after every 25,000 to 70,000 miles. The exact timing depends on various factors such as type of brake pads, driving habits and road conditions.
Driving habits play a significant role in the lifespan of braking pads. If you are driving in heavy traffic or you frequently apply the brakes, your pad will wear out faster, compared to normal case. Aggressive braking, especially at high speeds, can also shorten their lifespan. And road conditions also affect the lifespan of braking pads. For example if you are driving in a hilly or mountain area where you have to apply continuous break or you are driving in a city area where stops or traffic is more than you need to apply the brake continuously. This will decrease the lifespan of your Breaking Bad. On the other hand, if you drive normally like a gentleman and you’re driving on an open or a highway where you don’t have to apply the brake continuously then it will increase the lifespan of your braking pads.
To stay safe, it’s a good idea to check your brake pads after every 10,000 to 15,000 miles. If you notice some kind of noise, or it takes longer to stop, or any visible wear, then it’s time to replace them. By always doing this type of maintenance in your car, you can be safe on the road.


