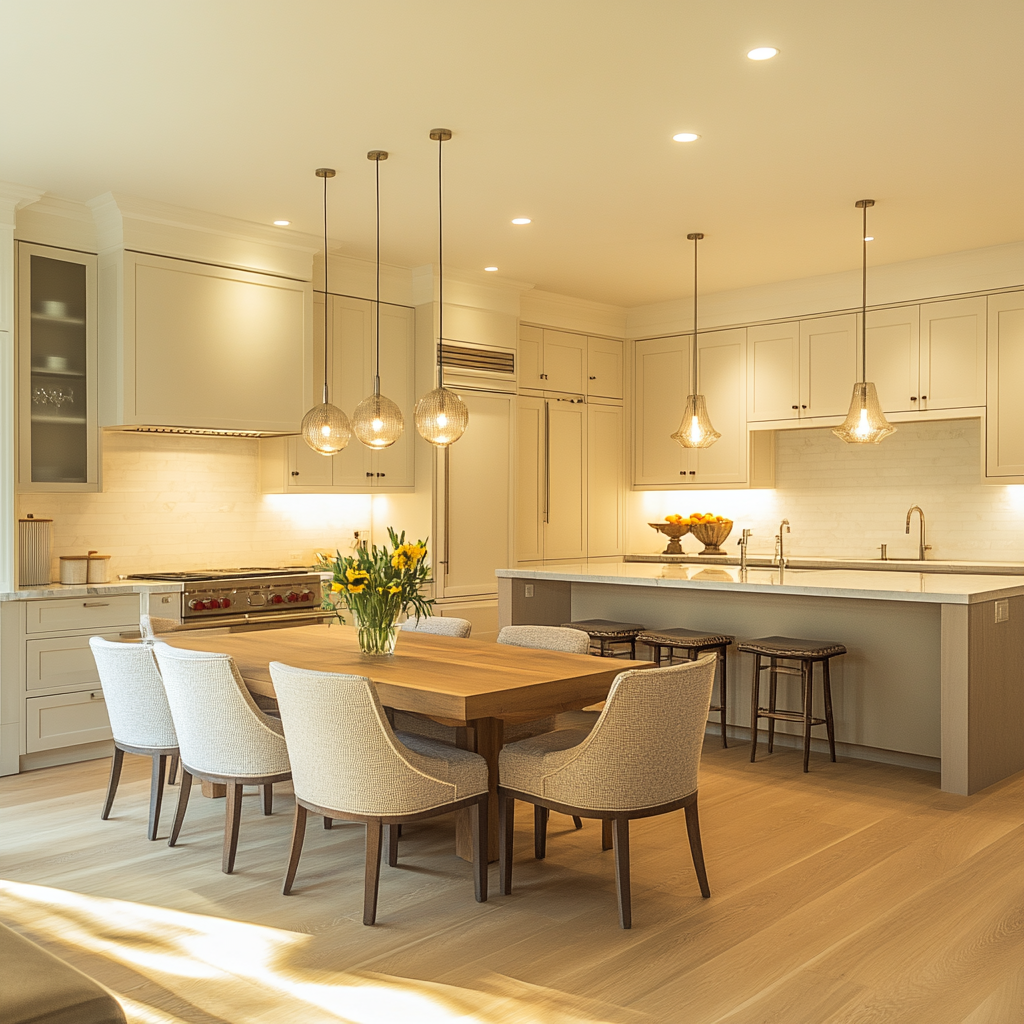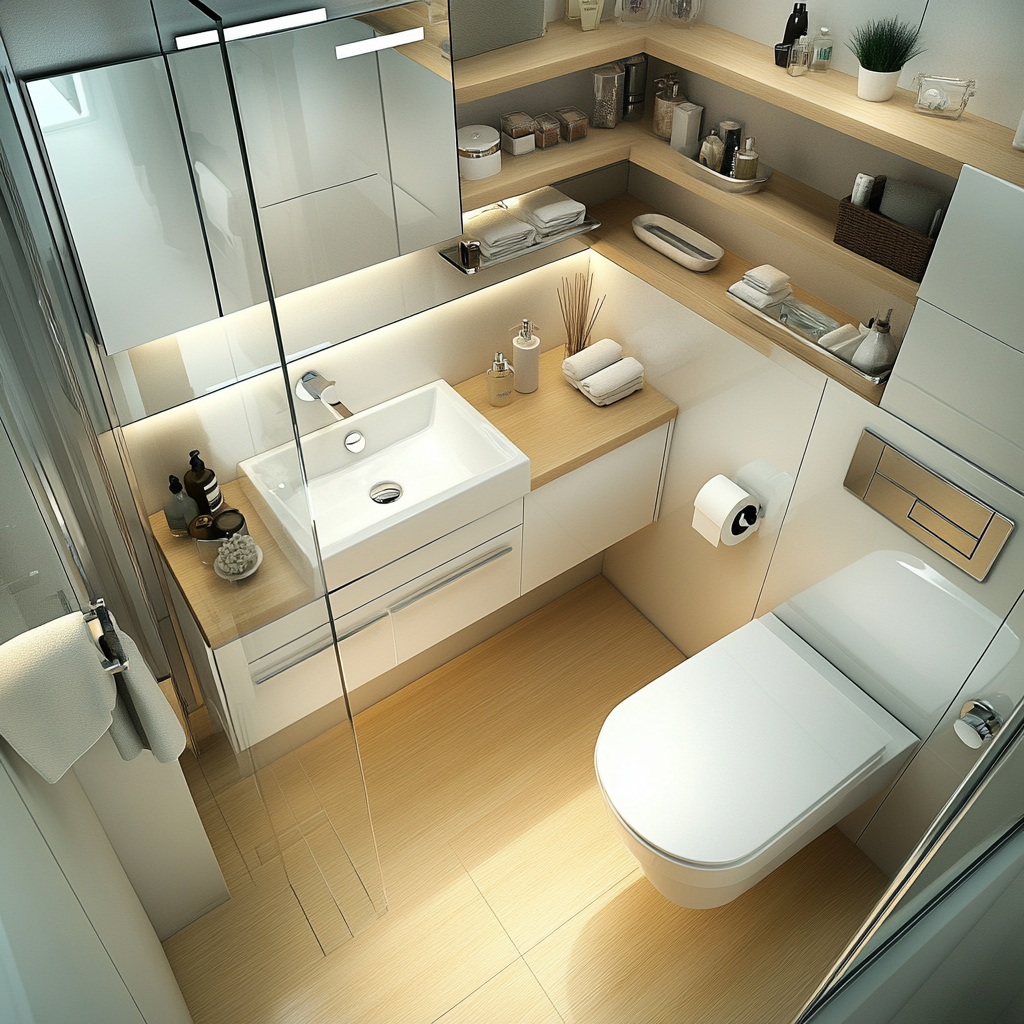
Installing your own kitchen cabinets provides you several benefits, one of the biggest benefits is cost savings. Beyond the financial advantages, it gives you personal satisfaction by completing the project according to your exact preferences. It also provides you with the scope to invest in higher-quality materials or finishes by significantly reducing labor expenses. If you’re feeling unsure about taking on the project, rest assured that installing cabinets is more straightforward than it might appear. With the right tools and guidance, even beginners can achieve professional-looking results. In this blog we will guide you from start to finish on how to install kitchen cabinets. By the time you finish, you’ll have the skills and confidence to tackle this rewarding DIY project with ease.
Preparation: Gathering Tools and Materials
Essential tools that you will need are:
- Drill
- Screwdriver
- Level and Spirit level
- Measuring tape
- Stud Finder and Clamps
- A hammer and Saw
- Pencil and ladder
Essential materials for your project:
- Cabinets
- Cabinet brackets
- Screws and wood glue
Accurate measurements are key to a successful cabinet installation. That’s why carefully measure your kitchen, like measure the wall dimensions, ceiling height, and the placement of electrical outlets. Use this information to plan an accurate layout, which will ensure your cabinets fit seamlessly and align perfectly. Let us begin.

Removing Old Cabinets
Removing old cabinets is the first step toward transforming your kitchen. To remove your old cabinets start by preparing the area, empty all cabinets and remove any items on countertops to create a clear workspace. Once you clear workspace, now cover floor area and countertops with drop cloths, it will protect them from any types of damage while you are working. Also remove power connections from the cabinets like connections for lighting in cabinets, to prevent electrical hazards.
Start by removing the doors and drawers to lighten the cabinets. Use a screwdriver or drill to take off the hinges and screws holding the doors in place. After that, remove the screws connecting the cabinets to each other and to the wall. Be sure to check for any hidden wires or plumbing behind the cabinets before you detach them. If the cabinets are glued to the wall, carefully pry them off with a flat bar. For heavier or upper cabinets, it’s a good idea to have a second person help to avoid accidents.

Install Upper Cabinets First
Start your installation process by the upper cabinets to make the process easier and more efficient. First of all use a stud finder to locate the studs in the wall and mark them lightly with a pencil. Then, measure about 18 inches above the countertop to mark the height for your cabinets. Also use a spirit level while you are positioning the first cabinet, it will help you to ensure it is level. If needed, use shims to adjust it. Once the cabinet is properly aligned, drill screws through the cabinet’s brackets into the wall studs, securing it firmly. Having someone assist with holding the cabinet in place can make this step easier, especially for heavier units.
For multiple upper cabinets, align them side by side, making sure the seams between them are tight. Use screws or brackets to join the cabinets, making sure they are aligned properly. Tighten the screws carefully to avoid damaging the cabinet material. Once the upper cabinets are installed and secure, you can move on to installing the lower cabinets. Starting with the upper cabinets allows you to work freely without obstruction and ensures a smooth installation.

Installing Base Cabinets
Before installing base cabinets, make sure that base cabinets are fully assembled and defects free. Also verify that all parts of base cabinets are in place and it fits the space properly.
For positioning base cabinets, measure from the floor to the bottom of the upper cabinets and mark it on the wall. Draw a level line that will help you to direct the installation. Set the first cabinet in place, make sure it is level, and apply shims if necessary. Use screws to fasten it to the wall.

Installing Cabinet Doors and Drawers
To hang cabinet doors, attach the hinges to the door, mark the spots, and drill pilot holes. Secure the hinges on the door, then attach the door to the cabinet. Follow the same procedure for installing remaining doors, and make sure all the cabinet doors are level and aligned.
Verify that the doors open and close smoothly or not, it will help you to determine door alignment. If necessary, adjust the hinges to ensure that the doors fit correctly. Before securing anything, make sure everything moves smoothly.

Installing Hardware
Choosing the right hardware is key to enhancing your kitchen’s style. Pick knobs, handles, or pulls that match your cabinet design and kitchen theme. For a modern kitchen, go for sleek pulls; for a traditional look, choose decorative knobs or handles. Make sure the hardware is long lasting and user friendly.
Once you choose the hardware, mark the spots for drilling. While you are marking, measure carefully also you can use a template for accuracy. Drill pilot holes, it will help you to avoid damaging the wood. Use a screwdriver to insert and tighten the screws to secure the hardware. Make sure everything seems straight and even by checking alignment and being careful not to overtighten.

Finishing Touches
To finish your base cabinets, install toe kicks, which are small panels that cover the space between the cabinets and the floor. Measure the length, cut the toe kick to fit, and attach it using screws or glue, making sure it’s level and flush with the bottom of the cabinets. This will make your cabinets look neat and make cleaning easier.
Next, fill any gaps between the cabinets and walls with caulk to create a smooth look. Use a caulk that matches the cabinet color and smooth it out with your finger or a tool. Finally, wipe down the cabinets and fix any scratches or marks with matching paint to give them a clean, finished look.


