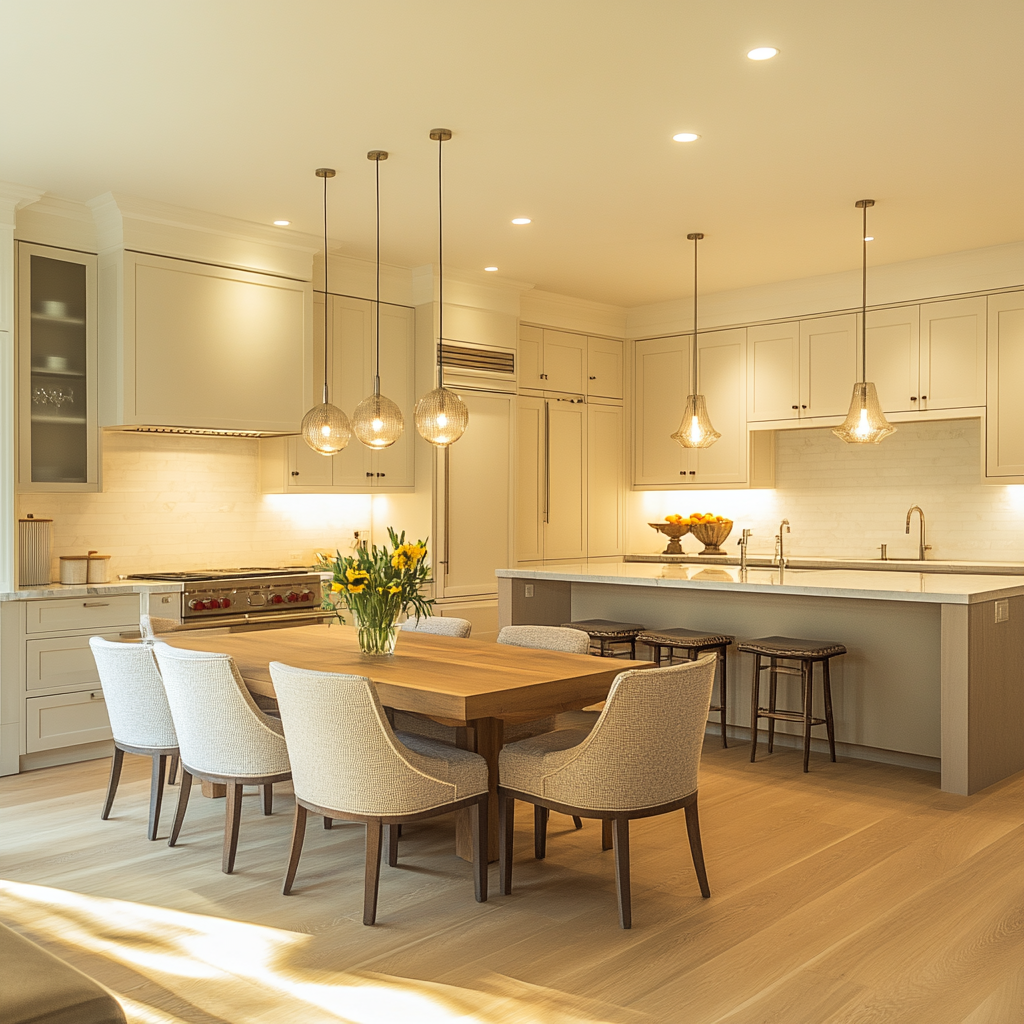
Imagine you are walking into a room that feels completely refreshed, looking stylish and more valuable, that’s the power of a new flooring! Also imagine the satisfaction of walking in a new flooring area that you installed by yourself. Updating your flooring area can transform your space completely, whether you choose hardwood, tile, or vinyl, for your project. In addition to looking great, a new floor can increase your home’s value and make it more comfortable, which makes it a rewarding investment. In this blog we will guide you through the essentials of how to install new flooring step by step. No matter if you’re a beginner or an experienced DIYer, you’ll find helpful advice for your project in this blog. Like choosing the right tools for your project, how to prepare the surface, and how to install new flooring. Time to begin!
Choose the Right Type of Flooring for Your Space
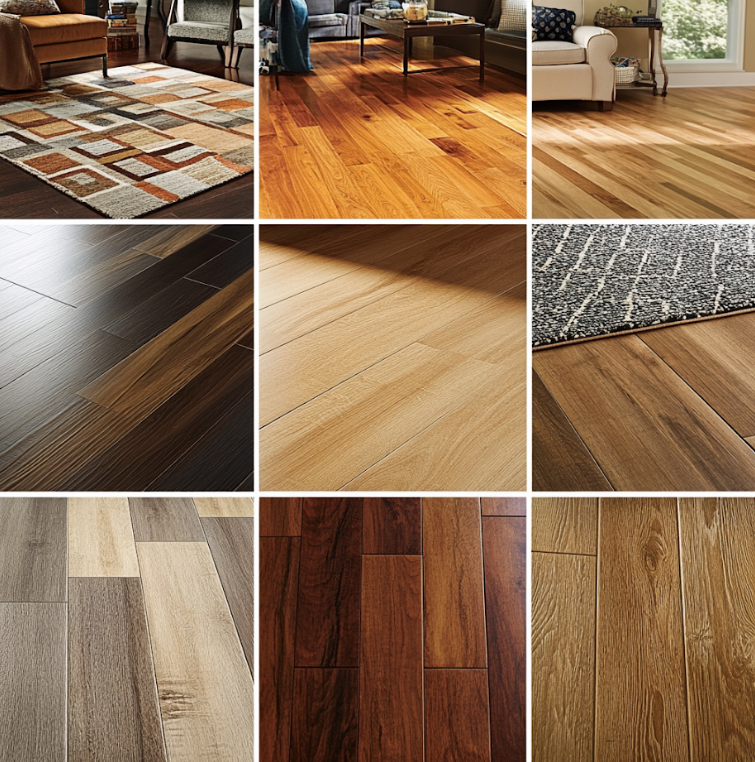
When you are talking about installing new flooring, at that time it gives you so many options to work with, and each type brings unique qualities which suit different spaces and different needs. Popular options like laminate, vinyl, hardwood, tile, carpet offer you properties and characteristics like affordability, durability, water resistance, longevity, easy maintenance, and softness, which makes them suitable to use in your bedrooms and in living rooms, also you can use them in your kitchens and bathrooms.
Also when you are selecting flooring consider factors like durability, budget, and ease of installation, additionally follow the above characteristics of different flooring options based on your purpose and needs. Finally, think about how the room will be used and how the flooring should look.

Tools and Materials Needed
To successfully and smoothly complete any type of project, having essential tools in your hand is one of the main requirements. Same thought also applied here, for a successful flooring installation you have to collect below listed tools.
- Utility knife
- Measuring tape
- Chalk line
- Mallet
- Underlayment
- Spacers
- A saw for cutting materials to size
- A pull bar to help fit pieces tightly
- Adhesive for certain flooring types
- Tile spacers for maintaining consistent grout lines
These tools can be found at local hardware stores or you can search for them in online retailers, you can rent tools like saws from many stores, which is a great option if you don’t want to buy them.

Preparing the Room for New Flooring
The first steps of your project ‘Flooring’ start by clearing the entire room to work smoothly without getting any disturbance. For this to clear your working room, start by clearing the furniture, rugs, and other items. Then, carefully remove the baseboards with a pry bar, taking care not to damage the walls. This clear workspace will help you to do the job smoothly and efficiently.

Measuring and Planning Your Layout
To buy enough flooring materials you have to measure your working room’s dimensions. For this start by taking accurate measurements of the room’s dimensions. Measure the length and width of the room, then multiply the two numbers to find the total square footage. Add an extra 10% of square footage to account for trimming and material cuts, as well as any potential waste. This will help you avoid buying too much flooring and save money.
Plan your flooring layout before you start. For wood or laminate planks, staggering the boards creates a natural look. For tiles, a central layout can look very symmetrical. Don’t forget to leave a small gap around the edges of the room, because in future you will require this for expansion and contraction.

Step-by-Step Installation Process for Different Flooring Types
Installing new flooring requires careful preparation and knowledge of the specific installation techniques for each type of flooring. Here’s a detailed guide on how to install laminate, vinyl plank, hardwood, tile, and carpet in your floor area by yourself.
-
Step 1: Start with the First Row
Begin by placing the first plank along the longest wall with the grooved side facing outward. Leave a ¼ inch gap between the planks and the wall, take help of a spacer to do this, this gap will allow for expansion and contraction.
-
Step 2: Click-Lock Installation
Angle the next plank so its tongue fits into the groove of the first plank, then press down to lock it in place. Continue laying planks in a row, snapping them together until you reach the end of the wall.
-
Step 3: Cute Planks for a Custom Fit
When you reach the end of the wall, measure and mark the plank where you need to cut it. Use a utility knife or saw to cut the plank into the right size to fit it in that space.
-
Step 4: Secure the Flooring
Use a mallet to tap the plank lightly, it will ensure that each plank is securely clicked in place. After you’ve laid all the planks, remove the spacers and install baseboards to cover the gaps.

Common Mistakes to Avoid When Installing Flooring
Installing new flooring is a rewarding project, but a few common mistakes can impact the final look and durability. Here’s what to avoid for the best results:
- Skipping Underlayment: To protect your laminate, vinyl, or hardwood floors, use underlayment. It provides cushioning, soundproofing, and moisture protection.
- Not Leaving Expansion Gaps: Materials like wood and laminate naturally expand and changes in temperature and humidity can also cause contracts to expand. To prevent buckling or warping, make sure to leave enough space around the edges of the room.
- Improper Adhesive Use: Using the right amount of adhesive is important for tiles and hardwood. Too much adhesive can make the surface uneven, while too little can cause gaps and shifting.

Frequently Asked Questions
How long does it take to install flooring in a standard room?
For a room around 200 square feet, can be covered with laminate or vinyl flooring in a day with proper preparation. Hardwood or tile might take 2-3 days due to drying and curing times.
Can I install new flooring over old flooring?
Yes, you can install flooring, like vinyl planks or laminate directly over existing flooring, only based on one condition if the old floor is level and stable for reinstallation. While it’s possible to install new flooring over old flooring, but we will recommend you to remove the old flooring for a better result.
What’s the best type of flooring for high-traffic areas?
If you have high-traffic areas, then consider durable flooring options like tile, vinyl plank, or hardwood. These materials can withstand heavy wear and tear and are easy to clean, which makes them ideal for busy spaces.


