
Have you ever seen an unattractive hole in your wall that spoils the appearance of your room? A damaged wall, whether the damage is from a door handle, a bump, or where a picture frame once hung, can be an eyesore. The good news is you don’t need to hire a professional to fix it. Knowing how to patch a hole in the wall is a simple and useful skill that helps keep your home looking neat and prevents further damage. In this guide, we’ll show you step-by-step how to patch a hole, from gathering tools to making it look like new. After this, you’ll be able to easily repair wall damage.
Understanding the Problem
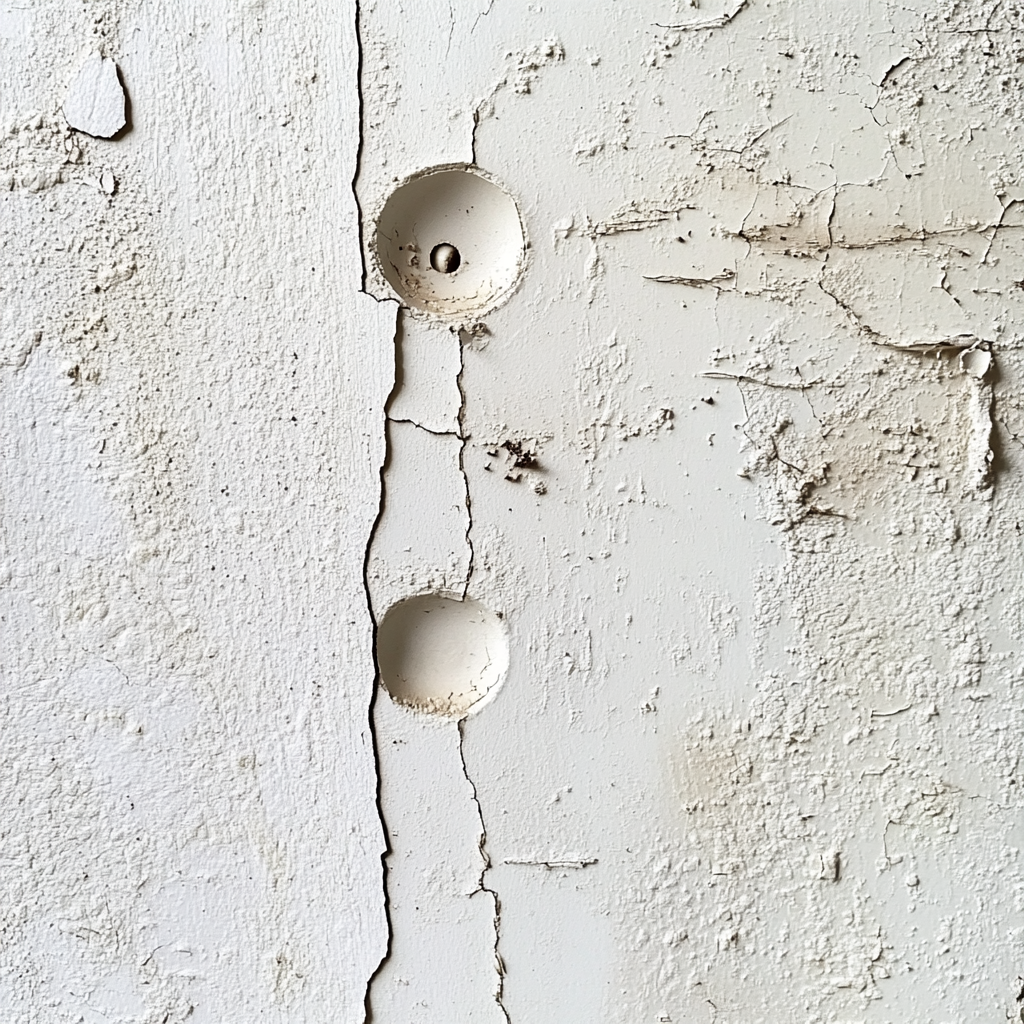
Wall damage happens for many reasons, and knowing the cause helps you fix it the right way. Common causes include bumping furniture, swinging doors, or holes left by nails and screws after removing decorations. In some cases, bigger problems like water damage or structural movement could be the reason, and these might need a closer look before repairs.
Plaster or drywall are commonly used for walls. Most of the new homes use drywall because it is lightweight and easier to repair, but it damages easily. Older homes commonly have plaster, which is stronger but more difficult to fix. Before starting your project, determine the size of the hole. Spackling paste is a simple way to fill in small holes, such as nail marks. For medium holes, such as dents in door knobs, a mesh fix could be used.
Essential Tools:
- Putty Knife
- Sandpaper or Sanding Block
- Utility Knife
- Screwdriver
- Tape Measure

Materials Required:
- Spackling Paste
- Drywall Patch or Mesh Tape
- Joint Compound
- Drywall Screws
Optional Supplies for Advanced Repairs:
- Paint Primer
- Texture Spray
- Corner Beads or Metal Reinforcements
Preparing the Area
Clean the Area
Using a wet cloth, wipe the area surrounding the hole to get rid of any dust, grime, or oil. The patch sticks better to a clean surface. If there are stubborn stains, use a mild cleaner and let the spot dry completely.
Remove Loose Pieces
Check the hole for loose drywall or peeling paint. Use a utility knife to trim any jagged edges. If there are leftover nails, screws, or anchors, take them out carefully with a screwdriver or pliers. Ensure that the sides of the hole are clean and stable.
Tape Around the Hole
Use painter’s tape to protect the surrounding wall, trim, or fixtures from scratches or spills. This step is especially helpful when applying spackling paste, compound, or paint. Taping also keeps the repair area neat and defined.
Small Hole Repair (Less than 1 Inch)
Fixing small holes is simple and needs only a few tools. Follow these steps:
Filling the Hole
Take some spackling paste with a putty knife and press it firmly into the hole. Make sure the hole is fully filled. Spread the paste slightly beyond the hole to make sanding easier later. Use good-quality spackling paste for the best results.
Smoothing the Surface
Hold the putty knife at an angle and scrape off any extra paste. Make the surface smooth so it looks like the surrounding wall. Stay away from heavy coatings that can fracture or look uneven.
Drying and Sanding
Let the paste dry completely, usually 1-2 hours (check the product instructions). Once dry, use fine sandpaper (220 grit) to sand the area until it’s smooth and level with the wall. Use a fresh cloth to remove dust.

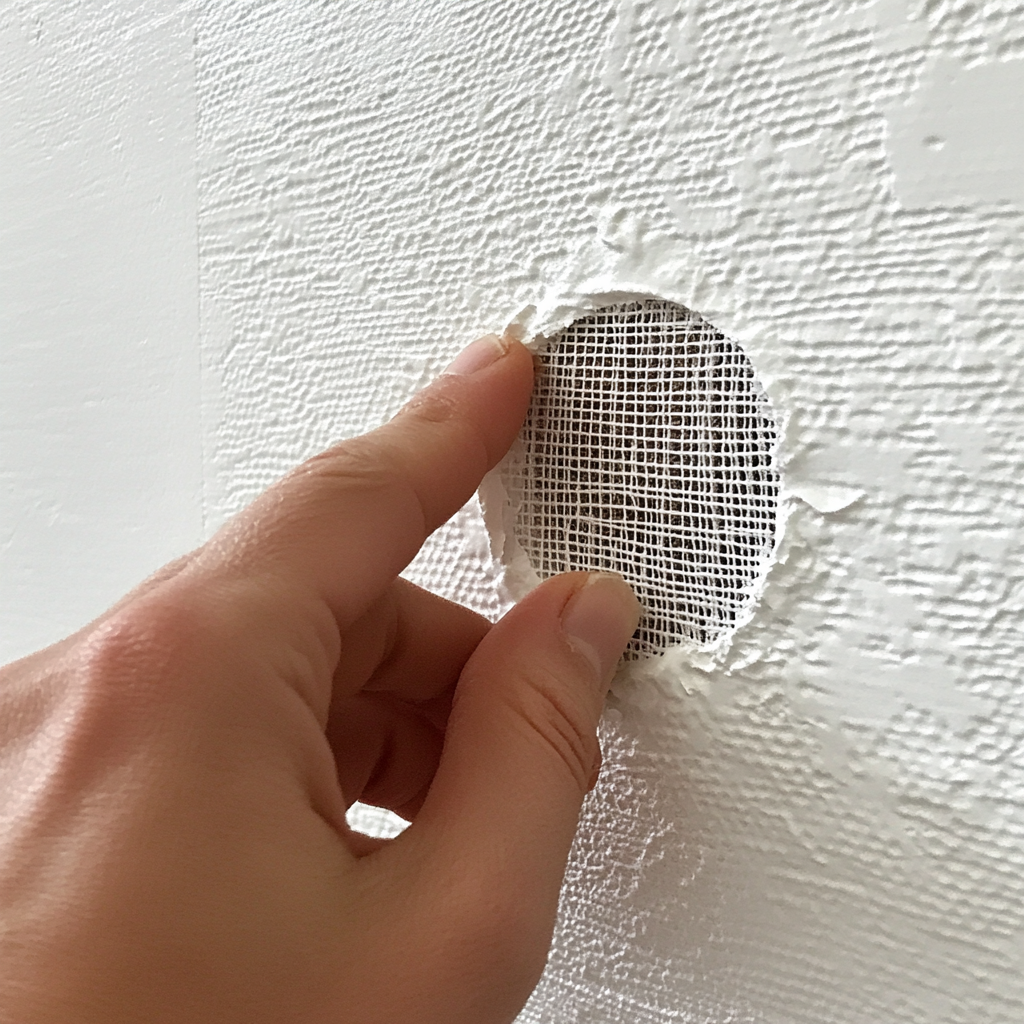
Medium Hole Repair (1–6 Inches)
Medium-sized holes in walls need more work to fix than tiny ones, but it is still possible with the correct equipment and methods. Here is a detailed how-to:
Using a Patch or Mesh Tape
Cover the hole with a self-adhesive patch or mesh tape. Make sure it fully covers the damaged area and sticks well to the wall. If you are using mesh tape, stretch it evenly and press it firmly in place.
Applying Joint Compound
Spread joint compound over the patch using a wide putty knife. Extend the compound beyond the edges to blend it into the wall. Let it dry fully, then add thin layers as needed, each wider than the last, for a smooth and strong repair.
Sanding for Smoothness
After each layer dries, sand lightly with fine-grit sandpaper (120–220 grit) to remove bumps. Before applying the next coat, remove all the dust. Continue layering and sanding until the wall restoration is equal.
Large Hole Repair (6 Inches or More)
Fixing large holes takes more time and materials, but it’s manageable with these steps:
Cut a Replacement Drywall Piece
Mark the damaged area into a square or rectangle. After marking the area, cut along the lines with a drywall saw or utility knife for neat edges. Now you measure the hole that you cut. Once the hole has been measured, cut a piece of drywall to fit. Check that it fits well.
Secure the New Drywall
Place the replacement drywall piece into the hole and secure it with screws to the backing board. Make sure the surface is even with the wall.
Tape Seams and Apply Joint Compound
Cover the seams with mesh or paper tape. Spread joint compound over the tape so that it blends in with the wall. After it has dried, sand it smooth. Continue applying thin compound layers, sanding in between, until the surface looks smooth.

Finishing Touches
Sand the Patched Area
Once the joint compound is dry, use fine-grit sandpaper (120–150 grit) to smooth the surface. Sand gently in circular motions to blend the edges with the wall. Take care not to overstand, in order to prevent exposing the tape or producing curves.
Clean the Dust
Wipe the area with a damp or tack cloth to remove all dust. This ensures that the paint sticks properly in your wall. Additionally, wait until the wall is completely dry before painting.
Paint to Match the Wall
- Prime if Needed: To ensure even paint coverage on large or noticeable patches, begin with a coat of primer.
- Paint the Area: Use a brush or roller to paint the patch, feathering the edges to blend with the wall. Apply multiple coats if necessary, letting each coat dry fully before the next.
When to Call a Professional
Sometimes, fixing walls yourself isn’t enough, and it’s better to call a professional. If you see signs of serious damage, like cracks that keep getting bigger or if the wall feels shaky, it’s important to get help from experts. Also, if the hole is from water damage, like stains, mold, or constant dampness, you need professional help to fix the source of the problem and stop more damage. In these situations, experts can make sure the repair is done safely and correctly, keeping your home strong.
