As passionate drivers, we all know that the braking system is one of the most important safety features in our vehicle. For this reason we have to maintain its efficiency for smooth performance as well as for our safety on the road. Brake fluid is a particular element of brake maintenance that we ignored more. Over time, brake fluid absorbs moisture and contaminants, which can compromise braking power and lead to costly repairs. Learning how to perform a brake fluid flush will help you to maintain the best possible condition of your car’s braking system. In this blog we will guide you through step by step procedure.
Understanding Brake Fluid and Its Role
Brake fluid is one kind of hydraulic liquid which is used to transmit power from the brake pedal to the brake components. And this liquid is responsible for triggering your car braking system to stop your vehicle effectively. It is necessary for safe braking operation since it works at high temperatures and pressures.

Brake fluid comes in a variety of forms, each with a distinct purpose. For passenger vehicles like Bus, Minivans, Pickup trucks commonly use DOT 3 glycol-based fluid. Because of its lower boiling point, it is more likely to absorb moisture. For vehicles which experience higher braking temperatures, such as performance cars, we use DOT 4 glycol-based fluid, which offers a higher boiling point and makes it perfect for this type of operation. At the same time, DOT 5 is a fluid that has a silicone basis which doesn’t absorb moisture. Due to its incompatibility with DOT 3 and DOT 4 systems, it is primarily used in vintage or military vehicles.
| Type | Base | Boiling Point (Dry/Wet) | Moisture Absorption |
| DOT 3 | Glycol-based | Lower | High |
| DOT 4 | Glycol-based | Higher | Moderate |
| DOT 5 | Silicone-based | Very High | None |

Why Brake Fluid Degrades Over Time
Brake fluid absorbs moisture from the air over time, which lowers its boiling point. This phenomenon makes brake fluid less effective during heavy braking operation. Also high temperature causes brake fluid to break down and become contaminated over time. That’s why regular maintenance is important to keep the braking system working well and avoid damage.
Signs You Need a Brake Fluid Flush
A spongy brake pedal can mean air or moisture is affecting the brake fluid, making it less effective. If the brake fluid looks dark or dirty instead of clear or amber, it’s likely contaminated. Reduced braking efficiency, such as slower stops or less responsive brakes, may also signal degraded fluid. To maintain safety, follow your vehicle manufacturer’s recommendation for a brake fluid flush, usually every 2-3 years.

Preparing for a Brake Fluid Flush
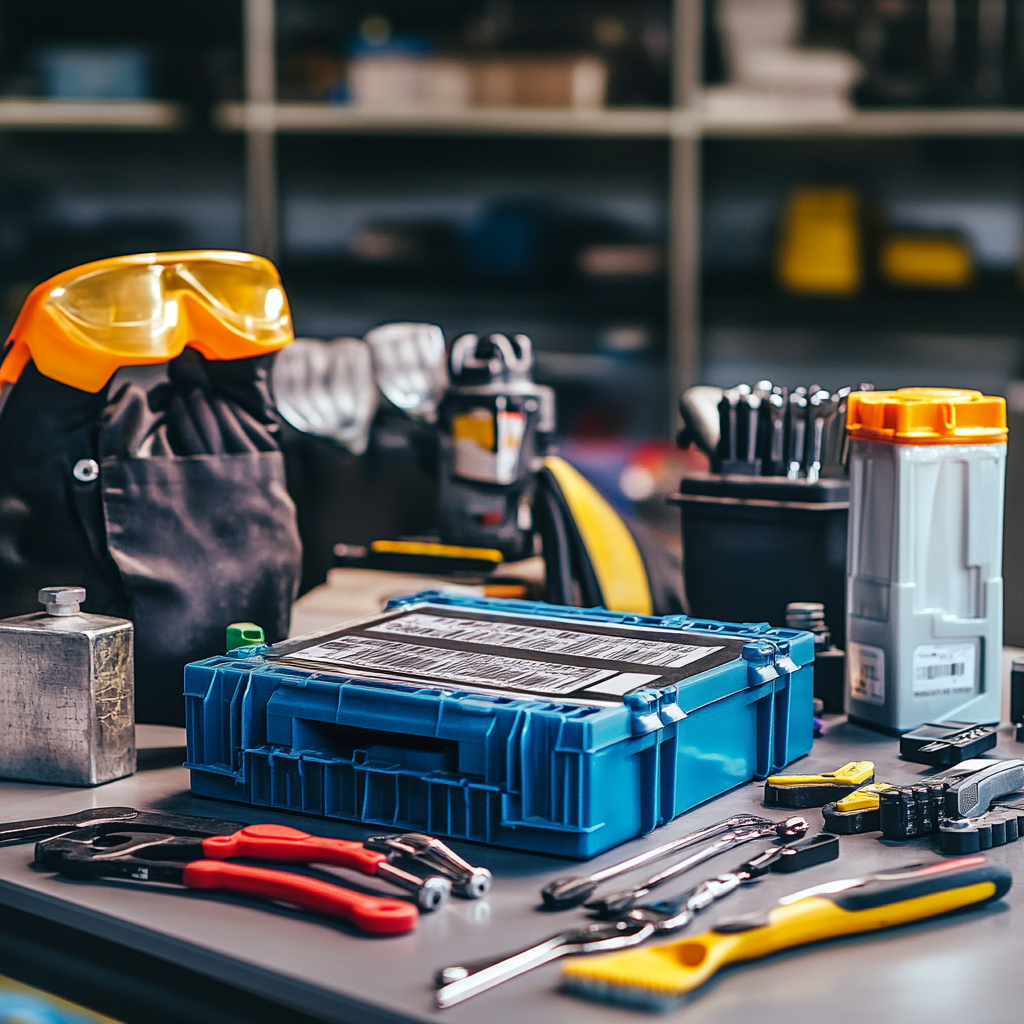
Tools and Materials Needed:
- Brake Fluid
- Wrench Set
- Bleeder Kit or Tubing
- Jack and Jack Stands
- Protective Gloves and Safety Glasses

Safety Precautions
Park your car on a flat surface to avoid rolling, and use wheel chocks for extra stability. Braking fluid has some characteristics that may harm painted surfaces even your skin, for that reason handle it carefully. Also try to clean up spills right away. Taking these steps will ensure a safe and efficient brake fluid flush.
Step-by-Step Guide on How to Perform a Brake Fluid Flush
Check the Owner’s Manual
Start by checking your vehicle’s owner’s manual to find the brake fluid reservoir and confirm the correct type of brake fluid for your car. The braking system may be harmed if you use the incorrect fluid in it.
Jack Up the Car and Remove Wheels
Use a jack to raise the car and secure it with a jack that stands for stability. Remove the wheels to access the brake bleeder valves, allowing easy draining of the old brake fluid.
Drain Old Brake Fluid
Connect one end of a clear plastic tube to a waste container and the other end to the bleeder valve. Ask a helper to repeatedly press the brake pedal to pump out the old fluid while you gently open the valve. Watch the fluid’s color and stop when it runs clear.

Refill with Fresh Brake Fluid
Close the bleeder valve and refill the brake fluid reservoir with the appropriate fresh brake fluid. Add fluid slowly to avoid overfilling or introducing air bubbles into the system.
Bleed the Brake System
Bleed from the wheel that is more away from the master cylinder. After opening the bleeder valve, tell your helper to press the brake pedal until the fluid is clear of air bubbles. Proceed toward the master cylinder by repeating this procedure for every wheel.
Test the Brake System
Put the wheels back together and lower your vehicle, after that press the brake pedal to confirm its feels heard and responsive. Also make sure that the fluid level is within the advised range, for that check the brake fluid reservoir once more.
Common Mistakes to Avoid
Using the wrong type of brake fluid: Always check the owner’s manual to ensure you’re using the correct brake fluid (e.g., DOT 3, DOT 4, or DOT 5).
Allowing the reservoir to empty while bleeding: Keep the brake fluid reservoir full to prevent air entering the system.
Forgetting to tighten bleeder valves: Make sure all bleeder valves are tightened after the procedure to avoid fluid leaks.
Skipping the safety test after flushing: Always test the brake system by pressing the brake pedal to confirm it feels heard and responsive before driving. This step confirms there are no issues in the system.

When to Seek Professional Help
Warning Signs of Complex Issues:
If you notice brake fluid leaks near the wheels or under the car, a soft brake pedal when you are pressing it even after a fluid flush, unusual grinding noise when you are applying brake, or a continuously illuminated brake warning light in your vehicle’s dashboard, then this all indicate that it’s time to seek professional help.

Benefits of Professional Brake System Inspections:
Professionals have specialized tools and techniques to detect hidden problems in your brake system. They ensure repairs and adjustments follow manufacturer specifications. For advanced systems like ABS, experts can fix complicated issues that DIY methods may not be able to resolve.


