To prevent future sagging, regularly tighten the hinges, control the humidity in your home, lubricate the hinges, and inspect the door frame periodically. If your door is heavy, consider using additional support or stronger hinges. Proper maintenance can keep your door in good shape for years.
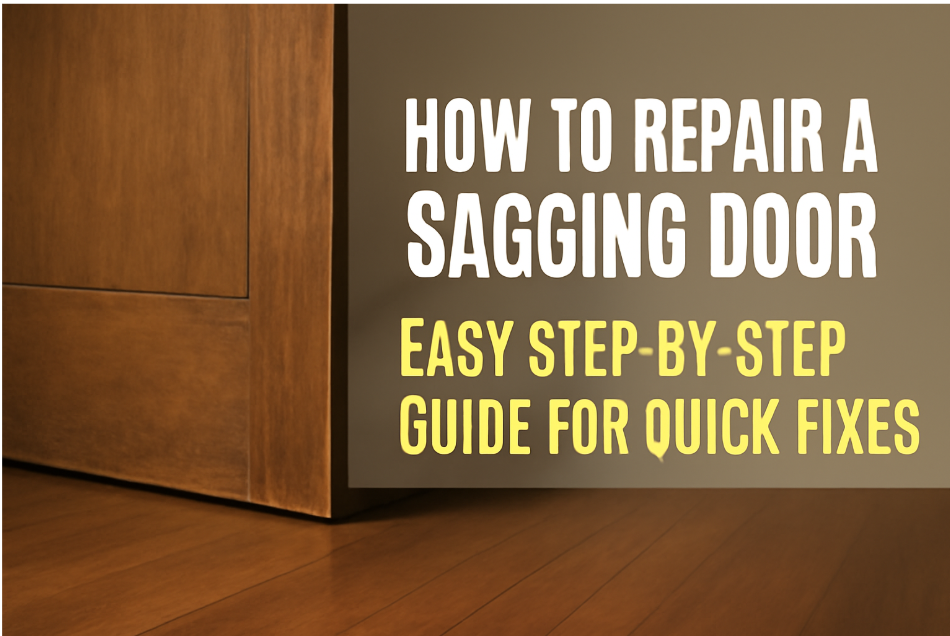
Is your door dragging on the floor or refusing to close properly?  A sagging door isn’t just an eyesore—it can lead to security issues, wasted energy, and a frustrating daily experience. If you’re wondering how to repair a sagging door without calling in an expensive professional, you’re in the right place!
In this easy-to-follow guide, we’ll walk you through the simple steps to fix your sagging door quickly and effectively, saving you time and money. Whether it’s worn-out hinges, improper installation, or house settling that’s causing the issue, we’ll show you exactly what needs to be done. 
No experience required! By the end of this article, you’ll feel confident in your ability to restore your door to perfect working condition. Let’s dive into the solution and get your door working like new again! 

Understanding the Causes of a Sagging Door
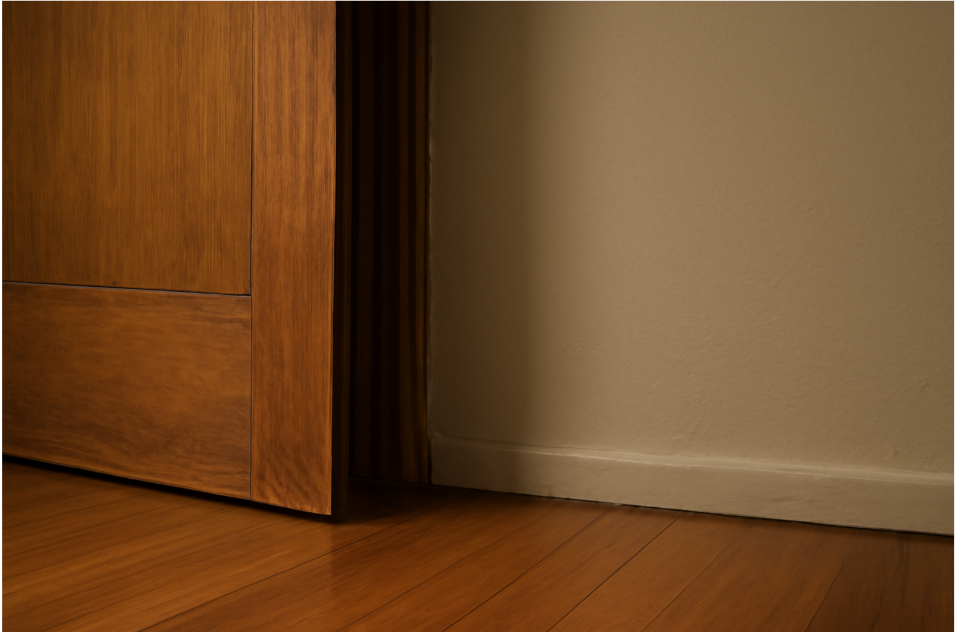
A sagging door can be more than just an inconvenience—it can impact your home’s security and efficiency. But what exactly causes a door to sag in the first place?  Let’s break it down!
1. Worn-out Hinges
Over time, the hinges on your door can wear out from constant use. This is one of the most common reasons doors start to sag. When hinges become loose or damaged, they can no longer support the weight of the door properly, causing it to droop or misalign. 
2. Improper Installation
If your door was installed incorrectly, it may have been misaligned right from the start. Even a small error during installation can cause the door to slowly shift out of position. This is especially true if the frame wasn’t squared properly, leading to a sag over time. 
3. Humidity and Weather Changes
Wooden doors are particularly sensitive to changes in temperature and humidity. When exposed to high moisture levels or extreme heat, the wood can expand or contract, causing the door to warp. This shift in shape can create the perfect conditions for sagging. 

4. Heavy Door
If your door is too heavy for its hinges or frame, the extra weight can slowly pull it out of alignment. This is especially common
Tools and Materials You’ll Need
Before diving into fixing that sagging door, it’s important to gather the right tools and materials. Fortunately, you don’t need a professional toolkit—most of these items are common household essentials. Let’s go over what you’ll need to get the job done quickly and effectively!
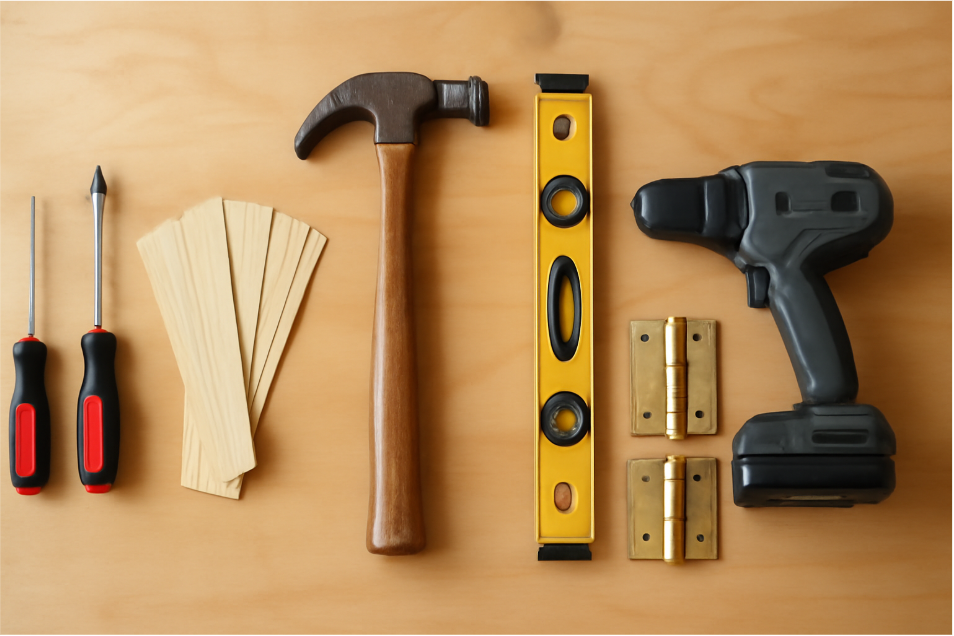
1. Screwdriver (Flathead and Phillips)
A basic screwdriver set is crucial for adjusting the screws on your door hinges. Depending on your door’s hardware, you may need a flathead or Phillips screwdriver. Tightening or replacing screws is one of the first steps in fixing your sagging door.
2. Wood Shims
Wood shims are small wedges that help lift the door back into place when it’s sagging. These are especially useful if you need to raise the door slightly to realign it. They’re inexpensive and easy to find at most hardware stores. 
3. Hammer
You’ll need a hammer to gently tap the shims into place and to help with any nails that need adjustment. It’s best to use a light touch so you don’t damage your door frame.
4. Level
A level is your best friend when making sure the door is perfectly aligned. It ensures the door is hanging evenly, both vertically and horizontally. Using a level will help you avoid further sagging down the line. 
5. Replacement Hinges (If Necessary)
If the existing hinges are worn out or damaged, it’s a good idea to replace them. A set of heavy-duty replacement hinges can restore stability to the door and prevent further sagging. These can be found easily in most hardware stores.
6. Drill and Screws
In case you need to remove and replace hinges, a drill and screws are necessary. A drill allows you to install new screws more efficiently, especially if the old ones have stripped or rusted.
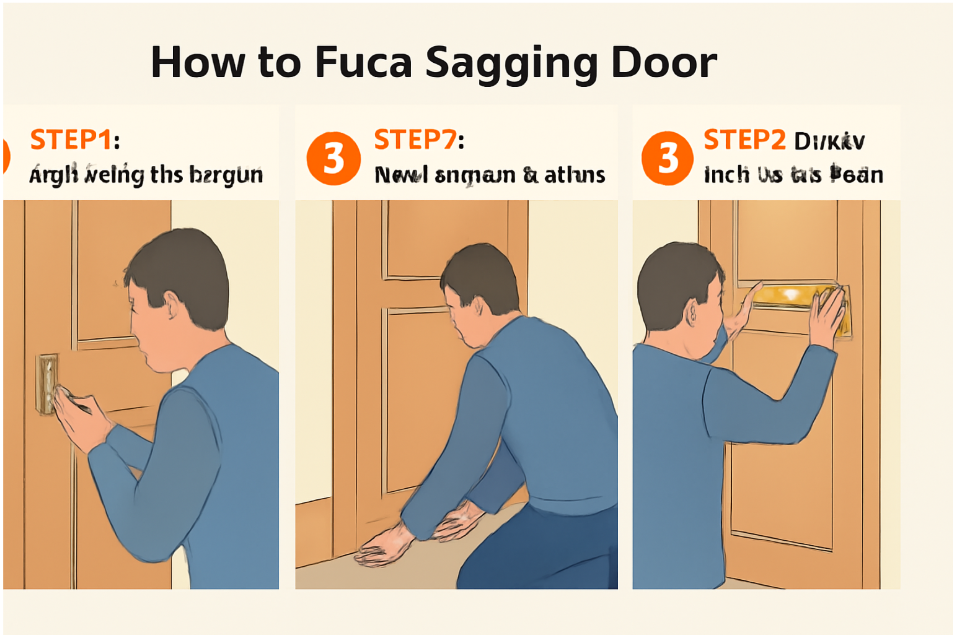
Step-by-Step Guide to Fixing a Sagging Door
Ready to fix that sagging door?  With the right tools and a little patience, you can have your door working smoothly in no time. Here’s a simple, step-by-step guide to help you get the job done:
Step 1: Inspect the Door and Frame
Start by closely examining the door and its frame. Look for any visible gaps, misalignments, or worn-out hinges. Is the door scraping the floor or swinging unevenly? Check the hinges to see if they’re loose or damaged, and use a level to ensure the door is hanging straight.
Step 2: Tighten or Replace the Hinges
If your hinges are loose, the door will sag more easily. Use a screwdriver to tighten any screws on the hinges. If the screws have stripped or the hinges are too worn, it might be time to replace them. To do this:
- Remove the old hinges using a screwdriver.
- Attach new hinges by aligning them carefully with the existing screw holes.
- Screw them in tightly to secure the door.
 Pro Tip: When tightening screws, make sure to not overtighten, as this can cause the wood around the hinge to crack.
Step 3: Lift the Door Using Shims
If tightening the hinges doesn’t fully fix the issue, you may need to lift the door back into place using wood shims. Here’s how:
- Insert Shims Under the Door: Gently lift the door (with help, if needed) and slide shims under the door at the hinge side. This will lift the door and help realign it.
- Trim the Shims: Once the door is aligned, use a saw or utility knife to trim the excess shim material. Be sure not to leave any shims sticking out—everything should be snug and secure.
Tip: Be careful not to insert too many shims. Start with one or two and check the door’s alignment before adding more.
Step 4: Check the Door Frame
In some cases, the problem may lie with the door frame itself. If the frame is warped or loose, the door won’t align properly, no matter how much you adjust the hinges. Here’s how to check:
- Examine the Frame for Shifting: Look closely to see if the frame has moved out of place or if any sections are cracked.
- Reinforce with Wood Glue: If the frame seems weak, apply wood glue to any cracks and let it dry before reattaching the door.
- Secure the Frame: If necessary, use screws to fasten the frame more securely.
Step 5: Test the Door
Once you’ve tightened the hinges, used shims, and reinforced the frame (if needed), it’s time to test the door:
- Open and close the door several times to make sure it swings freely and doesn’t scrape the floor.
- Double-check with a level to confirm that the door is properly aligned.
If everything feels smooth and the door is no longer sagging, congratulations!  You’ve successfully repaired your door.
Common Mistakes to Avoid When Repairing a Sagging Door
Fixing a sagging door is straightforward, but it’s easy to make mistakes along the way. To ensure a smooth and effective repair, let’s go over some common pitfalls you should avoid. These tips will help you achieve a lasting solution without causing more issues.

1. Over-tightening the Hinges
It’s tempting to really tighten those screws to make sure the door stays in place, but over-tightening can actually do more harm than good. It can cause the wood around the hinges to crack or even strip the screws, making it harder to fix the door in the future.
 What to do instead: Tighten the screws just enough to secure the hinges without forcing them. If the screws feel too loose, consider replacing them with longer ones or using wood filler for extra grip.
2. Using Too Many Shims
Shims are essential for lifting the door back into place, but adding too many can cause the door to misalign or make the gap too wide. This can lead to a door that still doesn’t close properly or one that sticks when opening and closing.
What to do instead: Start with just a couple of shims at the hinge side. Test the door’s alignment, and only add more shims if necessary. Trim the excess shim material to keep everything neat and even.
3. Ignoring the Frame
Sometimes, the problem isn’t just the door—it’s the frame itself. If the door frame is loose or misaligned, tightening the hinges or using shims may not fix the issue. In fact, it can make the problem worse by forcing the door to hang improperly.
What to do instead: If the door frame is shifting or weak, use wood glue to reinforce any cracks or gaps. Tighten any screws that hold the frame in place. A strong, stable frame is key to ensuring your door works properly.
4. Not Checking the Door’s Alignment Frequently
It’s easy to think a few quick adjustments are enough, but skipping the step of double-checking your work can lead to problems down the road. The door might still appear aligned but could sag again after some use.
What to do instead: After every adjustment, use a level to check both the horizontal and vertical alignment. Open and close the door several times to ensure it swings freely without scraping the floor or frame.
5. Failing to Replace Worn-Out Hinges
If your door’s hinges are old and damaged, simply tightening them or adding shims won’t solve the issue in the long run. Worn-out hinges won’t provide the support your door needs, leading to more sagging over time.
What to do instead: If the hinges show signs of wear (like rust, cracks, or bent metal), it’s best to replace them entirely. This will give your door the stable support it needs to stay aligned.
6. Rushing the Process
Fixing a sagging door might seem like a quick task, but rushing through it can lead to mistakes that will cost you more time later. Skipping steps or failing to assess the problem properly can result in a temporary fix, not a permanent solution.
What to do instead: Take your time with each step. Thoroughly inspect the door, frame, and hinges, and don’t rush through the adjustments. A well-done repair will last longer and save you from future headaches.
Tips for Preventing Future Sagging
Now that you’ve successfully repaired your sagging door, it’s important to take steps to prevent it from happening again. With a little maintenance and care, your door can stay aligned and functional for years. Here are some practical tips to keep your door from sagging in the future. 
1. Regularly Tighten the Hinges
Over time, the screws on the hinges can loosen, causing the door to sag. It’s a good idea to periodically check and tighten the hinge screws to ensure the door is securely attached to the frame.
Tip: Every few months, check the screws for any signs of loosening. Tighten them as needed to keep the door stable.
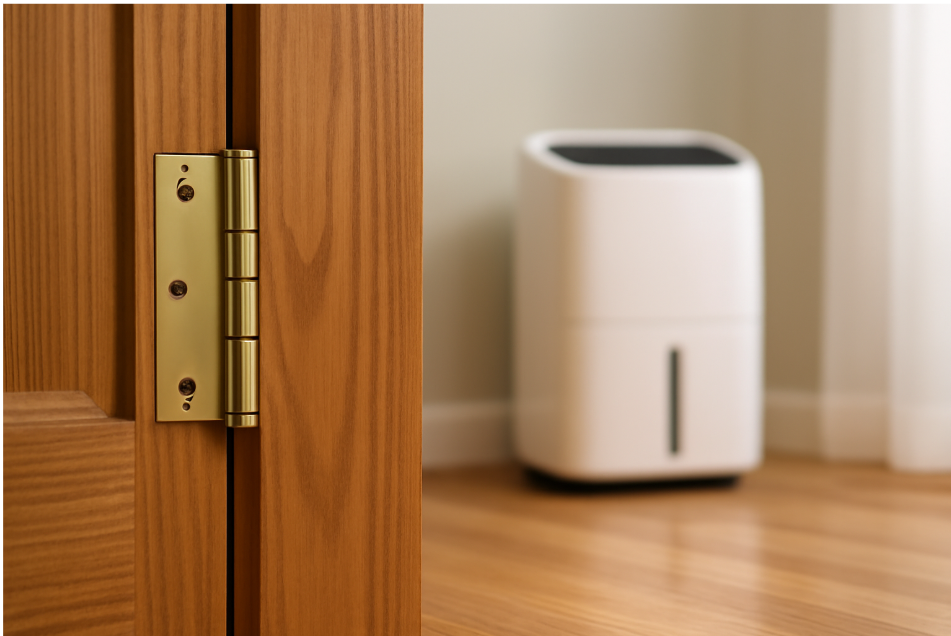
2. Control Humidity Levels
Wood doors are especially prone to warping due to changes in humidity. When the wood absorbs moisture, it can expand, causing the door to shift or sag. To prevent this, try to maintain a consistent indoor humidity level.
Tip: Use a dehumidifier or air conditioner to control moisture levels in your home, especially in rooms where wooden doors are installed.
3. Lubricate the Hinges
Lubricating the hinges will help them move smoothly, reducing friction and wear over time. This simple step can prevent the door from sagging due to hinge strain.
Tip: Apply a light coat of oil or silicone spray to the hinges once every few months to keep them in good condition.
4. Inspect the Door Frame Periodically
The door frame can shift or become damaged, which may lead to sagging doors. Regularly inspect the frame for any signs of warping, cracks, or loose screws.
Tip: If you notice any damage to the frame, fix it immediately to avoid further misalignment.
5. Avoid Overloading the Door
If you have a heavy door, it’s more likely to sag under its own weight. To prevent this, ensure the door is properly supported by heavy-duty hinges that can handle the weight. If needed, replace the hinges with stronger ones.
Tip: If you’re installing a new door, choose one that’s the right weight for the frame and hinges.
6. Install Extra Support for Heavier Doors
For larger or heavier doors, consider installing additional hinges or support brackets. This extra reinforcement will help prevent the door from sagging due to uneven weight distribution.
Tip: Consider adding a third hinge to doors that are especially large or heavy to improve stability and prevent sagging.

Congratulations on fixing your sagging door! Whether you tackled the problem with just a few tweaks or a bit more effort, you’ve learned how to address this common issue quickly and effectively. Now, with your door aligned and functioning properly, you can enjoy smoother operation and peace of mind knowing it’s secure and stable.
Remember, regular maintenance—like tightening hinges, checking the frame, and controlling humidity—will help prevent future sagging. With just a little ongoing care, your door will stay in top shape for years to come. 
If you ever find yourself dealing with door issues again, now you have the knowledge to handle it confidently. Don’t hesitate to revisit this guide anytime you need a refresher. Keep your home functioning well and looking great with easy, DIY fixes!
Have you fixed a sagging door before? Share your experience or ask any questions in the comments below. We’d love to hear from you! 


