A broken window isn’t just ugly; it’s a real problem that needs to be fixed quickly. It makes your home less safe, and it can also raise your energy bills because heat or cool air escapes. Plus, broken glass is dangerous for everyone at home. You can fix it yourself with some simple tools and good instructions, instead of waiting days for a repair person. Whether it’s a small crack or a shattered window, don’t worry. In this blog we will guide you through everything you need to know about, how to replace a broken window pane.
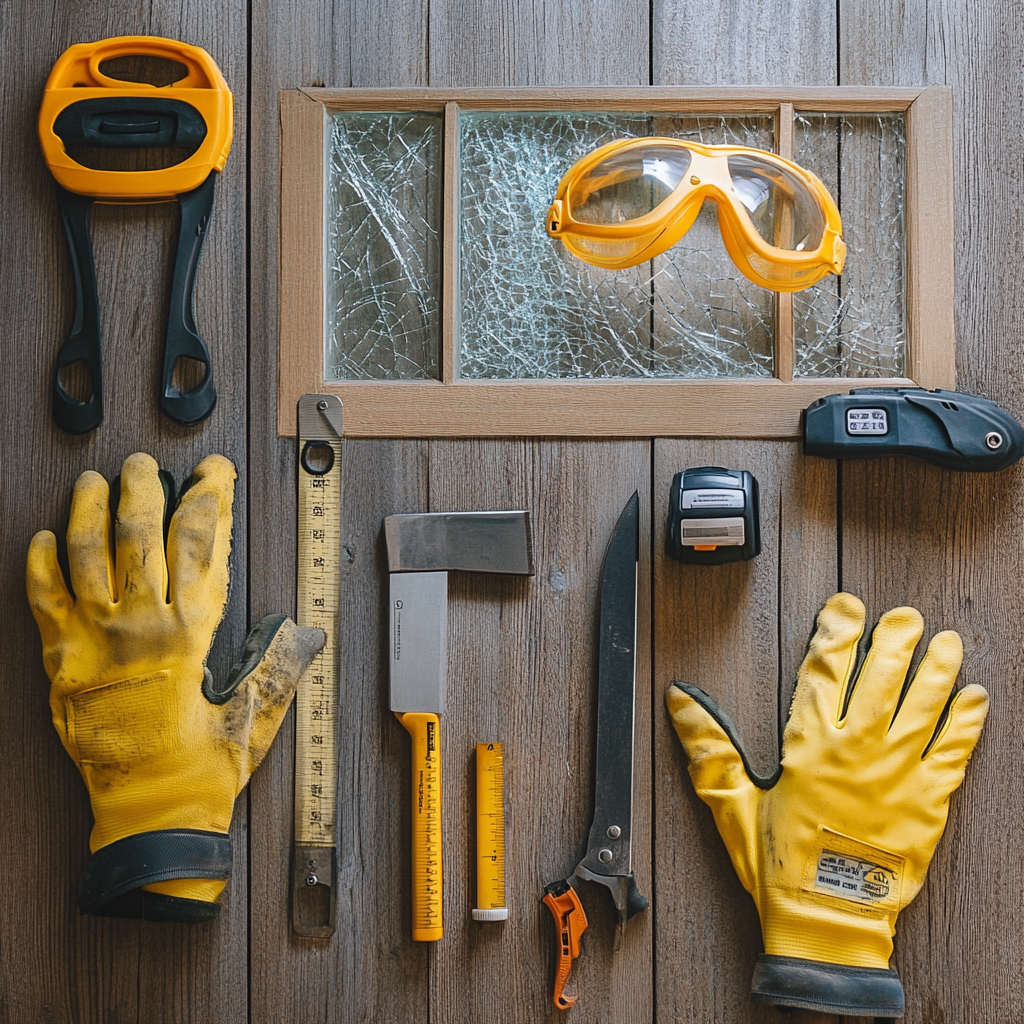
Tools and Materials Required
For Safety:
- Thick work gloves to protect your hands from sharp glass.
- Safety glasses to keep glass shards out of your eyes.
- A dust mask for dust and particle protection.
Tools You’ll Need:
- A putty knife for scraping off old putty and smoothing the new stuff.
- A utility knife for any careful cutting or trimming.
- A glass cutter (only if you’re cutting the glass yourself).
- A tape measure to get the right size for your new glass.
- Painter’s tape to protect the window frame while you work.
- A hammer and small nails or glazing points to hold the glass in the frame.
- A hair dryer or heat gun to soften and remove old, hard putty.
Materials for the Job:
- The new pane of glass.
- Glazing putty for sealing the glass.
- Primer and paint.
Step 1: Assess the Damage and Take Precautions
First of all examine your broken window closely to see what has to be fixed. If it’s a simple single-pane window, the repair should be pretty easy. But if it’s a double-pane or multi-pane window—the kind with two or more layers of glass and air or gas in between—you might need to call a professional. This is especially true if the seal between the panes is broken. While you’re at it, check the frame and the area around the window. A broken window can sometimes damage the frame or other parts that might need repairs too.
Broken glass can be dangerous, so staying safe is key. Start by protecting yourself—wear thick gloves to keep your hands safe and safety glasses to shield your eyes from small, flying glass pieces. Make sure you’re properly prepared before handling any broken glass to avoid injuries. Next, get your work area ready by spreading out a tarp or old sheet under the window to catch any glass that falls, and carefully pick up any big pieces of glass you can see. Make sure to wrap them in newspaper or put them in a strong container before throwing them away.
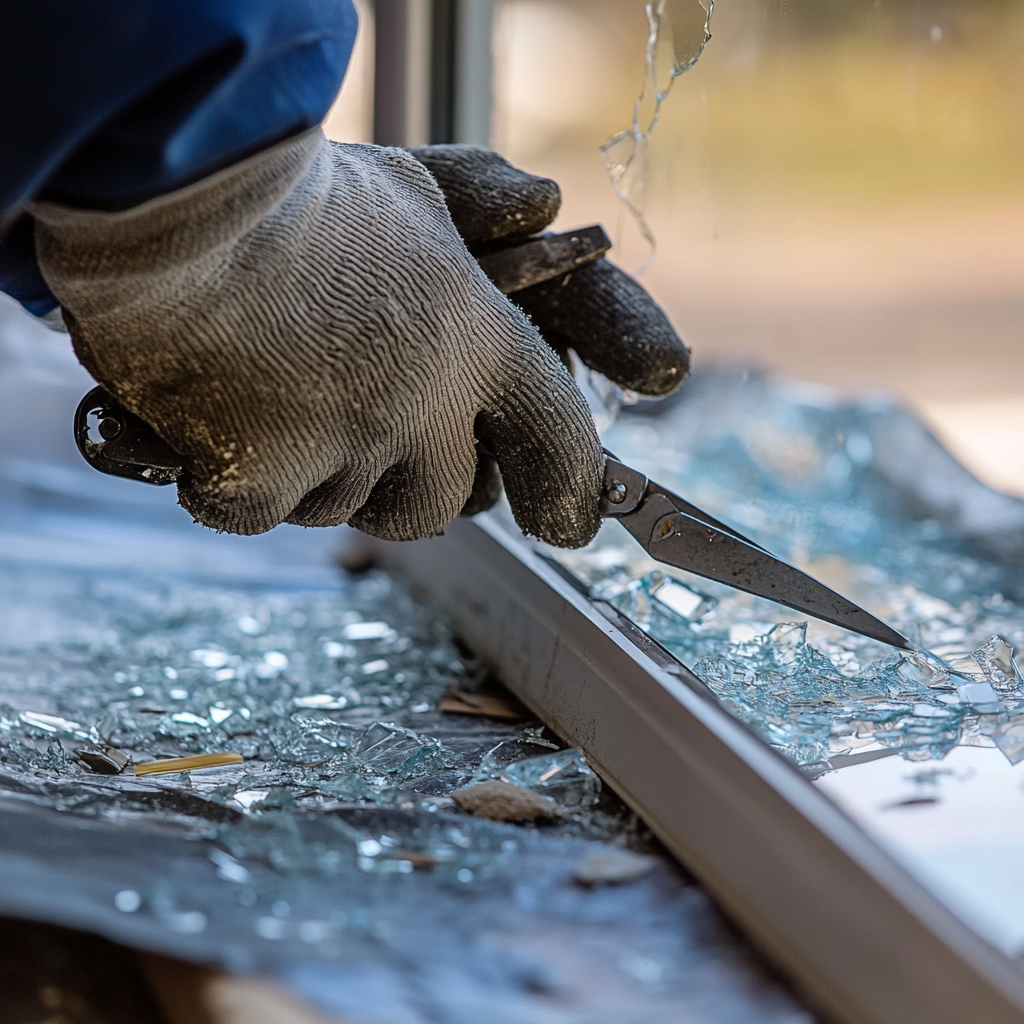
Step 2: Remove the Broken Glass
Prepare for the Task Before you start, make sure you’re wearing thick gloves and safety glasses – this isn’t a step you want to skip! Spread out a tarp or thick trash bag under the window to catch any glass that falls while you’re working. This makes cleanup much easier and safer later on.
Remove Large Glass Pieces Start with the biggest pieces of glass first. Using your gloved hands or a pair of pliers, carefully pull each piece from the frame. Work slowly and steadily – rushing this part might cause the glass to break into smaller pieces. As you remove each piece, wrap it in newspaper or put it in a strong container that you’ve set aside just for the broken glass.
Loosen and Remove Smaller Shards Now for the tricky part – getting rid of those smaller pieces still stuck in the frame. Take a putty knife or flat screwdriver and gently scrape away any stubborn bits of glass, especially in the corners where they tend to hide. You’ll probably find old putty or sticky stuff that holds the glass in place – scrape that away too. If you see any metal clips holding pieces in place, pull those out with your pliers.
Dispose of the Broken Glass Properly Once you’ve got all the glass out, put everything – big pieces, little pieces, and even the dust – into a heavy-duty garbage bag or box. Make sure to mark it clearly as “BROKEN GLASS” so nobody gets hurt trying to handle it. Seal it up really well and check with your local rules about the right way to throw away broken glass in your area.
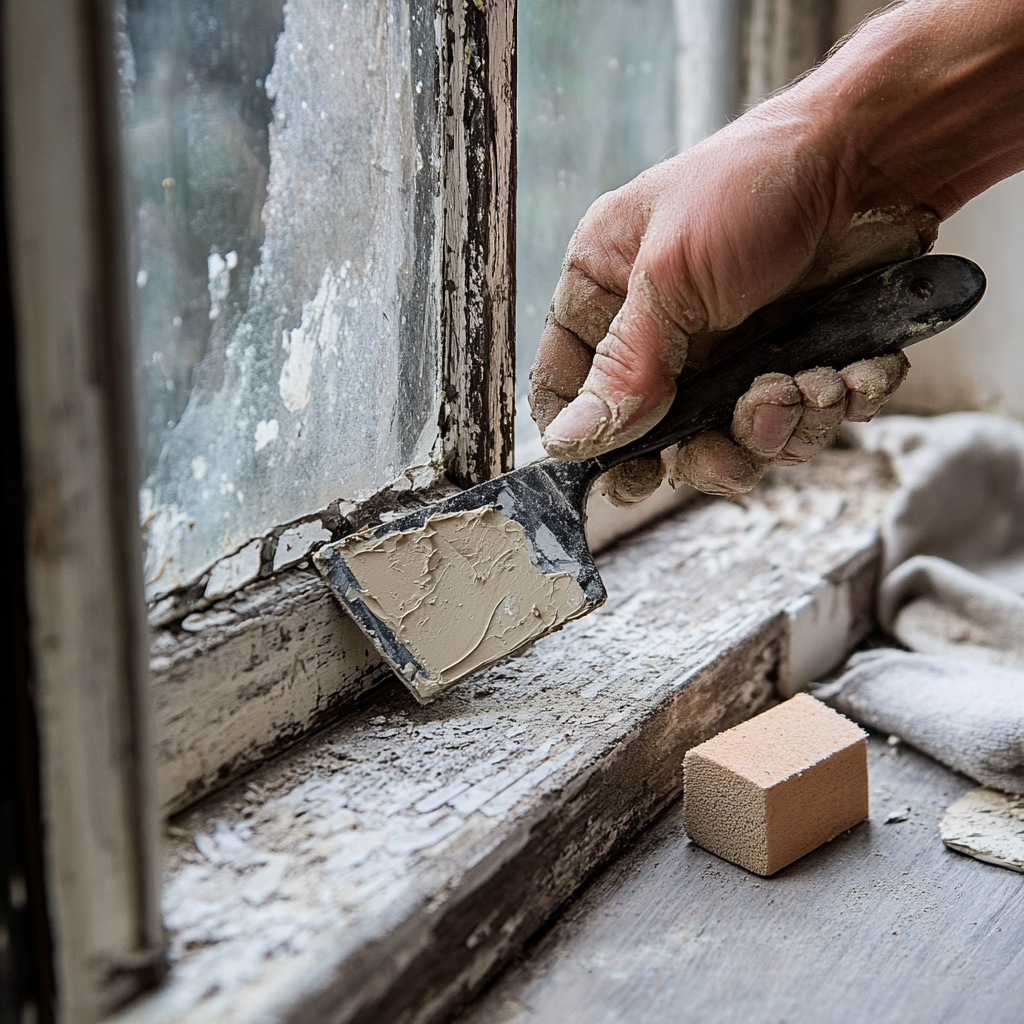
Step 3: Prepare the Window Frame
Let’s get your window frame ready for the new glass. First, you’ll need to clean out all the old stuff holding the previous glass in place. Take your putty knife and scrape away any old putty or caulk – if it’s really stuck, you can warm it up with a hairdryer to make it softer and easier to remove. Look for small metal clips called glazing points that hold the old glass in place, and carefully pull these out with pliers. Once everything’s removed, grab some medium-grit sandpaper and smooth out the frame, making sure to get rid of any leftover putty or rough spots.
Now that your frame is smooth, wipe it down with a damp cloth to get rid of all the dust and let it dry completely. While it’s drying, take a close look at your frame for any damage. If you’ve got a wooden frame, check for rot or cracks – you can fix small problems with wood filler. For metal or vinyl frames, look for any dents or bent spots. If you find any issues, fix them now before putting in the new glass. For wooden frames, this might mean adding a fresh coat of paint or sealant to protect the wood.
Step 4: Measure and Cut the Replacement Glass
Getting the right size glass is super important for a good fit. Start by measuring the frame’s height and width carefully – take measurements in a few different spots and use the smallest numbers. Don’t forget to measure corner-to-corner to check if your frame is straight. Then subtract about 1/8 inch from your measurements to make sure the glass won’t be too tight in the frame.
If you’re not comfortable cutting glass yourself, take these measurements to a hardware store and they’ll cut it for you. But if you want to do it yourself, put the glass on a flat surface with something soft underneath, mark your measurements, and use a glass cutter to score along a straight edge. Once you’ve got your piece cut, test it in the frame to make sure it fits just right.

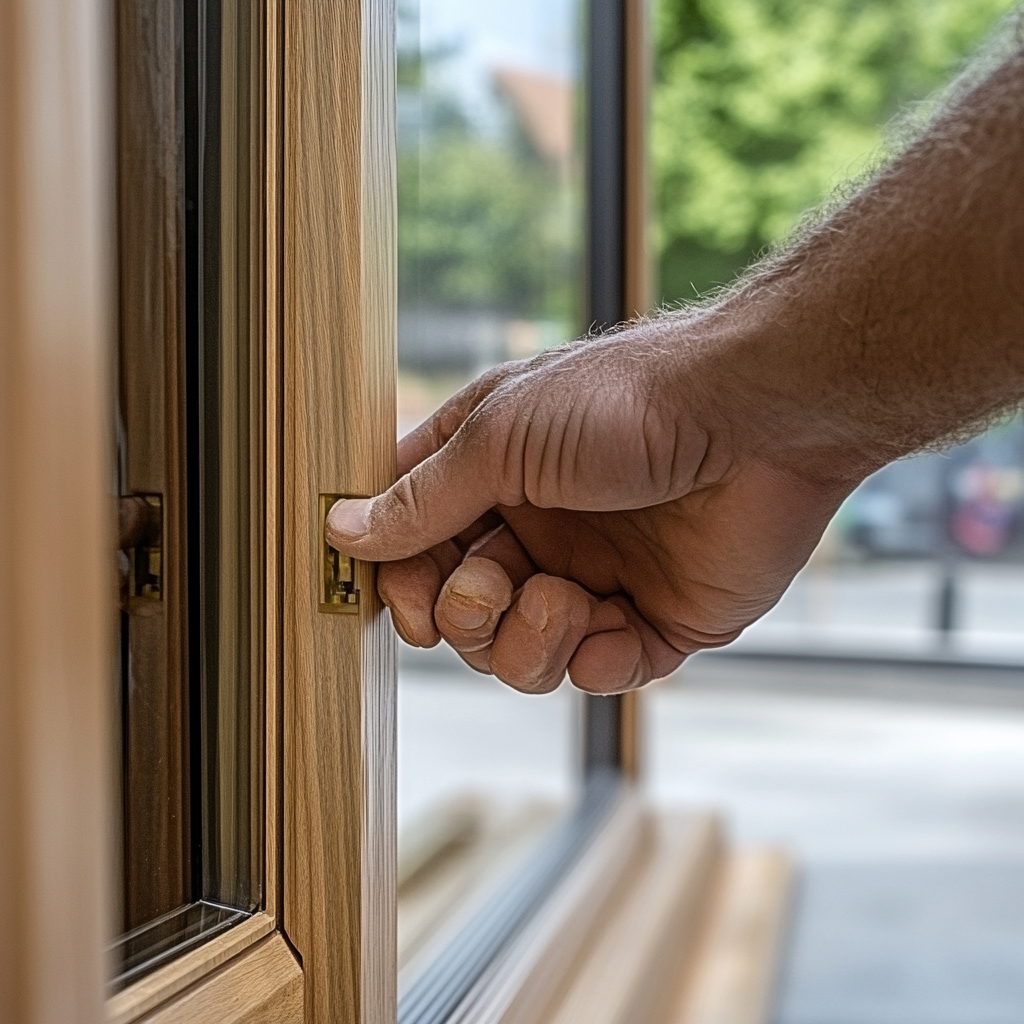
Step 5: Install the New Glass Pane
First, carefully set the glass into the frame and make sure it sits evenly all around. Once it’s positioned just right, secure it with glazing points or small nails – put one in each corner and space them out every 6-8 inches around the frame. Press them in gently with a putty knife so you don’t crack the glass.
Now for the final step: sealing everything up. Take some glazing putty and soften it in your hands, then roll it into thin strips. Press these strips all around where the glass meets the frame, smoothing them out with your putty knife for a neat look. Once you’re done, let everything dry for a day or two without touching it. That’s it – you’ve got yourself a properly installed window!
Step 6: Paint and Finish the Frame
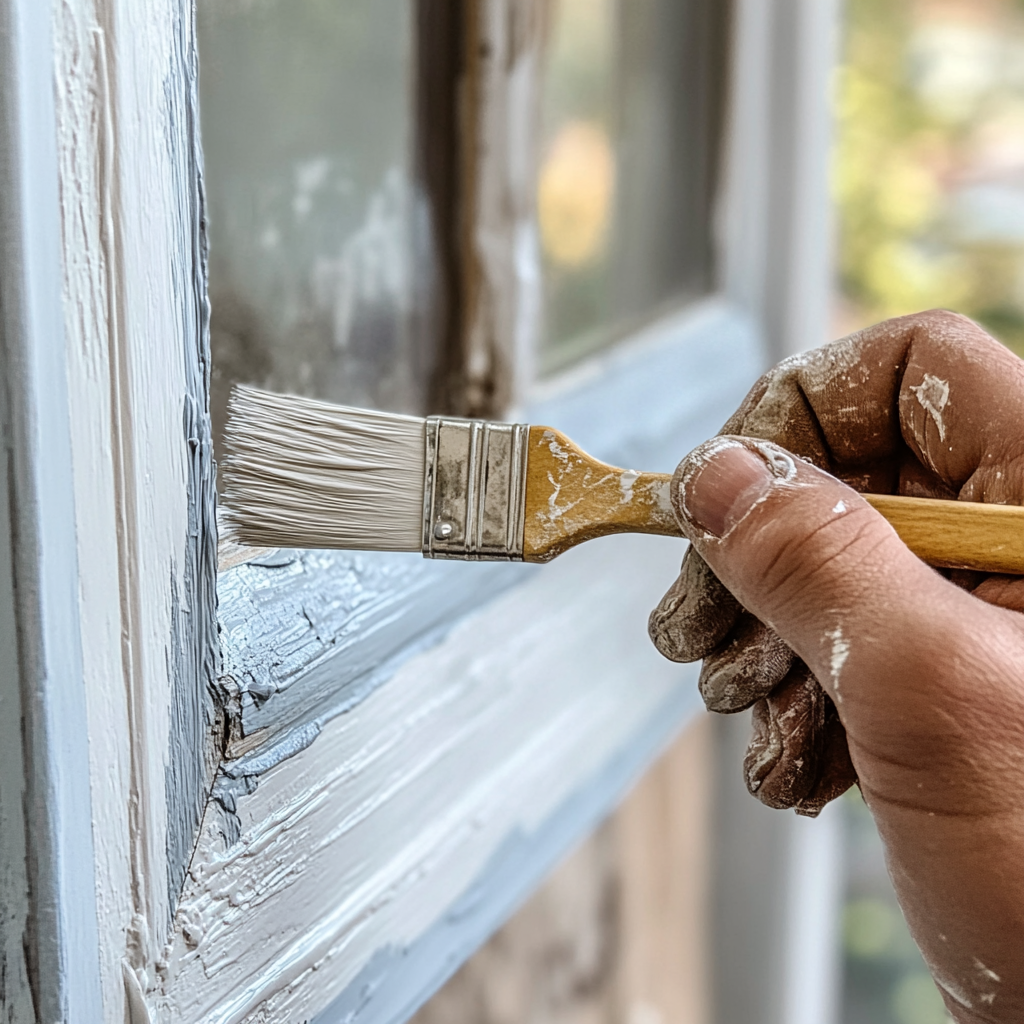
Let’s make your window repair look really professional with a nice paint job. But first things first – you need to wait a day or two for that putty to get completely hard. Once it’s firm to the touch, grab a damp cloth and clean up the frame, then lightly sand any rough spots you find. Next, you’ll want to put on some primer – this helps the paint stick better. Just make sure you’re using the right kind of primer for your window frame, whether it’s wood, metal, or vinyl. Let that primer dry for a few hours before moving on.
Now for the fun part – painting! Pick a good exterior paint that matches your window color, and use a nice brush or painter’s tape to keep things neat. Put on thin, even coats and let each one dry before adding another. If you accidentally get paint on the glass, wipe it off right away with a damp cloth. Once you’re done, take a good look to make sure you didn’t miss any spots. Then give everything a few days to dry completely – this makes sure your paint job lasts a long time and can handle whatever weather comes its way.
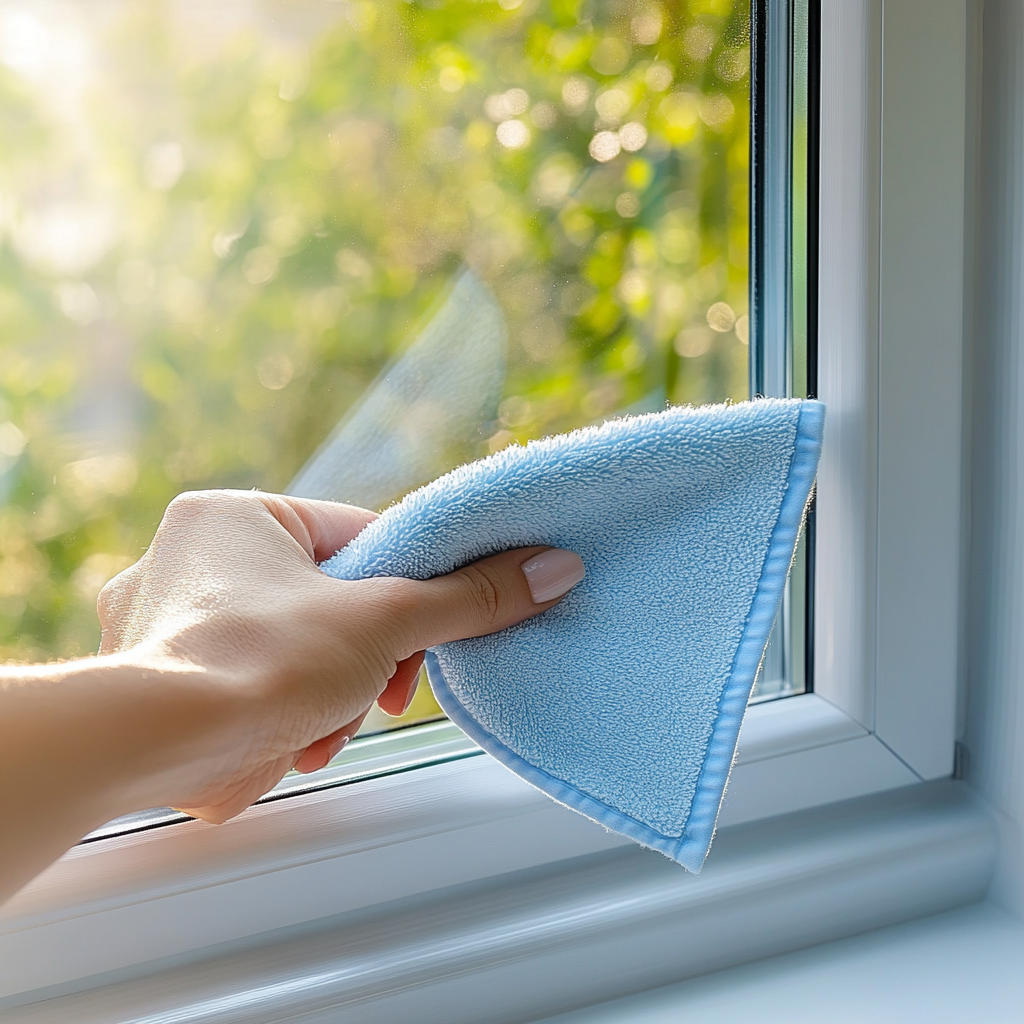
Step 7: Inspect and Clean the Window
Start by checking for any gaps or uneven areas around the window that might affect its seal. A poor seal can let air, dust, or water in, leading to bigger problems down the line. Take a close look at the edges to ensure everything is properly aligned and fitting snugly.
Next, clean the window to remove any smudges or fingerprints. This simple step improves visibility and keeps the window looking good. If the window can open and close, test it to make sure it moves smoothly. A smooth operation is important for safety and comfort. Taking the time to check and clean your windows regularly helps maintain their condition and prevents potential issues.