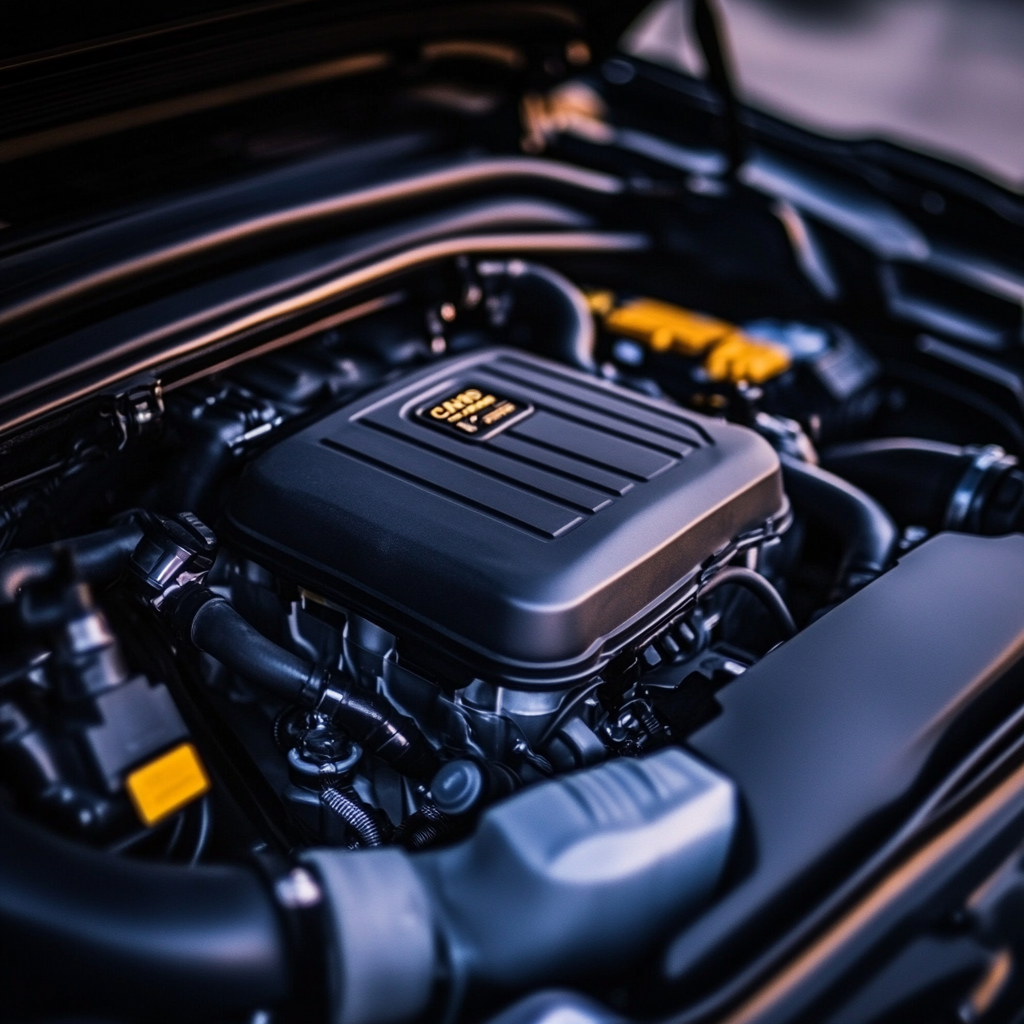
A clean air filter is very important for obtaining top engine performance. Regular maintenance of air filters will help you to obtain the peak efficiency of your vehicle’s engine. A dirty air filter restricts airflow, compromising engine performance and fuel efficiency. Regular replacement of air filters prevents decreased engine power and extends vehicles engine lifespan. In this blog, we will guide you to replace a car air filter along with expert tips, tricks, and best practices which will help you to get the job done the right way. If you are facing this task for the first time at home, this blog will guide you to do it perfectly and it will make this an easy process. Now we will explore the process in detail.
When to Replace Your Air Filter: Signs to Look For
Now the question comes, how will you know the perfect time for your car’s air filter change? For that there are some signs that could help you to find a perfect time. And knowing these types of signs is essential for finding the best time for air filters to change, which will keep your engine running smoothly. Several signs can indicate that it is time for a replacement. One of the common signs is reduced acceleration or a noticeable drop in engine power production. You may feel some power gap in your engine when you are pressing the accelerator pedal. Also it is not responding like a new one. It could be due to a blocked air filter which blocks the fresh airflow to the engine. Due to leakage of fresh air, the engine can not operate efficiently.
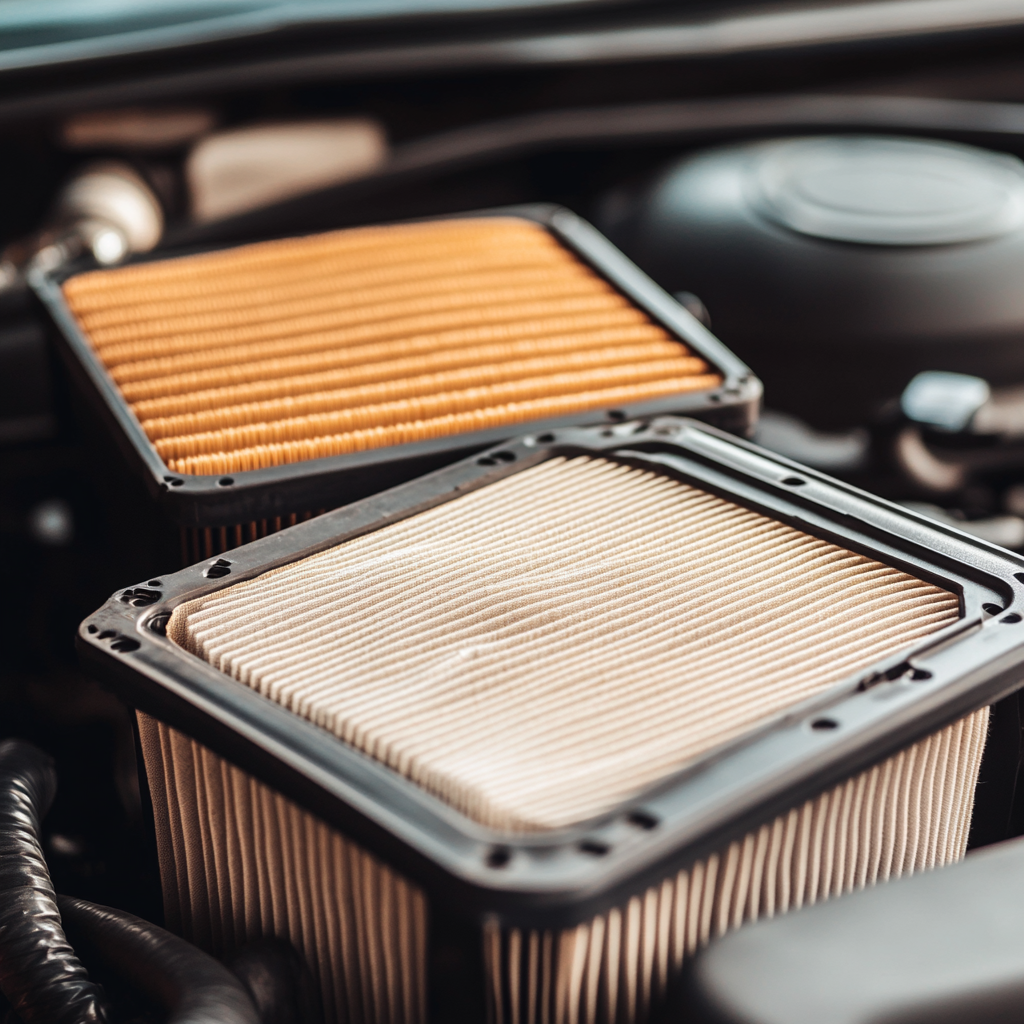
Another sign is increased fuel consumption. If you notice that your car requires more fuel compared to as usual this may be due to dirty air filters. A dirty air filter causes the engine to work harder, which increases fuel consumption. During routine checks, visually inspect the air filter for dirt, dust, or blockages. Replace your old air filter if you find excessive dirt buildup in it. Additionally, pay attention to unusual engine sounds, such as coughing, sputtering, or rough idling, particularly when the car is stationary. These types of sounds will help you to identify most of the problems. These sounds may also indicate insufficient airflow, blocking smooth engine operation.
As an expert suggestion, change your air filter after every 12,000-15,000 miles, unless you are driving in a harsh environment. In that case, more frequent replacement may be necessary. Regularly checking your air filter can prevent engine damage and ensure better performance. And it also increases the lifespan of your car’s engine.

Tools and Materials You’ll Need
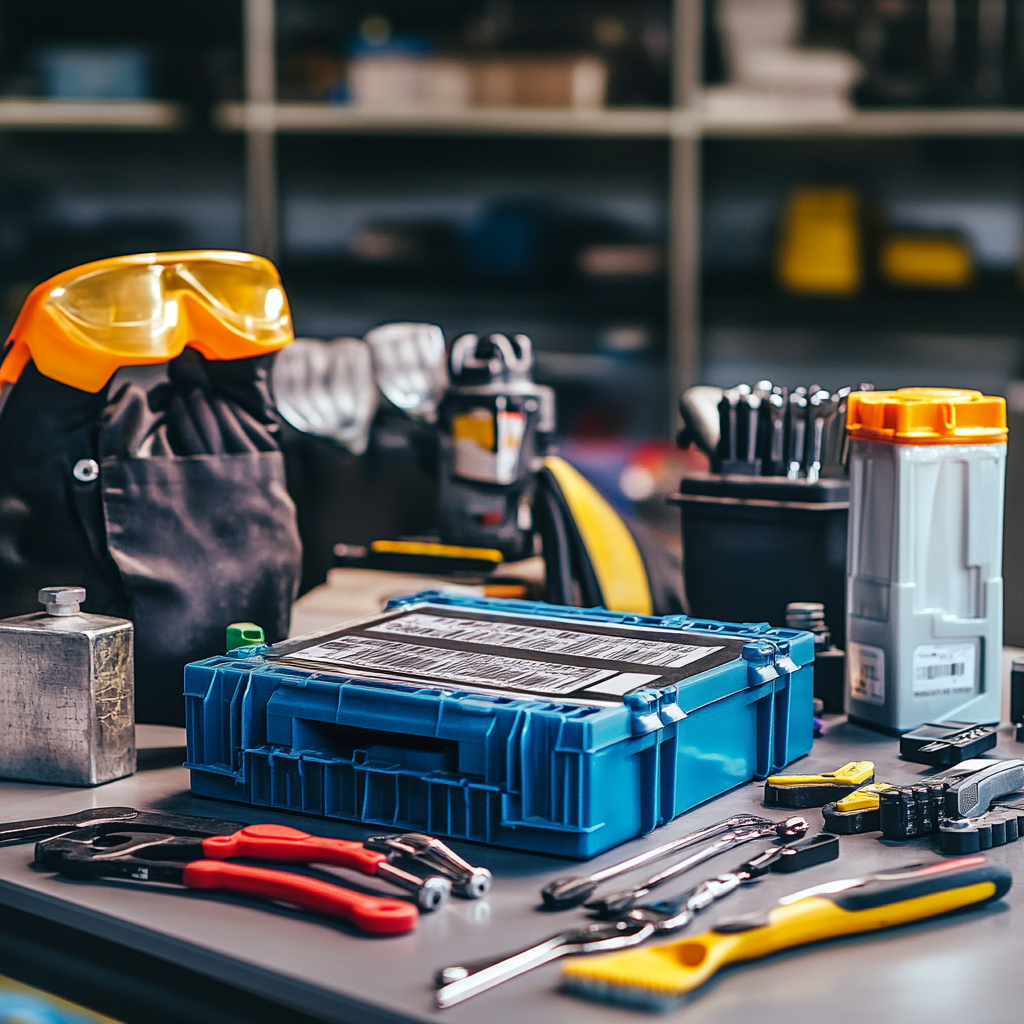
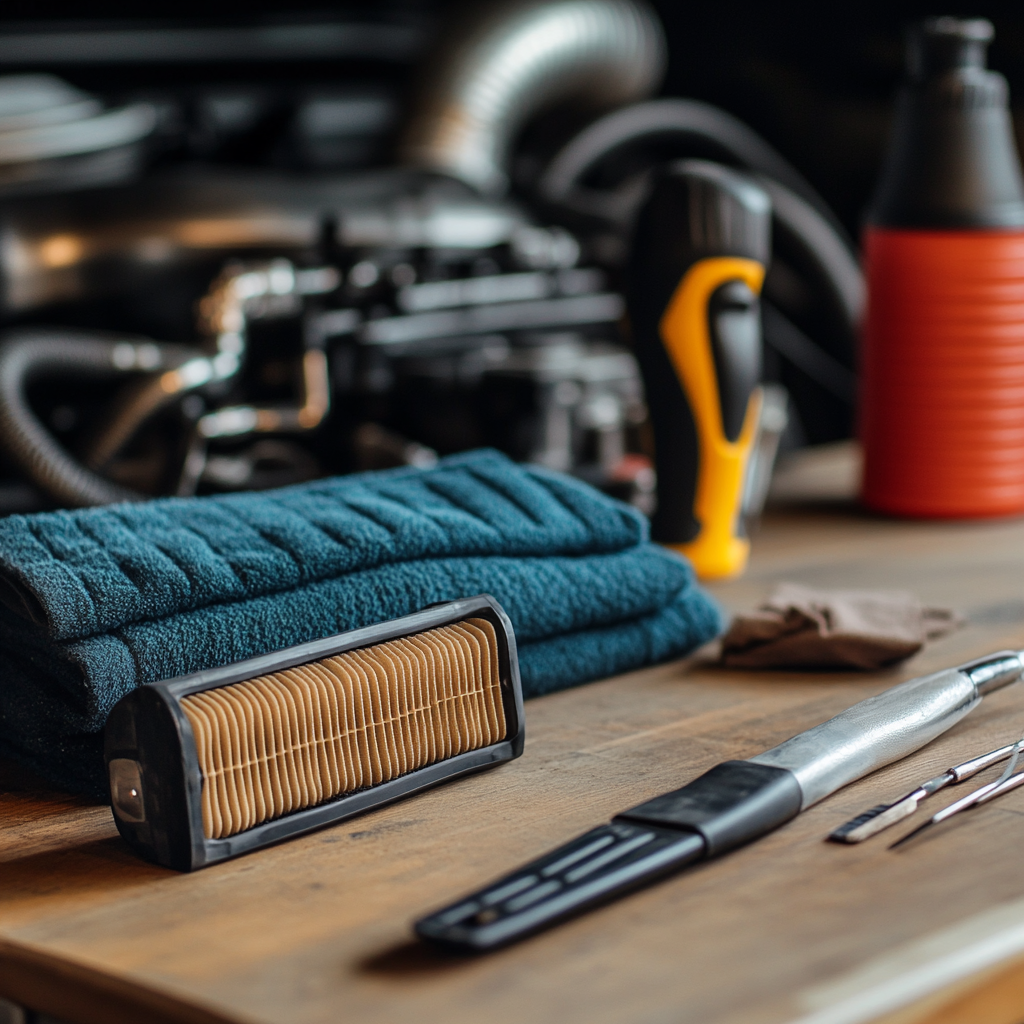
The air filter replacement process is one of the simplest processes that requires only a few basic tools and supplies. To change your car’s air filter, you will need these essential items:
New Air Filter:
- First of all, you need to buy a new air filter for your vehicles. Depending on your car’s model and version, you will need either a paper, foam or cotton filter. Follow your vehicle’s manual to find the specific air filter which one is required for your car.
Screwdriver:
- In most of the car, the air filter housing is secured with screws. By using this basic screwdriver, you can access the air filter compartment. And in most of the cases you can use Flathead or Phillips screwdrivers.
Vacuum or clean cloth:
- After removing the air filter it will help you to clean the air filter housing by using vacuum or clean cloths. After a long time, you may see dust formation in the housing area.
That’s all! Replacing your air filter doesn’t require any special tools, and the entire process can be done in just a few minutes.
Replacement Process
Step 1: Safety First
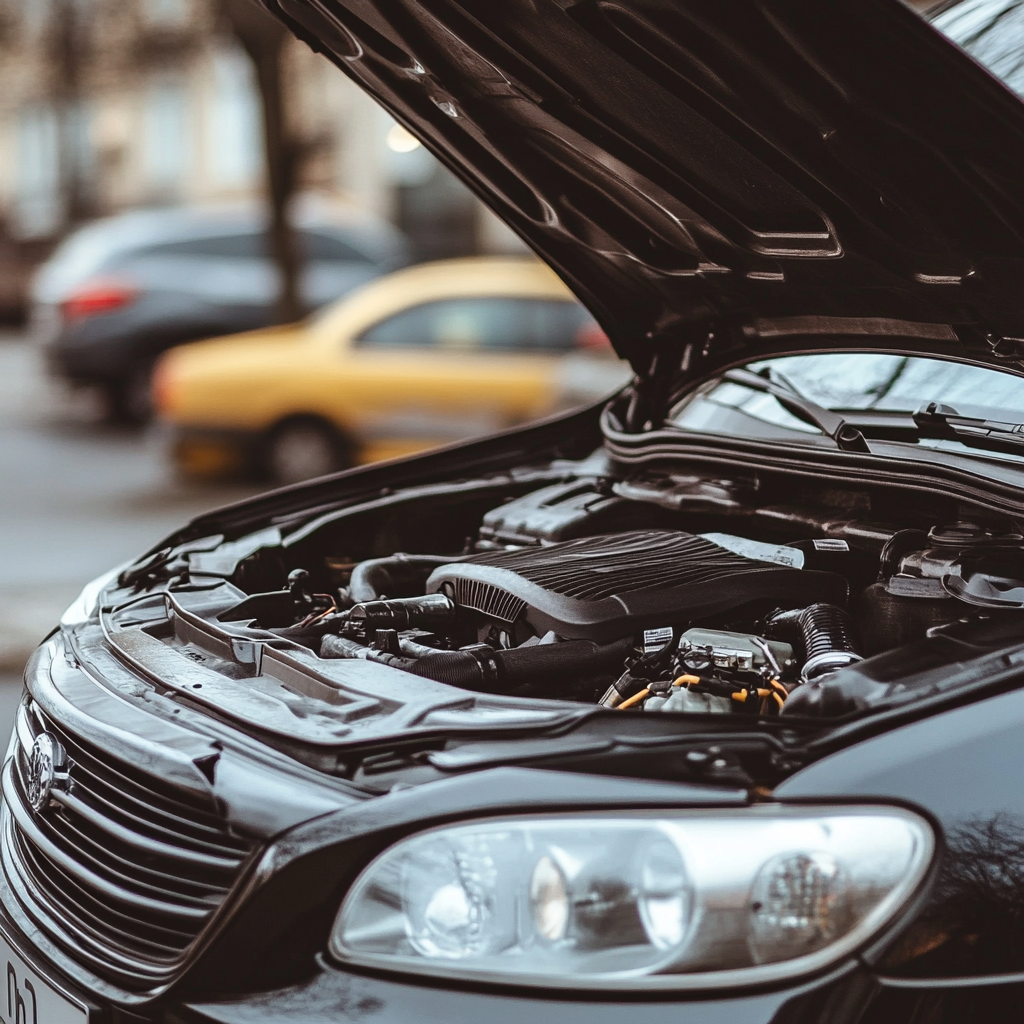
Ensure your vehicle is parked on a flat surface and the engine is turned off for a minimum half hour for cooldown.Now open your car’s hood and secure it with a supporting rod.
Step 2: Start the Replacement Process
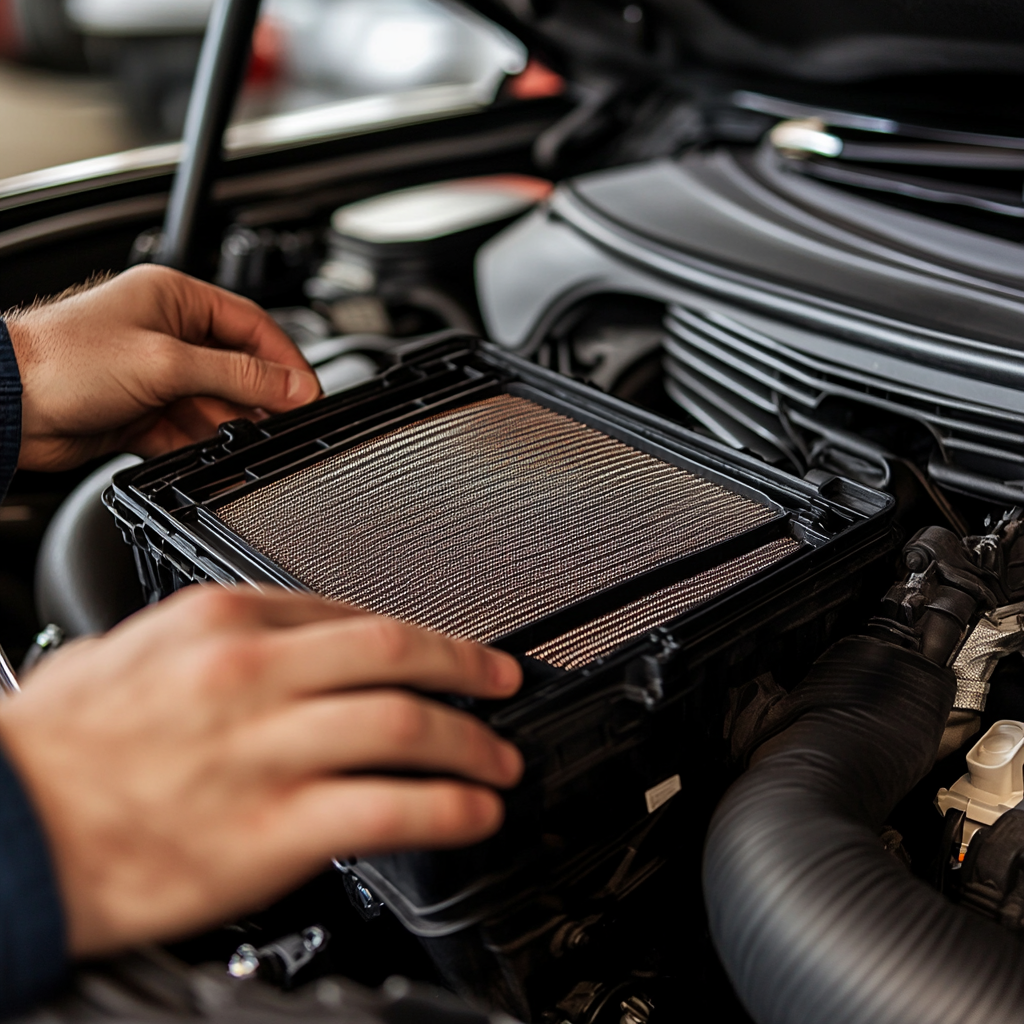
After completing the safety step, lift the hood of your car and secure it with the prop or supporting rod. Usually, you will find air filters housing in a black plastic box located near the engine compartment or on its side wall. The housing may be secured with clips, screws, or other fastening mechanisms. To open housing cover checks for those clips or screws. Refer to your car’s owner manual for clarification on the air filter’s location if needed.
Step 3: Unscrew the Housing Cover
After finding the air filter housing, the next step is to access the air filter for that you will need to unscrew the cover. If there are clips, simply release them by hand. In case there are screws, then use a screwdriver to loosen them. After removal of the housing cover, it will give you clear access to the air filter. Take care to avoid dropping screws or damaging clips during removal.
Step 4: Remove the Old Air Filter
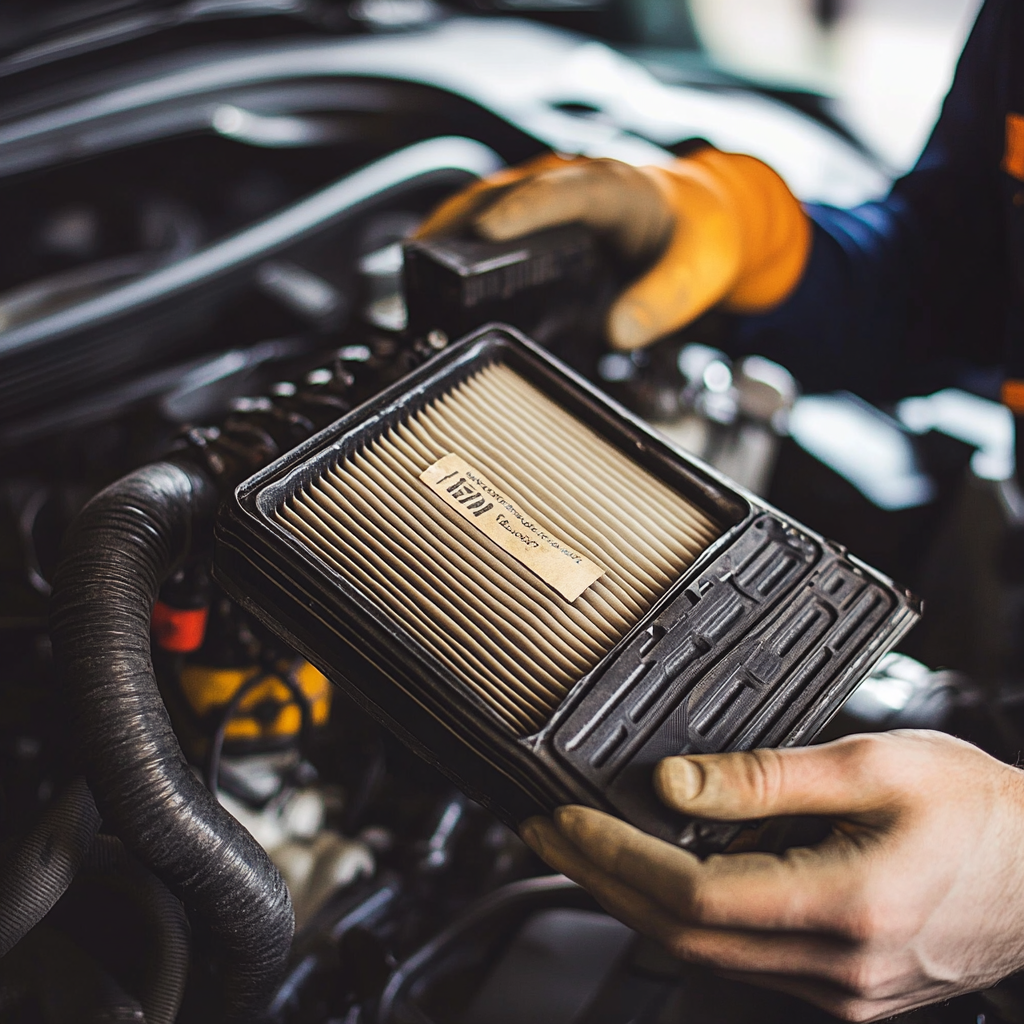
After removing the housing cover, now you need to remove the old air filter carefully to prevent any kind of dust from spreading. Be careful during this step, as loose dirt or debris may fall into the engine or housing area, which will create extra hassle. Observe how the old filter is positioned, as you will need to replicate the exact way when you are installing the new filter.
Step 5: Inspect and Clean the Housing
Before installation of the new filter, inspect the inside of the air filter housing area. Remove if you notice any visible dirt or debris by using a clean cloth or vacuum. This will ensure contaminants do not enter the engine, which will help the new air filter to work effectively.
Step 6: Insert the New Air Filter
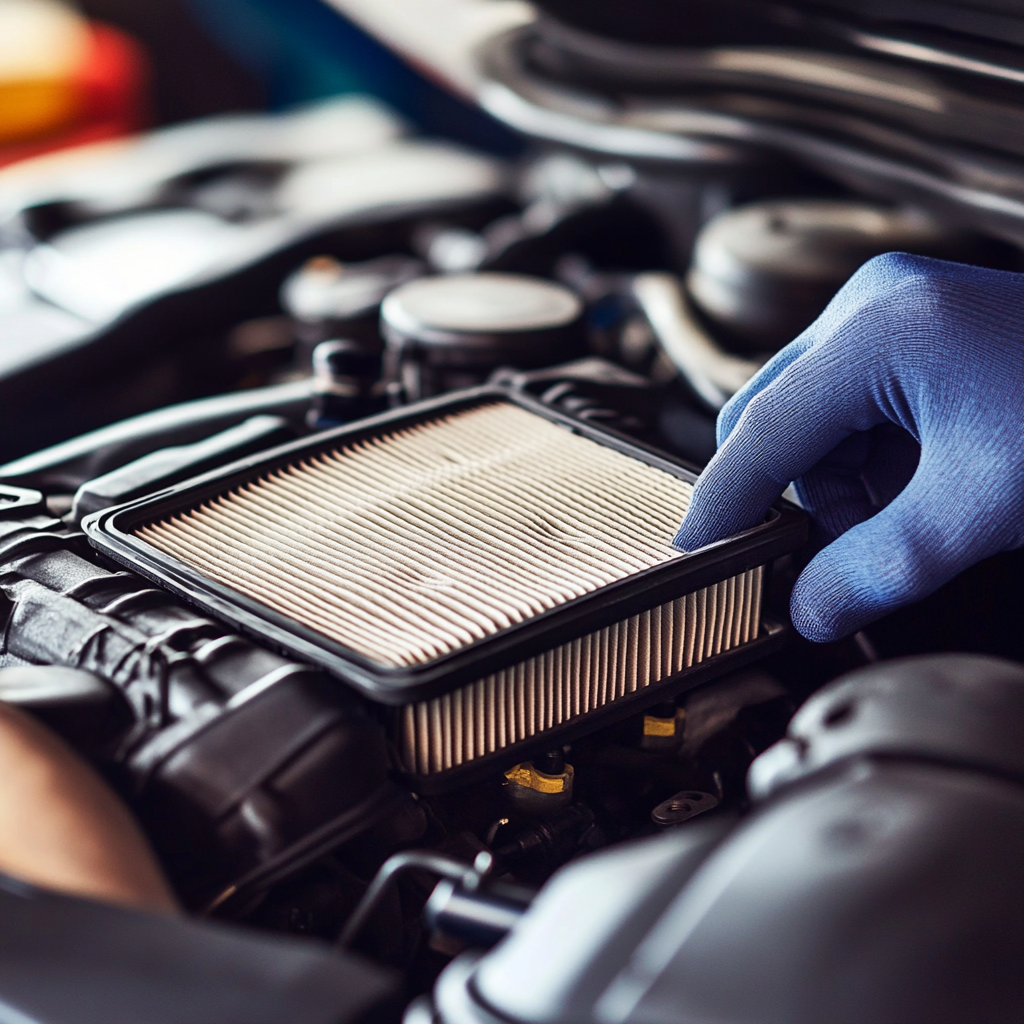
Now, take the new air filter and install it into the housing area carefully. Make sure you properly seated and oriented the new air filter in the correct direction like the old one was installed. Most of the air filters have a label or arrows indicating airflow, so be sure to align it in the specified direction.
Step 7: Securing the Air Filter Housing Area
Once the new filter is installed, reattach the housing cover and fasten it with screws or clips you removed earlier. Ensure everything is tightly closed to prevent unfiltered air from entering the car’s engine. Because it will decrease the overall efficiency of your car’s engine. Once finished, carefully lower the hood and ensure it’s securely connected, and your air filter replacement is complete!
Common Mistakes to Avoid
To maintain optimal engine performance, beware of these common errors while you are replacing your car’s air filter at home.
Using the Wrong Filter (Size or Type):
- One of the most common errors is installing an incorrect air filter. Always consult your vehicles manual for knowing the right size and type of air filter that your car required. Uses of the wrong air filter can result in poor filtration and reduced engine overall efficiency.
Not Securing the Air Filter Housing Properly:
- This is the another most common error, so many people did not secure their air filter housing properly after the installation. Due to this improper replacement it causes air leaks and which may allow unfiltered air to enter the engine. And it also causes damage to your engine and reduces its performance.
Forgetting to Clean the Air Filter Housing:
- Neglecting to clean the housing before installing the new filter is also one of the common errors which reduces your car’s engine efficiency. The new air filter will absorb the dust particles which you left in the housing compartment. Always clean out the housing area with a cloth or vacuum before installing the new air filter. You will notice a significant change after this.
Overlooking the Replacement Interval:
- Waiting too long to replace your air filter is also a major mistake. Usually try to replace your air filter after every 12000 to 15,000 miles. If you are driving in a normal condition. If you are driving in a harsh environment in that case, more frequent replacement may be necessary.
