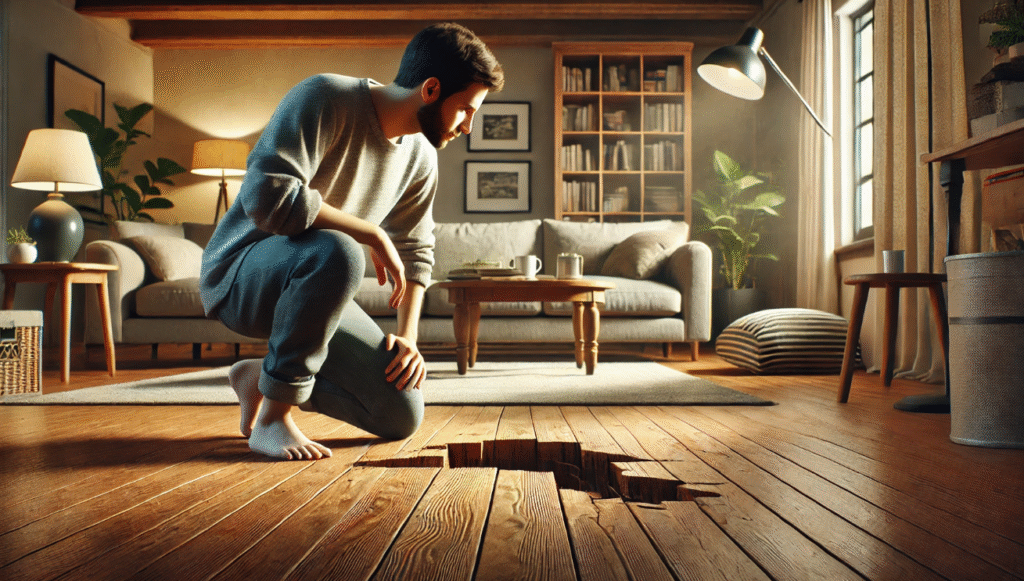
Have you ever stepped on a creaky, cracked floorboard and thought, “I need to fix this”? A damaged floorboard can quickly become a major eyesore or even a safety hazard in your home. Whether it’s from wear and tear, water damage, or simply age, knowing how to replace a damaged floorboard can save you time, money, and frustration. 🛠️
But the process doesn’t have to be daunting! In this easy-to-follow guide, we’ll walk you through every step of replacing that unsightly or unsafe floorboard, from assessing the damage to securing the new board. No professional help required! Whether you’re a DIY beginner or have some experience, this guide will give you the confidence to restore your floors with ease.
Keep reading to discover the tools you’ll need, common mistakes to avoid, and expert tips for achieving a flawless finish that will make your floor look brand new. Let’s get started! 🌟
Understanding Floorboard Damage
Before you dive into replacing a damaged floorboard, it’s important to understand what kind of damage you’re dealing with. Different types of damage require different approaches, and identifying the problem early can save you time and effort. Let’s break down the most common types of floorboard damage you might encounter.

1. Cracks, Scratches, and Chips 🛠️
These are usually the result of everyday wear and tear. Moving furniture, pet claws, or high foot traffic can cause small cracks, scratches, or chips on the surface of the floorboard. While these may seem like cosmetic issues, they can worsen over time, allowing dirt to accumulate or even causing further damage to the surrounding boards.
- Solution: For minor cracks and scratches, you can use wood filler or sandpaper to smooth the surface. However, if the damage is deep or widespread, replacing the board may be the best option.
2. Warping, Buckling, and Swelling 💧
Moisture is a major culprit when it comes to warping, buckling, or swelling of floorboards. If there’s a leak, high humidity, or even a spilled drink that isn’t cleaned up right away, the wood can absorb the moisture and change shape. This can lead to uneven floors that are not only unsightly but also unsafe.
- Solution: If you catch the issue early, you may be able to dry out the board and prevent further damage. But if the warping is severe, replacing the board is necessary. Also, addressing the moisture problem (like fixing leaks or using a dehumidifier) will help prevent future damage.
3. Stains and Water Damage 💦
Water stains are often caused by spills or leaks that have been left untreated. Over time, these stains can deepen and affect the integrity of the wood. If the damage is severe, you may notice that the wood has started to rot, especially if the water has been sitting for a long period.
- Solution: For surface-level stains, you might be able to clean them up with a wood cleaner or use a stain remover. However, if the water has caused the wood to soften or rot, replacement is necessary. Be sure to address any leaks or moisture sources to prevent further damage.
4. Termite or Pest Damage 🐜
Termites, ants, and other pests can weaken your floorboards by eating away at the wood. If you notice small holes, powdery residue, or crumbling sections of your floor, it’s likely that pests have caused the damage. The problem can spread quickly if not dealt with.
- Solution: It’s crucial to treat the infestation first. Once the pests are dealt with, replace the damaged boards. You may also need to inspect the surrounding area to ensure no further pest damage occurs.
5. Age-Related Wear ⏳
Over time, even the best-quality floors show signs of wear. The finish may fade, and the boards might show signs of fading or becoming scratched from years of use. This is especially common in older homes or high-traffic areas.
- Solution: If the damage is mainly aesthetic, you can often fix it by refinishing the floor. However, if there are significant structural issues, replacing some boards may be necessary to restore the floor’s integrity.
Tools and Materials Needed
Replacing a damaged floorboard doesn’t require a ton of expensive equipment, but having the right tools and materials on hand will make the job easier and ensure a professional-looking result. Here’s a list of what you’ll need:
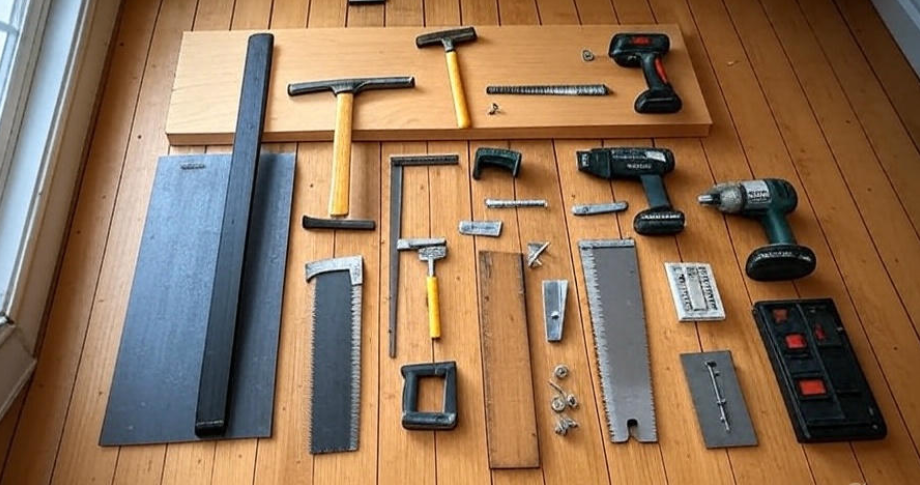
Essential Tools 🛠️
- Pry Bar or Crowbar
A pry bar is your best friend when it comes to removing the damaged floorboard. It helps you lift and remove the board without damaging the surrounding ones. A crowbar works well too if you don’t have a pry bar. - Hammer
A standard hammer will help you drive nails or secure the new board. Make sure to use a hammer with a smooth face to avoid leaving dents on your floor. - Tape Measure
Accurate measurements are crucial. A tape measure will help you measure the length and width of the damaged board and ensure that your new one fits perfectly. - Saw (for Cutting New Boards)
If your new floorboard needs to be cut to size, a saw will come in handy. A circular saw is great for cutting larger boards, but a jigsaw will work if you need to make more intricate cuts. - Drill and Screws
To secure the new board in place, you might need a drill to drive screws into the wood. This ensures the new board stays firmly in place. - Wood Filler
If there are any gaps or imperfections in the surrounding floor, wood filler can help smooth everything out for a flawless finish. It’s especially useful if you’re repairing minor damage on adjacent boards.
Materials You’ll Need 🧰
- Replacement Floorboard(s)
The most important material! Make sure you purchase a replacement board that matches the type, size, and finish of your existing floor. If you’re unsure, bring a sample of your current floor to the store for an exact match. - Nails or Screws
Depending on the type of floor you have, you may need nails or screws to secure the new board. For hardwood, screws are often preferred to ensure the board stays in place without splitting. - Floor Adhesive
If you want extra security for the new floorboard, you can use floor adhesive. It helps bond the board to the subfloor, preventing any movement over time.
Pro Tip
Before you begin, make sure all your tools are within easy reach. Having everything on hand will save you time and frustration during the process! ⏱️
How to Replace a Damaged Floorboard – Step-by-Step
Now that you have all the tools and materials ready, it’s time to get to work! Replacing a damaged floorboard is a straightforward process if you follow these simple steps. Let’s walk through it, step by step.
1. Assess the Damage 🧐
Before you begin, take a good look at the damage. Is it just one floorboard, or is it part of a bigger problem? If only one board is affected, proceed with replacing just that. If the damage extends to other boards or the subfloor, you might need to address those issues first.
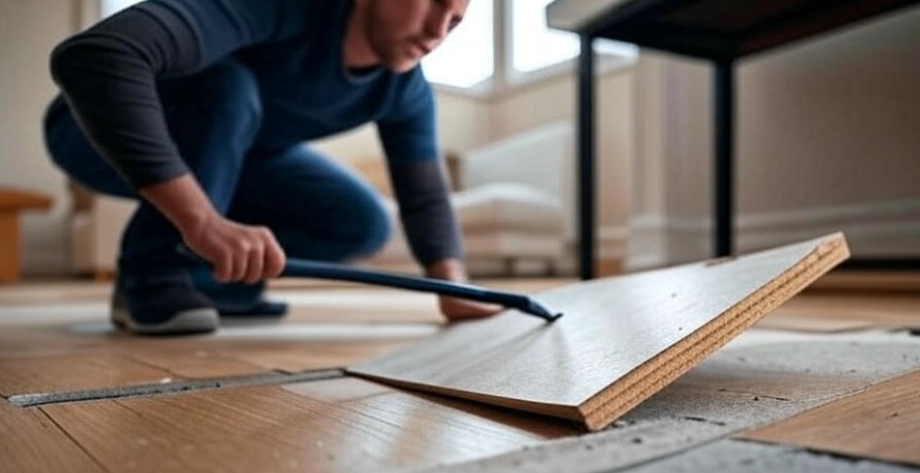
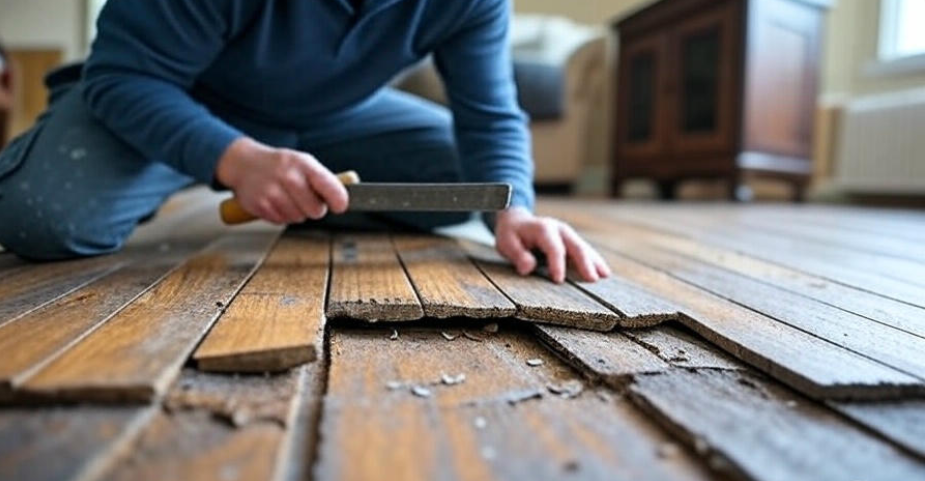
2. Remove the Damaged Floorboard 🛠️
Now, it’s time to carefully remove the damaged board. Here’s how:
- Use a pry bar to gently lift the damaged floorboard. Start at one end and work your way to the other to avoid damaging surrounding boards.
- Remove any nails or screws securing the board. If there are stubborn nails, use the claw of your hammer to pull them out.
- Be careful around surrounding boards to avoid causing damage when removing the old board.
3. Inspect the Subfloor 🔍
With the damaged board removed, take a moment to inspect the subfloor for any issues like moisture, mold, or uneven surfaces. The subfloor must be clean, dry, and level before installing the new board.
- Fix any moisture problems before continuing. If necessary, let the area dry out thoroughly.
- If the subfloor is uneven, you may need to sand it down or use a leveling compound to create a smooth surface.
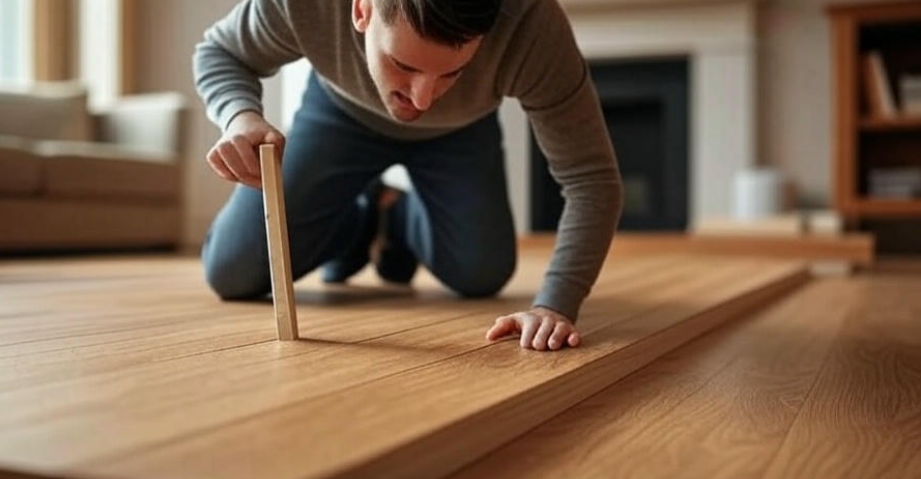
4. Measure and Cut the New Floorboard 📏✂️
Now that the space is prepared, it’s time to measure and cut your replacement board.
- Measure the length and width of the space where the old board was. Make sure to account for the exact dimensions, so your new board fits perfectly.
- Use a saw to cut the replacement board to size. Be careful when cutting to ensure the edges are smooth and even.
5. Install the New Floorboard 🔨
With your new board cut to size, it’s time to install it.
- Place the new board in position and check that it fits snugly with the surrounding boards.
- Secure the new board by driving nails or screws into the subfloor. For extra security, you can apply a small amount of floor adhesive to the edges of the new board before installation.
- Make sure the new board is flush with the surrounding floorboards, and tap it gently with a hammer if needed to ensure a tight fit.
6. Finish the Edges ✨
Once the new board is securely in place, it’s time to finish up.
- If there are any gaps or imperfections between the new board and the surrounding floor, fill them with wood filler. Smooth it out with a putty knife for a seamless finish.
- Sand the area to make sure everything is level and even. This step will give your floor a polished look, especially if there’s any noticeable difference in height.
7. Clean Up and Enjoy 🧹
Finally, clean up any debris, dust, or wood shavings left behind from the installation. Sweep or vacuum the area to remove any particles. Admire your work – your floorboard should now look as good as new!
Common Mistakes to Avoid
While replacing a damaged floorboard is a manageable DIY project, there are a few common mistakes that can trip you up. Avoiding these pitfalls will help ensure your repair looks professional and lasts for years. Let’s dive into the top mistakes to watch out for:
1. Incorrect Measurements 📏❌
One of the most common mistakes is not measuring the damaged area correctly. A floorboard that’s too big or too small can lead to gaps, uneven edges, or difficulty fitting the new board.
- Solution: Always measure twice! Take multiple measurements across the length and width of the space to ensure your replacement board will fit perfectly.
2. Using the Wrong Type of Floorboard 🔨
Different flooring materials (hardwood, laminate, engineered wood, etc.) require different types of replacement boards. Using the wrong material can result in mismatched colors, textures, and even durability issues.
- Solution: Match the replacement board to the existing floor type in terms of material, thickness, and finish. If you’re unsure, take a sample to the store for a perfect match.
3. Neglecting the Subfloor 🛠️
You may be tempted to skip checking the subfloor, especially if it looks fine, but ignoring this step can lead to problems down the road. A damaged or uneven subfloor can affect how well the new board sits and could even lead to further damage.
- Solution: Always inspect the subfloor before installing the new board. Look for moisture, unevenness, or any signs of damage, and fix any issues before proceeding.
4. Rushing the Removal Process ⏳
It can be tempting to hurry through removing the damaged board, but rushing can cause unnecessary damage to the surrounding floorboards.
- Solution: Take your time and carefully remove the damaged board. Use a pry bar gently and work slowly to avoid cracking or damaging adjacent boards.
5. Not Using the Right Fasteners 🔩
The type of fasteners you use to secure the new floorboard is important. Nails may work for some floors, but screws are often better for ensuring the new board stays secure, especially in high-traffic areas.
- Solution: Choose screws if you’re working with hardwood. For other types of flooring, make sure the nails or screws you use are the correct length to avoid damaging the subfloor.
6. Skipping the Finishing Touches ✨
It’s easy to forget about finishing the edges of the new board. Gaps or rough edges can make your repair look unfinished.
- Solution: Always fill any small gaps with wood filler, then sand the area smooth. Take a moment to inspect your work for a clean, polished finish.
7. Ignoring Moisture Issues 💧
If the damage is caused by moisture (such as a water leak), simply replacing the board isn’t enough. Failing to address the underlying issue could lead to future damage.
- Solution: Before installing the new board, ensure the area is completely dry. If you suspect moisture problems, consider using a moisture barrier or fixing the leak before proceeding with the repair.
How to Maintain Your Floorboards After Replacement
Congratulations on successfully replacing your damaged floorboard! Now, the key to keeping your floors looking great and extending their lifespan is proper maintenance. With a few simple steps, you can ensure your floorboards stay in top condition for years to come. Let’s dive into some essential maintenance tips! 🧹
1. Regular Cleaning 🧼
One of the easiest ways to keep your floorboards looking new is to clean them regularly. Dirt and debris can scratch and damage the surface, so it’s important to keep them clear.
- Sweep or vacuum your floors often to remove dirt and dust. Make sure you use a soft brush or a vacuum with a gentle setting to avoid damaging the finish.
- For deeper cleaning, mop with a damp (not soaking wet) cloth to prevent moisture from seeping into the wood.
2. Control Humidity 🌬️
Wood is sensitive to changes in humidity. Excess moisture can cause swelling or warping, while extremely dry air can lead to cracking. Keeping the humidity level in check will help preserve the integrity of your floorboards.
- Consider using a humidifier during dry months and a dehumidifier in areas with high moisture (like bathrooms or basements).
- Maintain a consistent indoor temperature to prevent rapid changes that can affect your floor.
3. Use Protective Mats 🏠
High-traffic areas, such as entryways or hallways, are particularly vulnerable to damage. To protect your floorboards, place doormats at entrances to catch dirt, sand, and water.
- Area rugs can also protect your floors from scratches caused by furniture or foot traffic. Just make sure they have a non-slip backing to prevent accidents.
4. Address Spills Quickly 💧
Accidents happen, but it’s crucial to act fast when liquids are spilled on your floor. Wood is absorbent, and the longer a spill sits, the greater the risk of staining or warping.
- Wipe up spills immediately using a clean, dry cloth. Avoid letting liquids sit on the floor, especially if you have unfinished or untreated wood.
5. Reapply Finish or Sealant ✨
Over time, the protective finish on your floorboards may wear off, especially in high-traffic areas. Reapplying a wood finish or sealant will help keep your floor protected from moisture, dirt, and scratches.
- Refinish your floors every 3-5 years, depending on the type of finish and traffic level in your home. If you’re unsure about how to do this, consult a professional to ensure proper application.
6. Inspect for Damage Regularly 🔍
Even after replacing a damaged floorboard, it’s wise to periodically inspect your floor for any signs of new issues. Catching problems early can save you from more costly repairs down the line.
- Look for signs of scratches, cracks, or buckling. If you spot any damage, address it promptly to prevent further harm.
When to Call a Professional
While replacing a damaged floorboard can be a manageable DIY project, there are certain situations where calling a professional is the better choice. Let’s explore when it’s time to get expert help to ensure the job is done right.
1. Extensive Damage to Multiple Floorboards 🏚️
If the damage isn’t isolated to just one or two floorboards and extends to a larger area, such as an entire row or a section of your floor, it may be best to consult a professional. Repairing multiple boards can be tricky, especially if they’re part of a larger flooring pattern or layout.
- Why Call a Pro? A professional can assess the full extent of the damage and ensure a seamless repair that blends with the rest of your floor, especially when dealing with hardwood or patterned floors.
2. Subfloor Damage 🔨
If, during your inspection, you notice that the subfloor beneath the damaged board is rotting, warped, or showing signs of significant moisture, replacing just the surface board won’t be enough. Subfloor damage can lead to long-term issues if not properly addressed.
- Why Call a Pro? A professional can repair or replace the subfloor to ensure a stable foundation for your new floorboards, preventing future damage.
3. Complicated Flooring Types 🧩
Certain types of flooring, such as engineered wood, laminate, or luxury vinyl, often require specific techniques for replacement. If you’re unfamiliar with these types of floors, it can be difficult to get the right fit or finish.
- Why Call a Pro? Flooring experts have the knowledge and experience to work with specialized materials, ensuring your new board fits perfectly and maintains the integrity of the floor’s aesthetic and structure.
4. Structural or Hidden Damage 🔍
In some cases, the damage to your floorboards might be a symptom of a deeper issue, such as foundation problems, water leaks, or even pest infestations. If you suspect that there’s more going on than meets the eye, don’t hesitate to call in a pro for a thorough inspection.
- Why Call a Pro? A professional can evaluate any hidden damage that may not be immediately visible and provide solutions to fix the underlying issues, preventing future problems.
5. Time and Complexity ⏳
Replacing a floorboard may be a quick fix for some, but if you’re short on time or lack the confidence to tackle the task, calling a professional could save you a lot of stress.
- Why Call a Pro? Hiring a professional can ensure a faster, more efficient repair, especially if you’re dealing with tricky areas like tight corners or irregular board shapes.
Replacing a damaged floorboard doesn’t have to be a daunting task. With the right tools, a little patience, and the step-by-step guidance provided in this guide, you can easily tackle this DIY project and restore your floors to their former glory. From understanding the types of damage to choosing the right materials and finishing touches, every step is manageable – even for beginners!
Remember, regular maintenance is key to keeping your floors looking great long after the repair is complete. Regular cleaning, moisture control, and timely inspections will help preserve your work and extend the life of your floorboards. 🧽
However, don’t hesitate to call a professional if you run into bigger issues, such as extensive damage or subfloor problems. Sometimes, a little expert help is the best way to ensure a long-lasting, flawless finish.
With these tips and tricks, you’ll be well on your way to mastering floorboard repairs and maintaining a beautiful, safe home for years to come. 😊👷♂️