If you’ve ever experienced your car sputtering, stalling, or struggling to accelerate, it could be more than just a minor issue—it could be a clogged fuel filter. 
 In fact, a dirty or old fuel filter is one of the most common, yet overlooked, reasons your car isn’t running at its best. If left unchecked, it can lead to poor fuel efficiency, engine misfires, and even costly repairs down the road.
So, how do you replace a fuel filter before these problems escalate?  In this step-by-step guide, we’ll walk you through the process in easy-to-follow instructions. Whether you’re a complete beginner or a DIY enthusiast, this guide will give you the tools and confidence to tackle this simple maintenance task yourself. Not only will you save money, but you’ll also help keep your engine running smoothly for years to come.
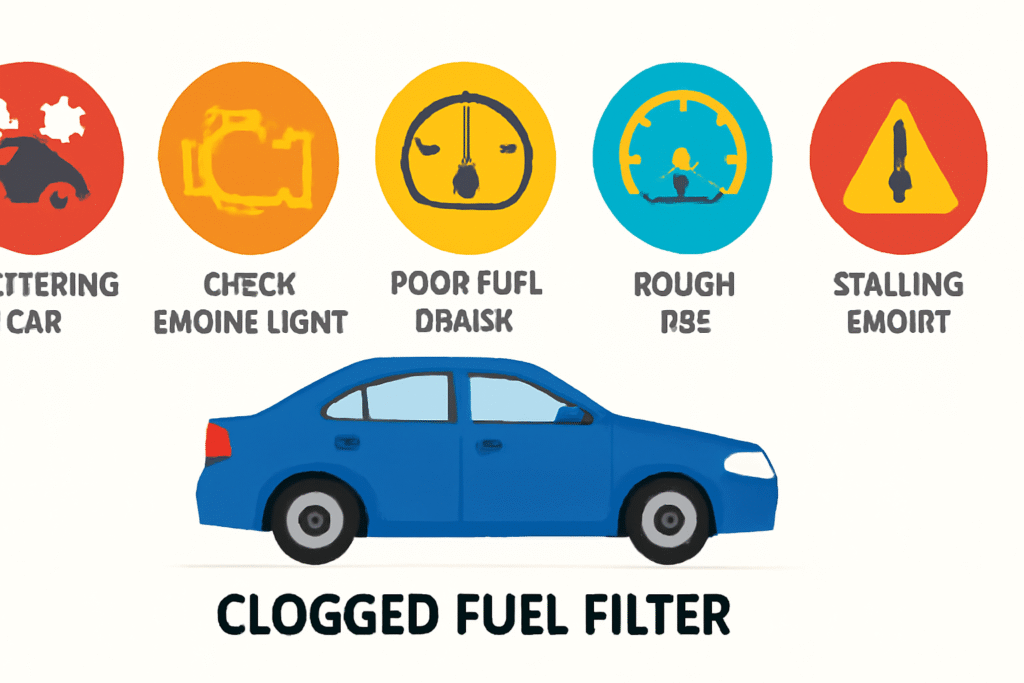
Signs You Need to Replace Your Fuel Filter
A clogged or dirty fuel filter can cause a range of issues that impact your car’s performance. If you’re noticing any of the following signs, it may be time to replace your fuel filter and get your engine back to its smooth, efficient self. Let’s take a look at the most common symptoms that indicate your fuel filter needs attention. 
1. Engine Sputtering or Stalling
If your car sputters or stalls, especially during acceleration, it’s a clear sign that the engine isn’t getting enough fuel. A clogged fuel filter can restrict fuel flow, causing misfires, poor performance, and engine hesitation. If your engine cuts out unexpectedly or struggles to maintain speed, replacing the fuel filter is a good first step.
2. Difficulty Starting the Car
A fuel filter that’s clogged or dirty can make starting your vehicle more challenging. If your engine is cranking but takes longer than usual to start, or if you need multiple attempts to turn it on, the filter might be obstructing the fuel flow. This is especially common if the fuel filter hasn’t been replaced in a while. 
3. Poor Fuel Efficiency
If you’ve noticed a drop in your car’s fuel efficiency, it could be because the fuel filter is restricting the amount of fuel reaching the engine. When the engine doesn’t get enough fuel, it compensates by burning more, leading to higher fuel consumption. This can put a strain on your wallet and your car’s engine in the long run. 
4. Rough Idling or Hesitation
When your car idles roughly or hesitates to accelerate, it might be a sign that the fuel filter is struggling to supply a consistent fuel flow to the engine. This issue is often more noticeable when the engine is at a low idle or you try to accelerate after idling. 
5. Unusual Engine Noises
If you hear strange knocking or pinging sounds from your engine, it could be due to inconsistent fuel flow. A clogged filter can cause the fuel to mix poorly with the air in the combustion chamber, leading to unusual sounds that signal the engine is struggling to work efficiently. 
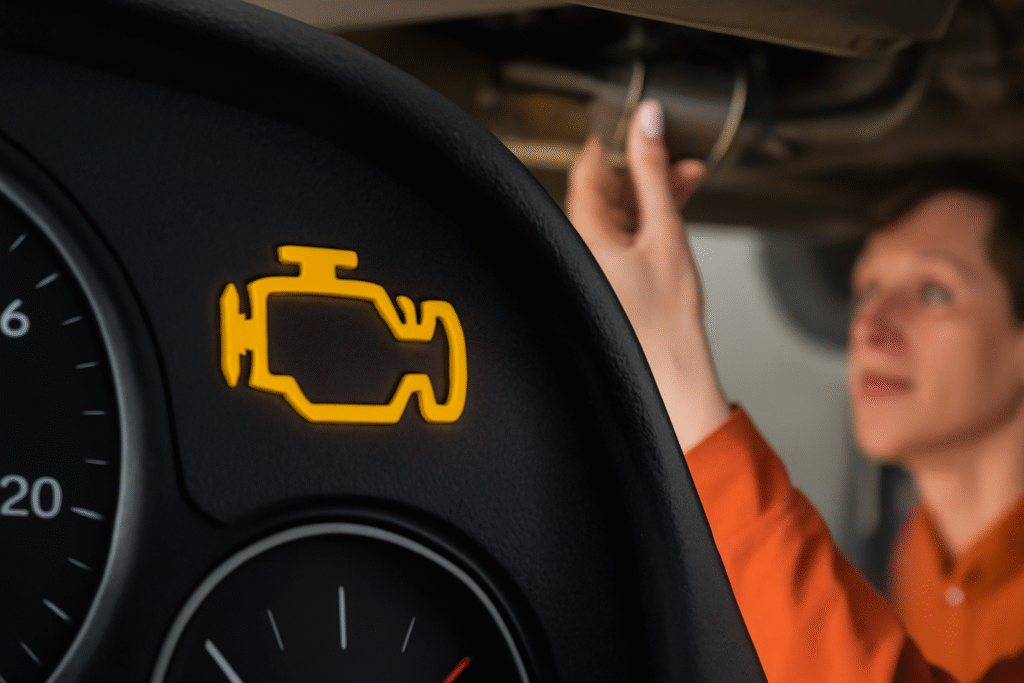
6. Engine Warning Light
Many modern cars are equipped with sensors that monitor the fuel system. If the fuel filter becomes severely clogged, the car’s engine control unit (ECU) may trigger the check engine light. This is a broad warning, so while the filter might not be the only issue, it’s definitely worth checking. 
How Often Should You Replace Your Fuel Filter?
While symptoms are a good indicator, it’s also important to follow the manufacturer’s recommended replacement interval. On average, fuel filters should be replaced every 20,000 to 40,000 miles, but this can vary depending on your car’s make and model. Always check your owner’s manual for the most accurate recommendation. 
Tools and Materials You’ll Need
Before you dive into replacing your fuel filter, it’s important to gather the right tools and materials. Having everything you need on hand will make the process smoother and help you avoid unnecessary interruptions. Here’s a list of the essentials you’ll need to get the job done safely and efficiently.
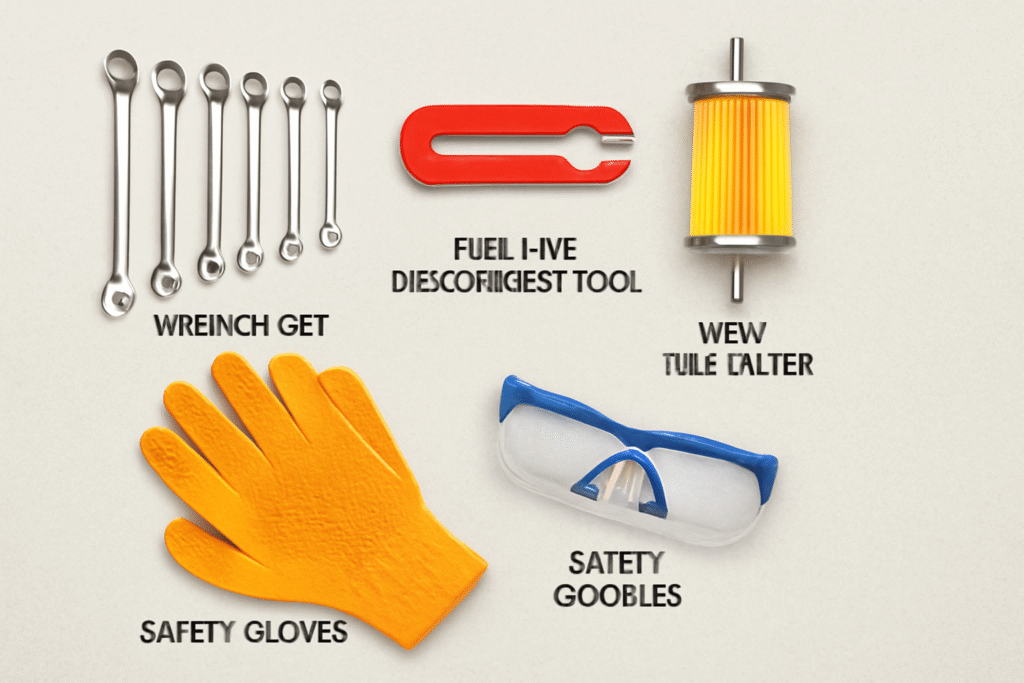
1. Essential Tools:
- Wrench or Socket Set
A basic wrench or socket set is essential for loosening bolts and removing the filter. Make sure you have both standard and metric sizes, as car parts can vary.
- Fuel Line Disconnect Tool
Some vehicles require a special fuel line disconnect tool to safely detach the fuel lines from the filter. These tools are inexpensive and available at most auto parts stores. This step is critical to prevent damaging the lines or causing a fuel leak.
- Screwdriver
You may need a flathead or Phillips screwdriver to remove any clamps or screws securing the filter in place. This is usually the case for older or more straightforward fuel filter models.
- Rags or Towels
Fuel can spill when you disconnect the lines, so have a few rags or towels nearby to clean up any excess fuel. Always clean the surrounding area as well, to prevent dirt or debris from entering the fuel system.
- Safety Gloves and Goggles
Always wear gloves to protect your hands from gasoline and chemicals. Safety goggles are also recommended to shield your eyes from fuel vapors or any accidental splashes.

2. Parts You’ll Need:
- New Fuel Filter
The most important item on your list is, of course, the new fuel filter. Make sure you get the correct filter for your vehicle’s make and model. You can usually find this information in your car’s owner manual or by asking your local auto parts store. The filter needs to match the specifications of your vehicle for proper function.
- Fuel-safe Container
Having a container to catch any excess fuel is crucial. Some fuel will spill when you disconnect the fuel lines, and you want to handle it safely. Be sure to use a container specifically designed for fuel storage to avoid any accidents.
3. Optional Tools (for Extra Care):
- Jack and Jack Stands
In some cases, you may need to lift your car to access the fuel filter. If your filter is located under the vehicle, having a jack and jack stands will give you the space you need to work. Remember to always follow safety protocols when lifting your car. - Torque Wrench
If your fuel filter requires precise torque when being reattached, a torque wrench will ensure you’re tightening the bolts to the proper specifications. This is not always necessary, but it can be useful for a more secure and long-lasting installation.
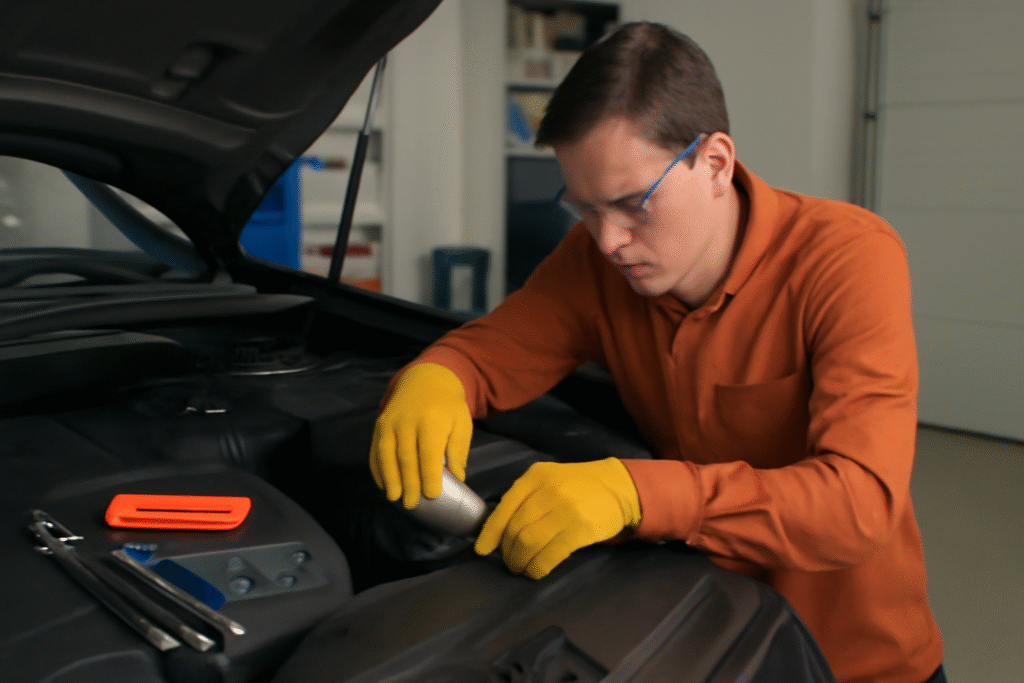
How to Replace a Fuel Filter – Step-by-Step Guide
Replacing your fuel filter may sound complicated, but with the right tools and some careful attention, it’s a manageable DIY task. This step-by-step guide will walk you through the entire process, ensuring you replace the filter safely and efficiently. Let’s get started! 
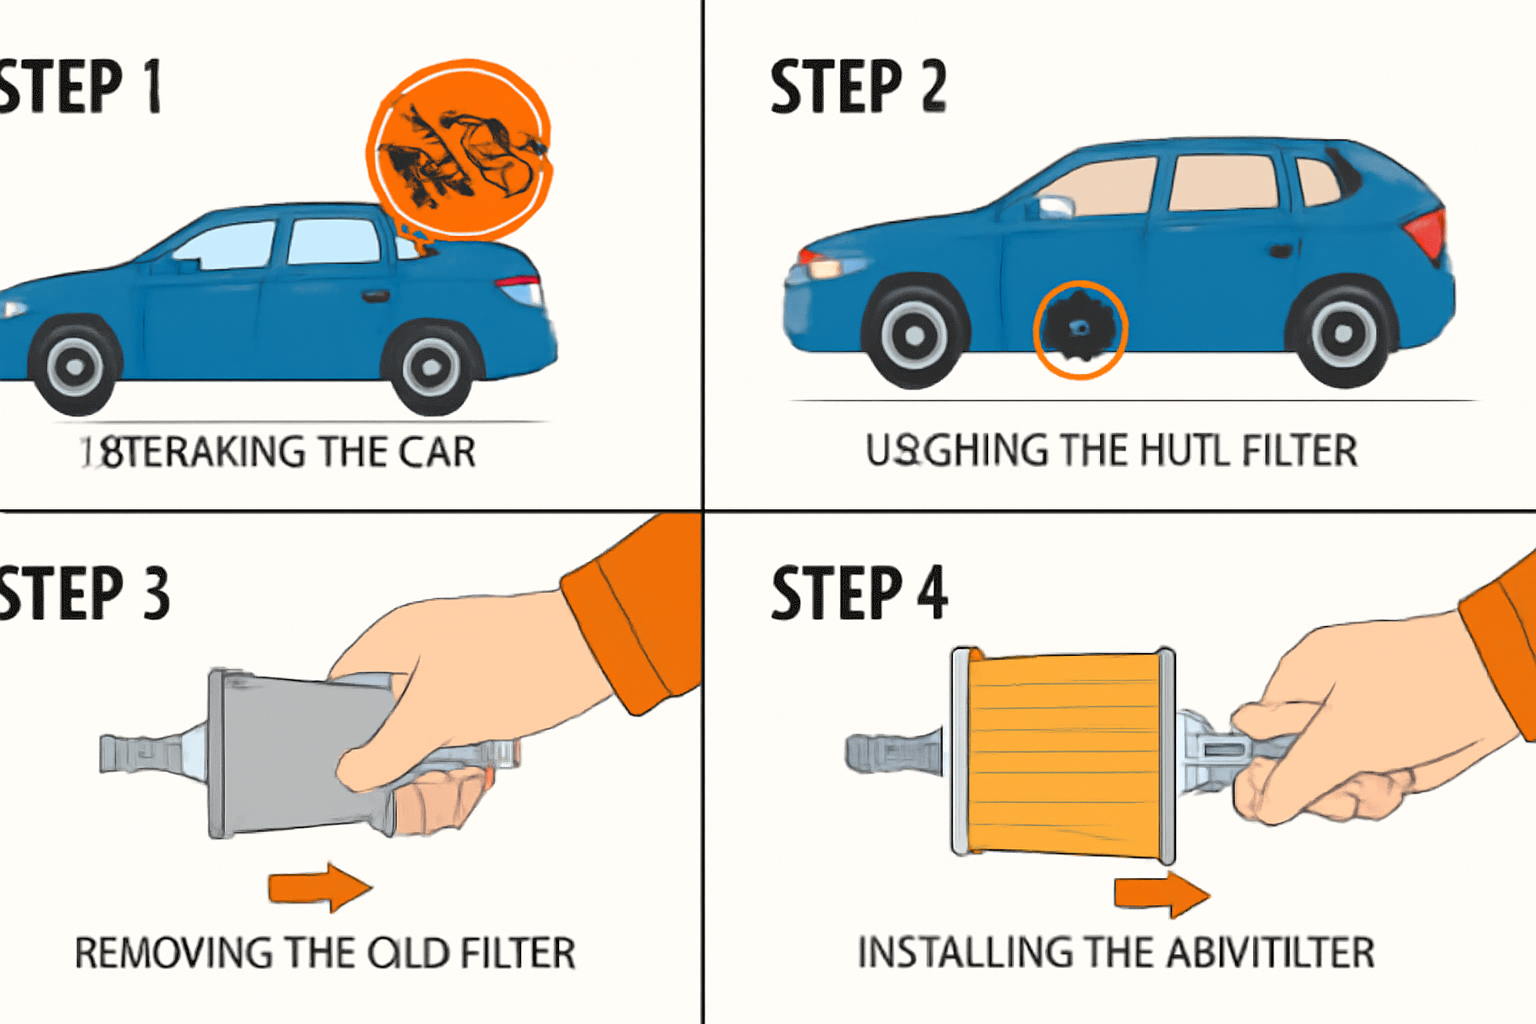
Step 1: Prepare Your Car
Before you begin, make sure your car is ready for the task ahead:
- Turn Off the Engine
Always start by ensuring your engine is off and cool. A hot engine could cause burns or accidents.

- Disconnect the Battery
For safety reasons, disconnect the negative terminal of your car battery. This helps prevent any electrical issues or accidental sparks while you’re working on the fuel system.
- Relieve Fuel System Pressure
Most cars have a fuel pressure relief valve. Check your car’s manual for how to safely release the fuel system pressure. This is an important step to prevent fuel from spraying when you disconnect the lines.
Step 2: Locate the Fuel Filter
Fuel filters are usually located along the fuel line, either near the fuel tank or under the car by the engine. For most vehicles, the fuel filter is a cylindrical, metal part with inlet and outlet fuel lines connected to it.
- Tip: If you’re unsure about the exact location, refer to your car’s manual or look up the information online based on your make and model.

Step 3: Remove the Old Fuel Filter
Once you’ve located the filter, it’s time to remove the old one. Here’s how:
- Disconnect the Fuel Lines
Using your fuel line disconnect tool, carefully detach the fuel lines from the filter. You may need to press the release tabs or use your wrenches, depending on your car’s setup. Take caution, as some fuel may still spill out. It’s always a good idea to have rags nearby to absorb any excess fuel.
- Remove the Filter
Once the fuel lines are disconnected, unscrew or unbolt the filter from its mounting bracket. Some filters are secured with screws, while others may have clamps. Be sure to remove the filter carefully, as it could still contain fuel.
Step 4: Install the New Fuel Filter
Now that the old filter is out, it’s time to install the new one:
- Check the Filter’s Orientation
Pay attention to the flow direction indicated on the new fuel filter (usually an arrow on the side). Installing it the wrong way can restrict fuel flow and cause engine problems.
- Mount the New Filter
Place the new filter in the same position as the old one, securing it with the same bolts or clamps. Make sure it’s tightly mounted to prevent any movement. - Reconnect the Fuel Lines
Carefully reconnect the fuel lines to the new filter. Ensure each line is attached securely, with no leaks or loose fittings. Double-check that the connections are tight but not over-tightened.
Step 5: Test the Installation
Once everything is reassembled, it’s time to test your work:
- Reconnect the Battery
Reattach the negative terminal to the battery to power up the system. - Turn on the Ignition
Turn the ignition to the “on” position (without starting the engine). This will allow the fuel system to pressurize and check for any leaks. Look closely at all connections and around the filter for signs of fuel dripping.
- Start the Engine
Start your car and let it idle for a few minutes. Pay attention to how the engine runs—there should be no sputtering, stalling, or hesitation. If the car is running smoothly, then you’ve successfully replaced the filter!
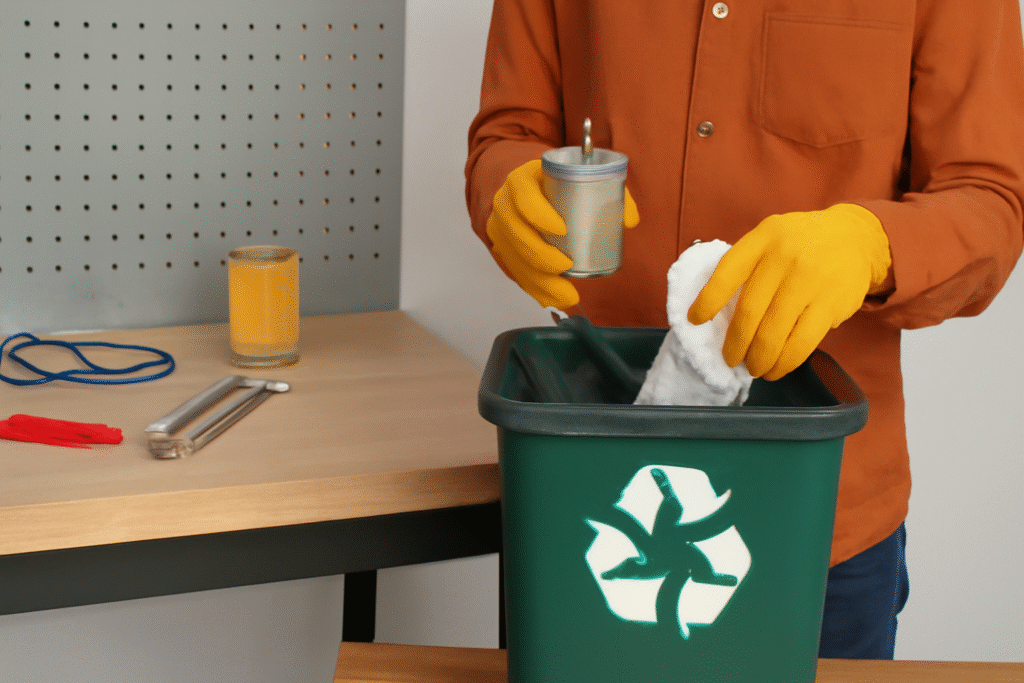
Step 6: Clean Up
Once you’ve confirmed that everything is working properly, clean up the area:
- Dispose of the Old Filter and Rags
Be sure to dispose of the old filter, fuel-soaked rags, and any other waste material properly. Never throw them in the regular trash; check with local recycling centers for proper disposal methods.
- Inspect for Leaks Again
After a short drive, check once more for any signs of fuel leakage. If you spot any, turn off the engine immediately and recheck the connections.
Tips for a Successful Fuel Filter Replacement
Replacing your fuel filter is a relatively simple task, but a few extra tips can make the job easier and ensure you get the best results. Whether it’s your first time or you’ve done it before, these insider tips will help you avoid common pitfalls and complete the job with confidence.
1. Double-Check Your Fuel Filter Type
Not all fuel filters are the same. Before you start, make sure you’ve purchased the correct filter for your vehicle. Check your car’s manual or ask an auto parts store professional for help. Getting the wrong filter could lead to poor performance or even damage to your fuel system.
2. Work in a Well-Ventilated Area
Fuel vapors can be hazardous, so always work in a well-ventilated area. If you’re working in a garage, make sure the doors are open to allow fresh air to circulate. This reduces the risk of inhaling fumes and makes the job safer overall. 
3. Use the Right Tools
Having the correct tools is crucial for a smooth process. Invest in a fuel line disconnect tool if needed—this will help prevent damage to the fuel lines and avoid leaks. Also, ensure your wrenches, screwdrivers, and gloves are ready before starting to avoid unnecessary interruptions.
4. Wear Protective Gear
Safety first! Always wear gloves and goggles to protect yourself from fuel splashes or debris. Gasoline can be harmful to your skin, so make sure you’re fully covered. You’ll also want to have rags handy for any accidental spills.
5. Relieve Fuel Pressure Properly
To avoid any risk of fuel spraying out when you disconnect the lines, make sure to relieve the fuel system pressure first. Most vehicles have a fuel pressure relief valve, which can be found in your car’s manual. This step is essential for your safety and to avoid a mess.
6. Don’t Rush the Process
Take your time to do each step carefully. Rushing could lead to mistakes like incorrect fuel line connections or misaligning the filter. A calm, methodical approach ensures everything is done correctly and safely. 
7. Check for Leaks After Installation
Once you’ve installed the new filter and reconnected the fuel lines, always double-check for leaks. Turn the ignition on (without starting the engine) and inspect the area for any signs of fuel dripping. If you see anything, tighten the connections immediately. 
8. Replace Your Filter Regularly
Even if everything looks good after your replacement, remember that fuel filters should be replaced at regular intervals (typically every 20,000–40,000 miles). Keep an eye on your car’s performance, and if you notice any signs of trouble, replace the filter sooner.
Troubleshooting Common Problems
While replacing a fuel filter is generally straightforward, things don’t always go as planned. If you run into issues during or after the replacement, don’t worry! Below are some common problems that can occur and how to solve them. This will help ensure your car is running smoothly again.
1. Fuel Leaks After Installation
One of the most common issues is fuel leaking from the connections after replacing the filter. If you notice any fuel pooling around the filter or fuel lines, this means something isn’t sealed properly.
What to do:
- Double-check that the fuel lines are connected securely to the new filter.
- Make sure the connections are tight, but don’t over-tighten them, as this can cause damage.
- Inspect the o-rings or seals on the fuel lines. Sometimes, these can wear out or become damaged during removal and need to be replaced.

2. Car Won’t Start or Runs Rough
After replacing the fuel filter, your car might fail to start or run roughly. This could happen if there’s an issue with the fuel system pressure or if the filter was installed incorrectly.
What to do:
- Ensure the filter is installed in the correct direction. The flow arrow on the filter should point towards the engine, not away from it.
- If your car isn’t starting, check if the fuel system pressure was properly relieved before disconnecting the lines. Fuel may still be under pressure and cause difficulty during start-up.
- Turn the ignition on without starting the engine to let the fuel pump pressurize the system. Then, try starting your car again.
3. Engine Sputtering or Hesitation
If your car sputters, hesitates, or stalls after the fuel filter replacement, it could indicate a blockage in the fuel lines or that the new filter isn’t properly seated.
What to do:
- Make sure the fuel lines are properly connected with no obstructions.
- Check if any dirt or debris from the old filter got into the fuel lines. If so, you may need to clean the lines or the filter housing before reinstalling the new filter.
- If the issue persists, consider replacing the filter again or consulting a professional mechanic for further inspection.
4. Check Engine Light Comes On
If your check engine light comes on after replacing the fuel filter, it might be due to a faulty connection, low fuel pressure, or another issue related to the fuel system.
What to do:
- Recheck all fuel line connections and ensure everything is securely attached.
- Clear the codes using an OBD-II scanner. If the light remains on, it may be time to consult a mechanic to check for underlying issues like a bad fuel pump or clogged lines.
5. Fuel Filter Won’t Budge
Sometimes, an old, rusted, or corroded fuel filter can be stubborn and difficult to remove. This is common in vehicles that haven’t had their filters replaced in a while.
What to do:
- Use a penetrating oil (like WD-40) to loosen the bolts or connections before attempting to remove the filter. Allow it to sit for a few minutes to work its magic.
- If the filter is still stuck, carefully use a rubber mallet or a hammer (with a soft surface to avoid damaging the filter housing) to tap around the edges to break any corrosion.

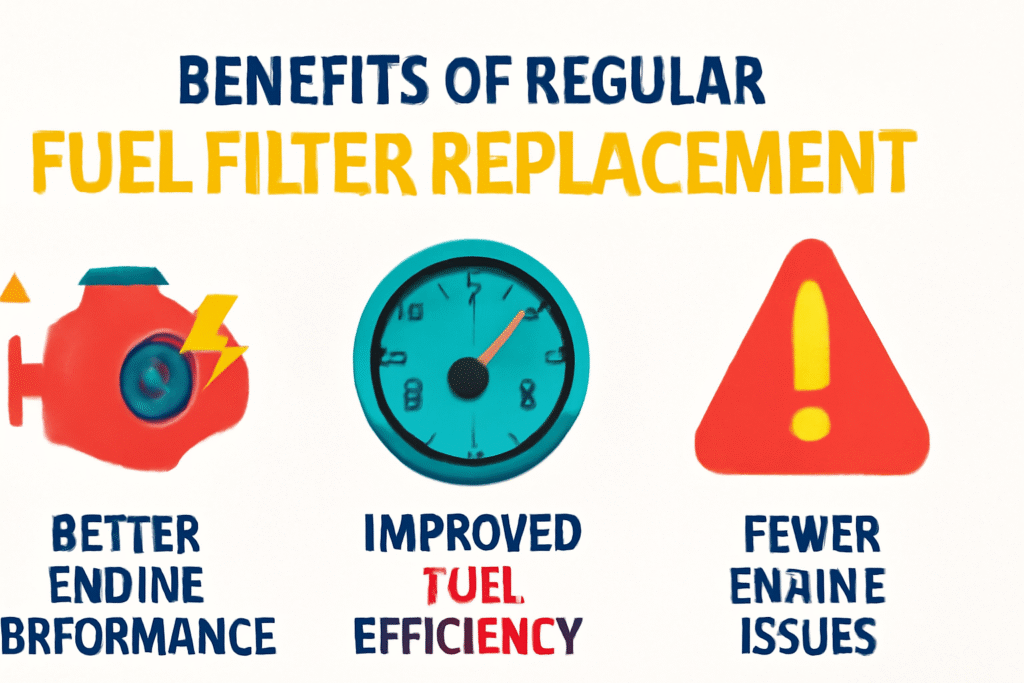
Congratulations! By following this step-by-step guide, you’ve tackled the task of replacing your fuel filter, keeping your car running smoothly and efficiently. This simple yet essential maintenance step can save you from costly repairs and help extend the life of your vehicle.
Remember, a clean fuel filter ensures proper fuel flow, better engine performance, and improved fuel efficiency. It’s a small investment of time and effort with big rewards. Whether you’re a seasoned DIYer or a first-time car owner, replacing the fuel filter is an excellent way to build your confidence and take better care of your ride.
Key Takeaways:
- Regularly replacing your fuel filter is a great way to maintain engine health and performance.
- Double-check your filter type, follow the proper steps, and don’t rush the process.
- Don’t be afraid to troubleshoot common problems—most issues can be resolved with a little patience.
By now, you should feel more confident in your ability to take on car repairs and maintenance. And if you ever need assistance, don’t hesitate to reach out to a professional mechanic for guidance.
Thanks for reading, and keep your engine running at its best! Stay tuned for more helpful car care tips.