Wondering how to fix a leaky faucet? A single drip every second can waste over 3,000 gallons of water annually! While it might seem small, this issue can cause water bills to rise and waste water, a precious resource. Many people are surprised after knowing how these small leaks add up in cost and environmental impact. The good news is that fixing a leaky faucet is usually easy to do yourself. You don’t need to call a plumber or buy fancy tools. In this blog we will show you how to fix a leaky faucet in just a few minutes by using basic tools that you are already having in your house. Let’s dive in and tackle that drip for good!
Understanding Common Causes of Faucet Leaks
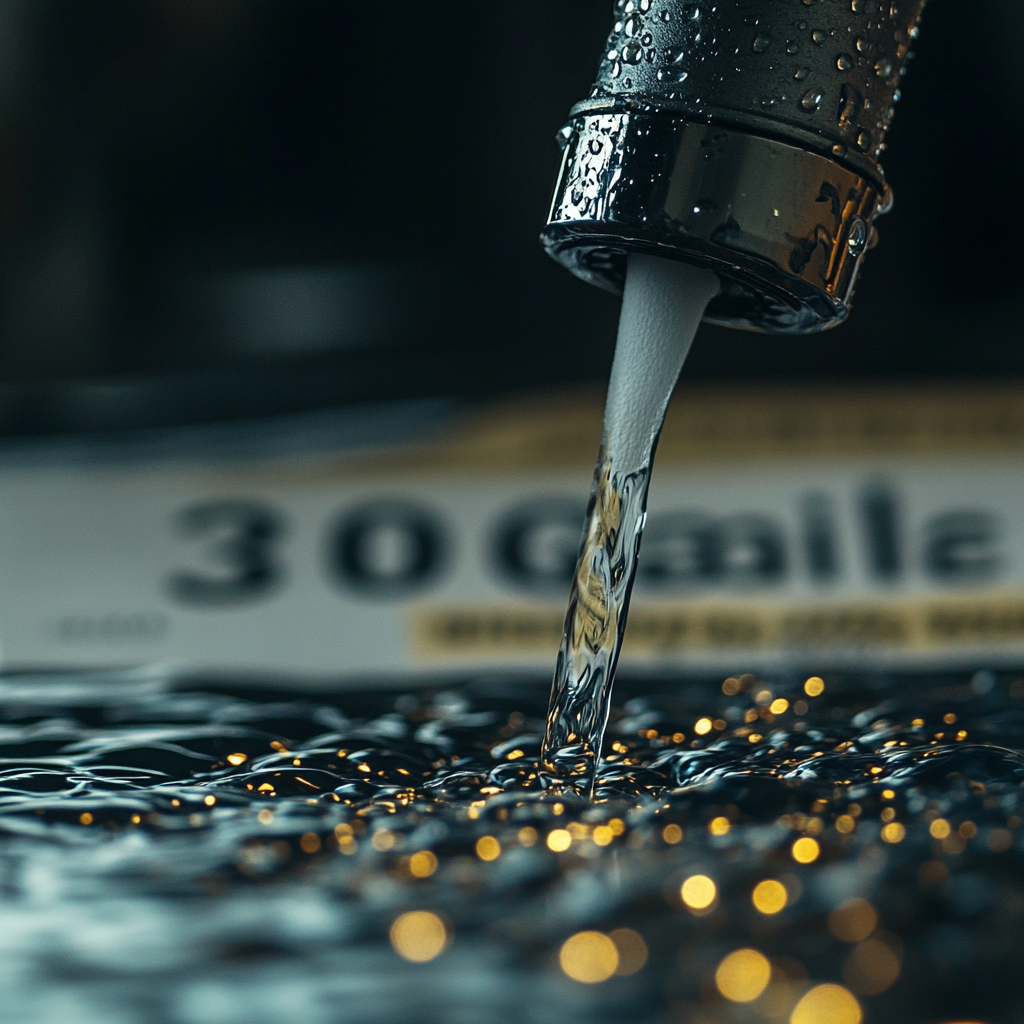
Generally faucet leaks are caused by simple issues that can be easily identified and also can be fixed quickly. For this problem one of the most common culprits is a worn out washer or a corroded O- ring. This washer helps to create a tight seal, which is essential to prevent the seeping of water through it. But they can wear down over time, causing water to seep through. Also loose or damaged parts, like the faucet stem or handle, can lead to leaks. These problems can happen over time or if you accidentally tighten them too much.
Also hard water (salt and other mineral percentage is too high) can play a vital role in leaks. Mineral deposits from hard water build up over time in the washer area, which creates restriction to water flow and causes pressure increase that leads to drips or poor sealing. Also due to this internal corrosion in the faucet body itself can develop, particularly in older fixtures or those made from certain metals.
Gather Your Tools and Materials
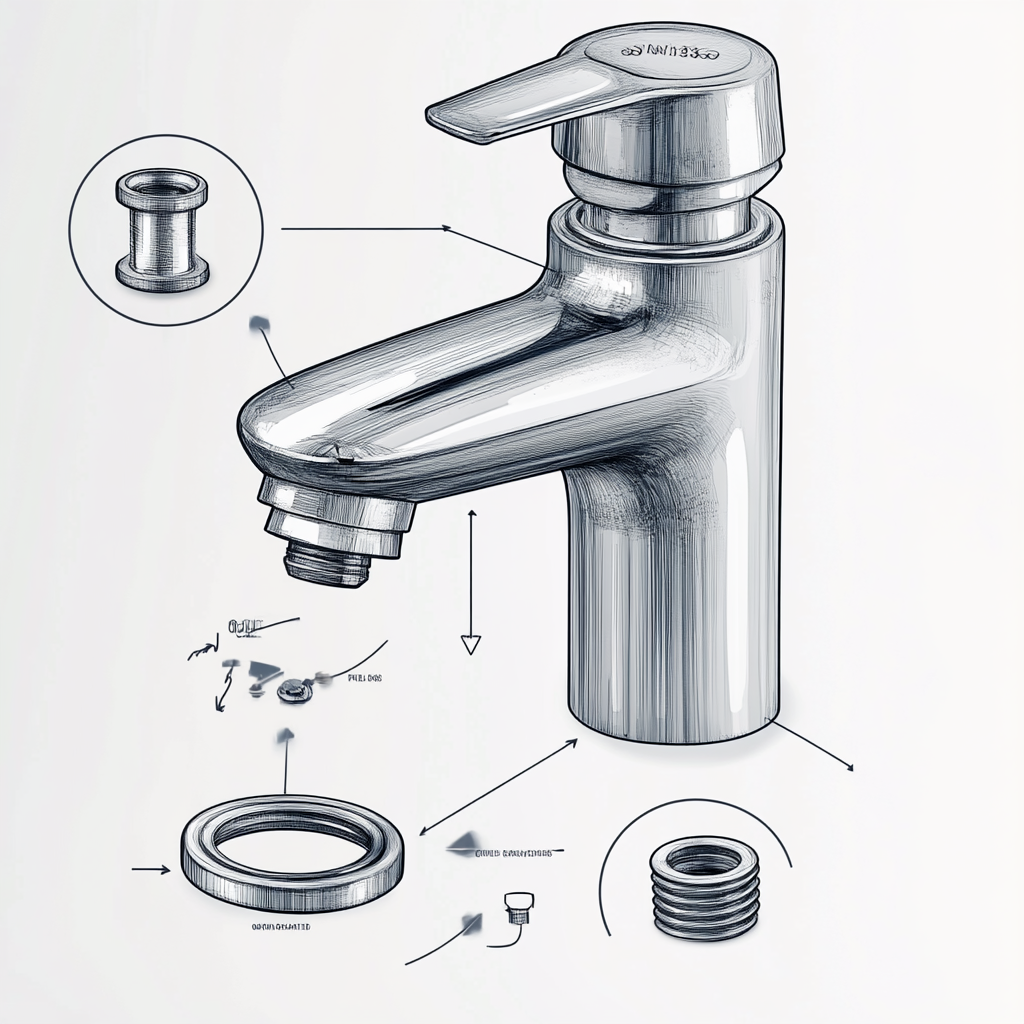
Before you start repairing faucet leaks, it’s essential to gather a few basic tools and supplies. For this operation you will need an adjustable wrench, a screwdriver, replacement washers or O-rings, plumber’s tape, and a bit of vinegar for cleaning mineral buildup. These items are common, you can find this in most toolboxes and the missing parts can be easily sourced at your local home improvement store. Having those items in your hand will make the operation easier, smoother and more efficient repair process.
Step-By-Step Guide: How to Fix a Leaky Faucet
Step 1: Turn Off the Water Supply
Before starting the repairing process locate the shut off valve beneath the sink. This valve is typically a small knob, turn it clockwise to shut off the water flow. This step is crucial for avoiding any types of water spillage while you are working. Put a cloth or towel in the sink to catch any small parts that might fall while you’re fixing the faucet. This will keep everything easy to find and stop anything from going down the drain.
Step 2: Dismantle the Faucet Handle
Now to access the internal components like washer you have to remove the screws on the faucet handle by using a screwdriver. Slowly pull off the handle, which will expose the stem or cartridge inside. Keep the screws and handle nearby. Losing any small parts can make putting the faucet back together more difficult. Organizing these parts in order as you remove them can help make reassembly smoother.
Step 3: Identify and Replace Worn Washers or O-Rings
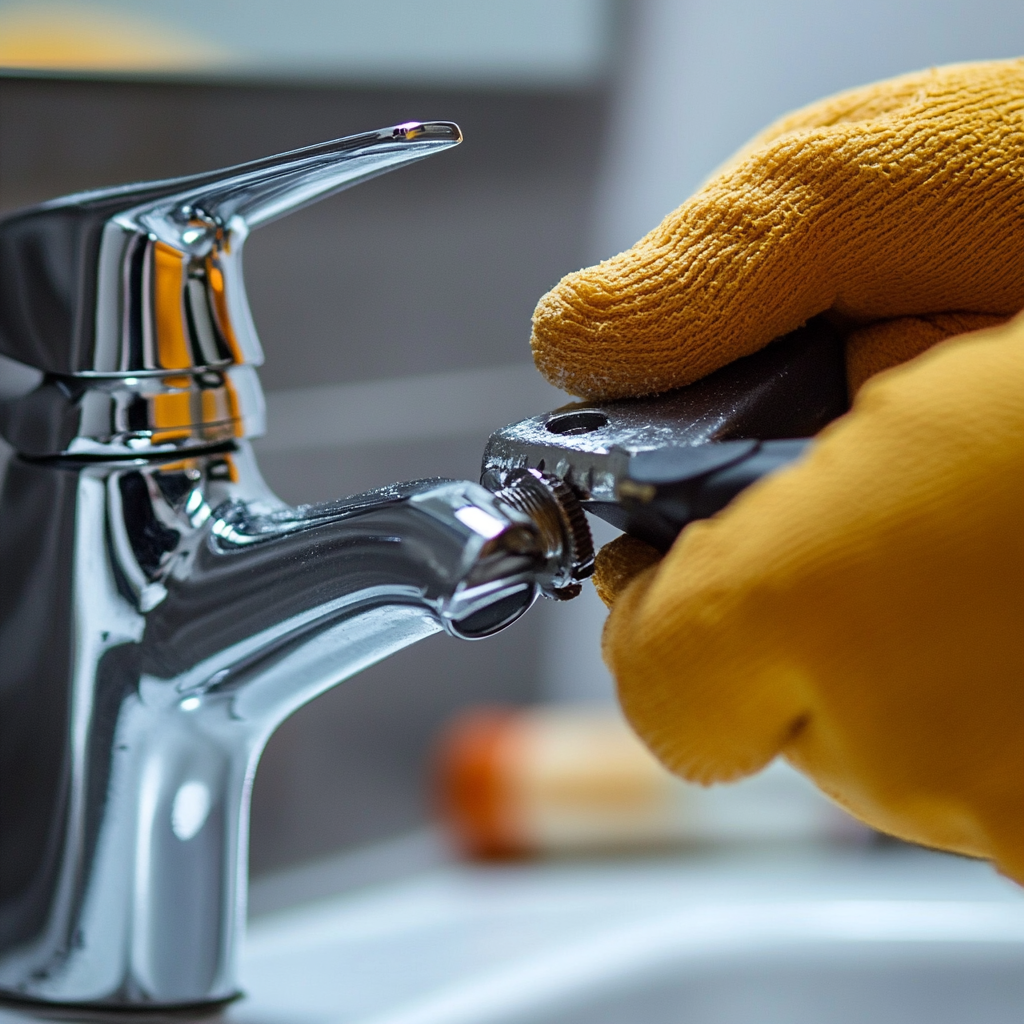
After successful removal of the handle, now locate the washer or O-ring. As we discussed earlier, these rubber parts are the main culprits for leaks. One of the main reasons is water pressure for wear out washers. Now examine the washer or O-ring for any visible signs of wear, such as cracks, tears, or a compressed shape. A good tip: take the old washer or O-ring to the hardware store with you. This will help you find the right size, as there are slight differences.
Step 4: Clean and Check for Mineral Buildup
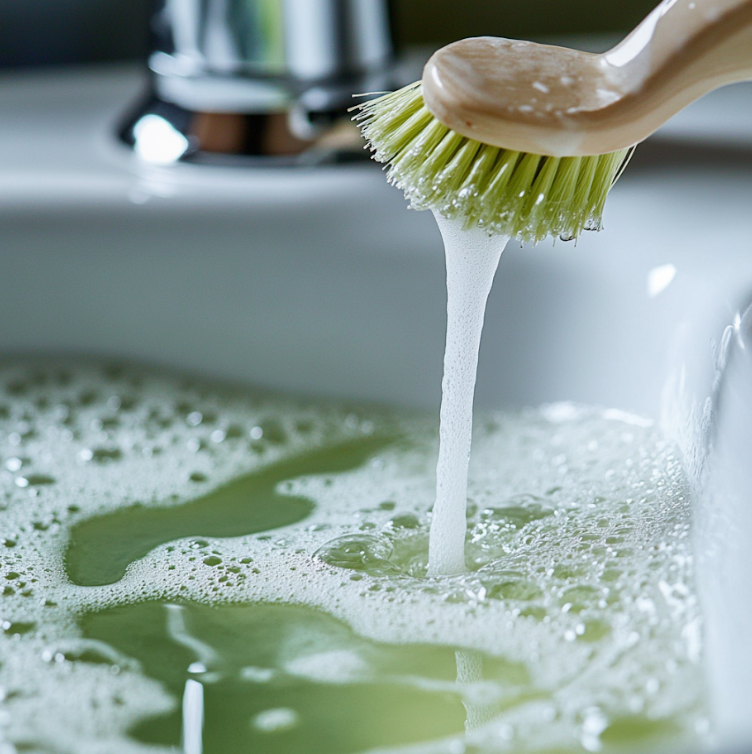
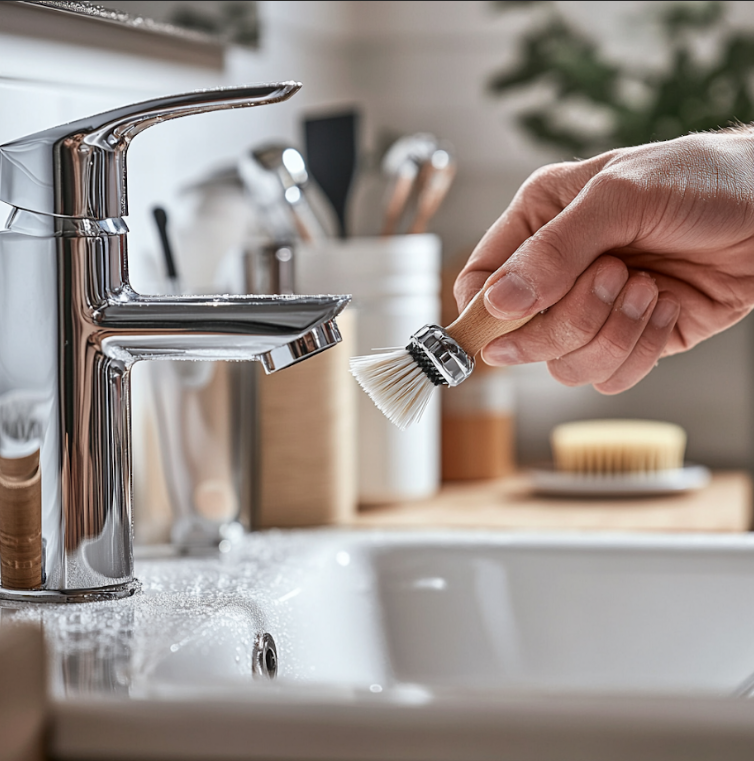
While you are examining the washer for wear out signs, at the same time also check for mineral build up. If you notice any white or green deposits on the faucet’s internal components then it’s the clear sign of mineral buildup. This buildup happened due to the hard water. To remove the mineral buildup soak the parts in vinegar for about 15-20 minutes , which will dissolve the deposit. Also use a soft brush for scrubbing purposes. Cleaning off mineral buildup can improve water flow, increase faucet lifespan, and help prevent future leaks.
Step 5: Reassemble the Faucet
After successfully cleaning, now reassemble the faucet, do the opposite way what you did while opening it. Securely tighten each part to prevent any loosening during use. If something doesn’t fit tightly, wrap a little plumber’s tape around the threads to create a tight, leak-proof seal.
Step 6: Turn the Water Back On and Test
Once everything is securely reassembled, slowly turn the water back on. And for confirmation check your faucet. If you still have a leak, you might have missed something or a part might not be tight enough. Double-check everything, even the smallest things, as a small adjustment might fix the leak.
Preventing Future Leaks: Simple Maintenance Tips
To keep your faucets leaks free in future a small regular maintenance habits can help you a lot. For that you can clean your faucet aerators regularly. Because mineral buildup can clog them up, which causes low water pressure and potential leaks. And also while you’re cleaning inspect parts for wear out signs. This helps you catch small issues like worn washers or loose handles before they escalate.
Environmental Impact: The Importance of Fixing Faucet Leaks
Taking proper maintenance of faucets not only saves utility bills, but it’s also an impactful way to save water. We all know that a single dripping faucet can waste thousands of gallons each year, which is not good for our environment and for our society. It’s also adding unnecessary treatment costs to communities. By doing this simple maintenance we can make a lot of difference to your environment.
