Tips for fixing a running toilet can help you prevent water waste, saving both your water bill and the environment. Some researchers found that a minor leak can waste hundreds of gallons per day, which adds unnecessary strain on freshwater resources. These issues develop over time due to regular wear and tear, but you can identify them easily. And these problems can be repaired by using a few basic tools which make it a DIY friendly task. In this blog we will discuss about top tips for stopping a running toilet, and also discuss necessary material/tools that you will need for your project.
How Toilets Work: Basic Mechanics of a Toilet System
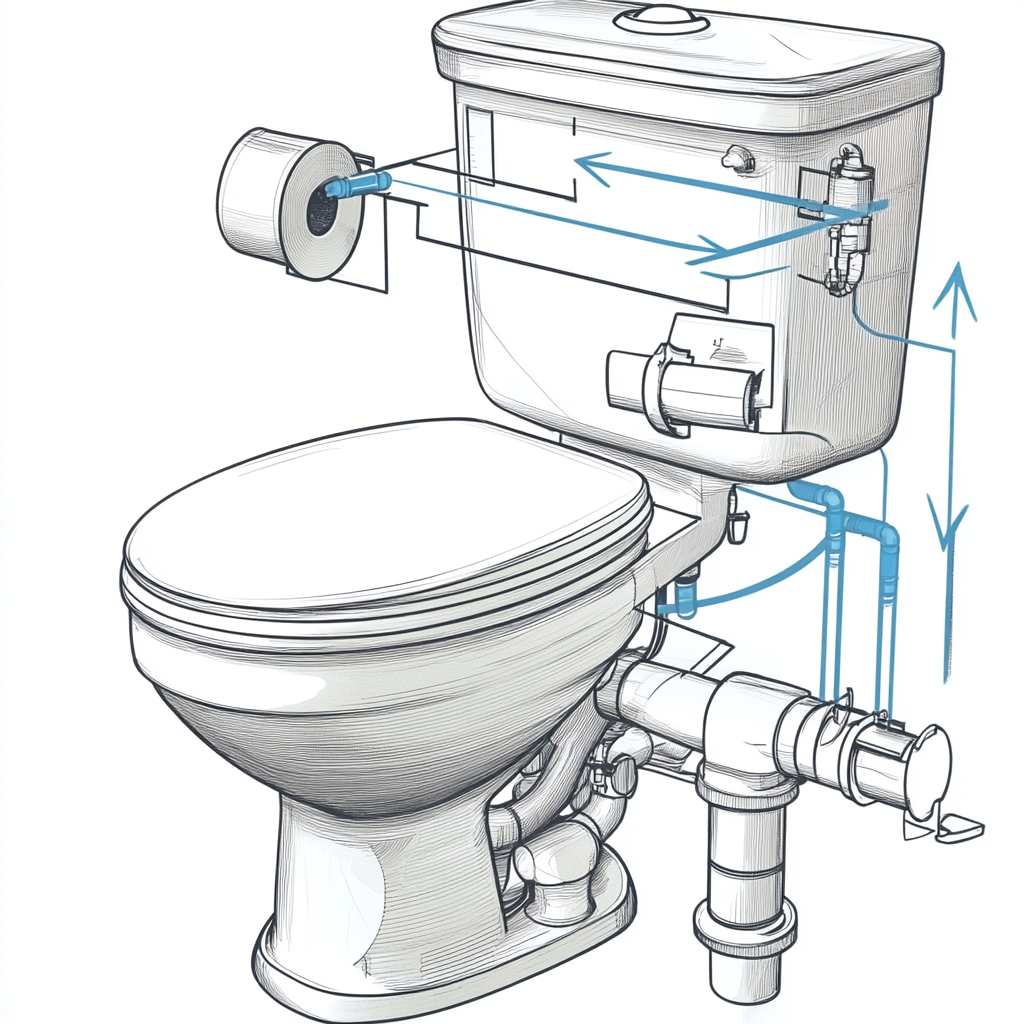
If you have basic knowledge about how a toilet works, then it will be easier to complete your project without any problem. Your toilet has key components like a tank, flipper, fill valve and flush valve; these parts work together to regulate the flow of water in and out of the tank. We will discuss more about these components in the upcoming section.
When you flush, the handle lifts the flapper, allowing water from the tank to rush into the bowl and create a syphoning action that empties the bowl’s contents. Once the tank is empty, the flapper reseals, and the fill valve refills the tank with water, readying it for the next flush. If any part like flapper worn out then it will not seal the water or a fill valve that doesn’t stop then it will not spot entering water. For this reason you need to know the basics about toilet working to identify the cause of a running toilet.
Identifying the Cause: Quick Diagnostics for a Running Toilet
As we told you in the previous step, you have to find the root cause for your problem. For that start finding with flapper, it is a rubber piece in the bottom of the tank that holds your toilet flush water. Over time, the flapper can wear out, warp, or fail to seal properly, causing water to continuously leak into the bowl. To check it, turn off the water source and lift the water tank cover, after that press the flapper if the water running is stopped then you need to change the flapper.
If your flapper is working correctly then next you have to inspect the fill valve. Fill valve is a common component in toilet flush tanks that is used to stop water flow from the water source when the tank is full. Over time debris or dirt can build up in tis part, which has some impact on its functionality. Ideally, the water should stop filling about an inch below the top of the overflow tube. If it’s filling too high or low, you may need to adjust the float or replace the valve.
If the fill valve is also working properly then next you have to inspect the float and chain. Float is one of the parts of the fill valve, it helps the fill valve to know it’s time to stop the water flow. When the water reaches a certain height that time this float also lifts up and applies some pressure to fill the valve. The chain connecting the flapper to the flush handle can also be problematic if it’s too long or short. If too tight, it prevents the flapper from sealing, and if too loose, the flapper may not open fully. Adjusting the chain length may quickly resolve the issue.
Step-by-Step Fixes for Common Issues
As we discuss, fixing a running toilet is one of the easiest things that you can do by yourself, also it will save repair cost and reduce water waste. Here’s how to address some of the most common issues, from replacing parts to making adjustments.
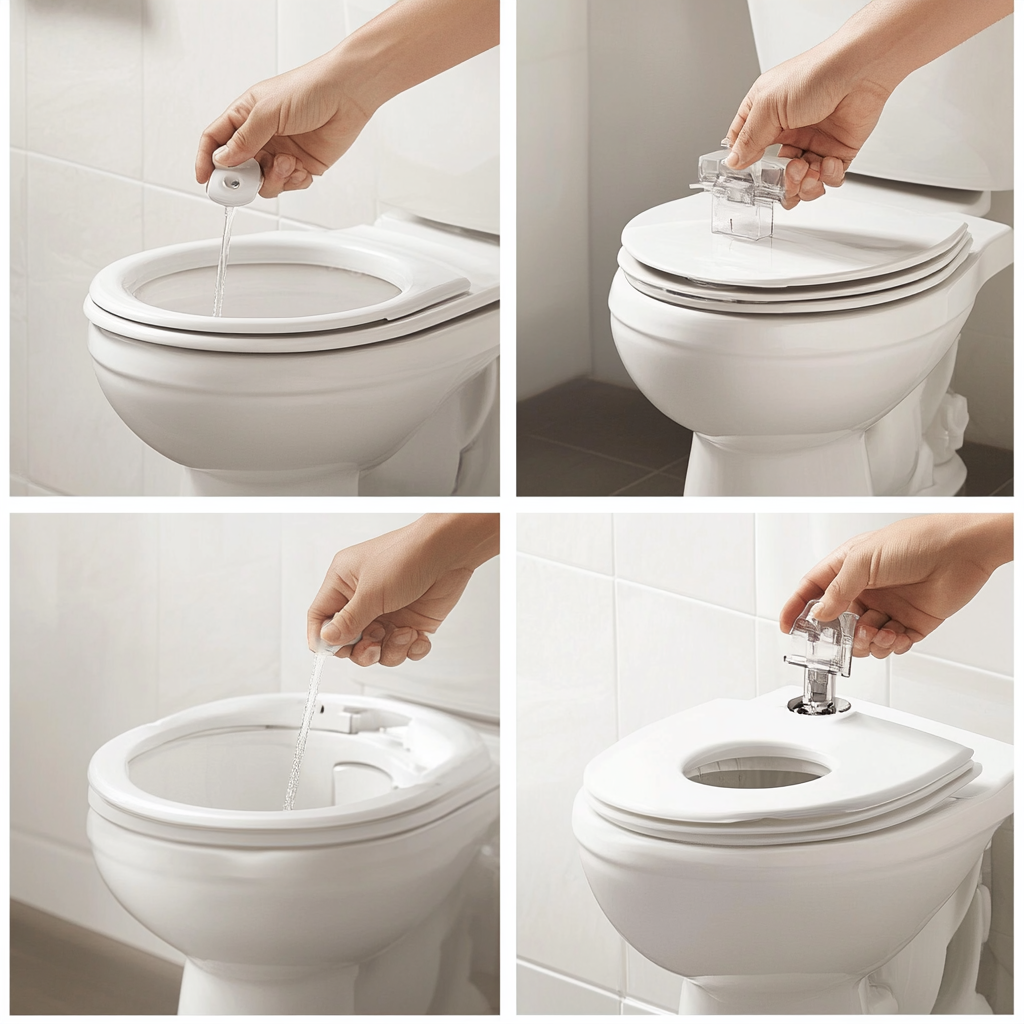
Replacing a Faulty Flapper
Turn off the Water Supply:
- First of all you have to turn off the water supply, because without turning it off if you open the flapper then the fill valve also will be open and it will create a hazardous problem for you. For that reason locate the water shutoff valve behind the toilet and turn it clockwise to stop the flow.
Drain the Tank:
- To remove the flapper you have to remove all water from the tank, otherwise it will create some pressure to the flapper which will make it harder to remove the flapper.
Remove the Old Flapper:
- After completing the above all steps now you have to remove the old flapper to install the new one. For that disconnect the flapper from the flush lever chain, then detach it from the pegs on the sides of the overflow tube.
Install the New Flapper:
- Once you completed all the things discussed above now you have to install new flapper to the overflow tube pegs. Connect the chain, leaving enough slack to allow the flapper to seal but not so much that it gets tangled.
Test for Leaks:
- After successful install of the flapper now it’s time to test the flapper, to test it turn on the water flow and give it time to fill the tank. Once the tank is full, now flush to ensure the flapper seals tightly.
Pro Tips for Maintaining Your Toilet After Repairs
After making repairs, regular maintenance can help prevent future issues and prolong the life of your toilet components.
To maintain your toilet you can follow this method, once a month, check the flapper, fill valve, and float to ensure everything is in working order. Also over time mineral and dirt buildup in your toilet main components, that’s why Cleaning the inside of the tank every few months will prevent clogs and ensure smooth operation. Also you can do more things to relieve the fill valve stress, install a dual flush system it is more durable compared to single flushing system.
